
Workflow rule - Update file attachment metadata
You can update attachment metadata in an iSheet column from an iSheet trigger, or from a document metadata iSheet.
Use
Update file attachment metadata
to update the site-wide file metadata iSheet when an attachment column contains a file; typically in an intake iSheet or Contract Express Output iSheet.The
Update file attachment metadata
action allows you to add information about the attached files for reference, search and visualisation across the site.note
The
Update file attachment metadata
rule action is available only if:- a file metadata iSheet is configured in the site
- the workflow rule trigger is an iSheet with one or more attachment columns or CE Output iSheet
- if the attachment column in the iSheet is configured to use a Custom Location
Add a new rule
Navigate to
Admin
> Workflow management
> Rule builder
: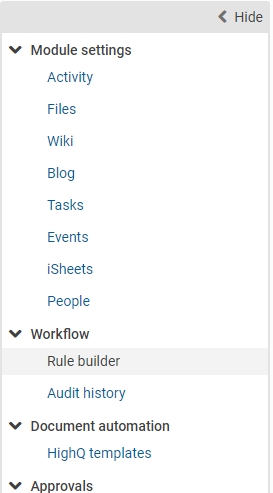
The
Rule builder
screen opens: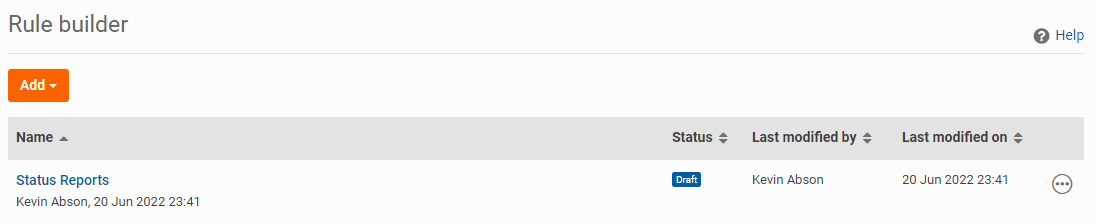
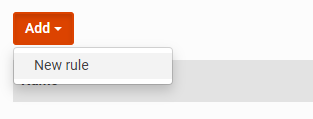
Click the workflow that will contain the new rule, then click
Add
> New Rule
:
note
Select
Add
> New Workflow
to create a new workflow.The
New rule
screen opens: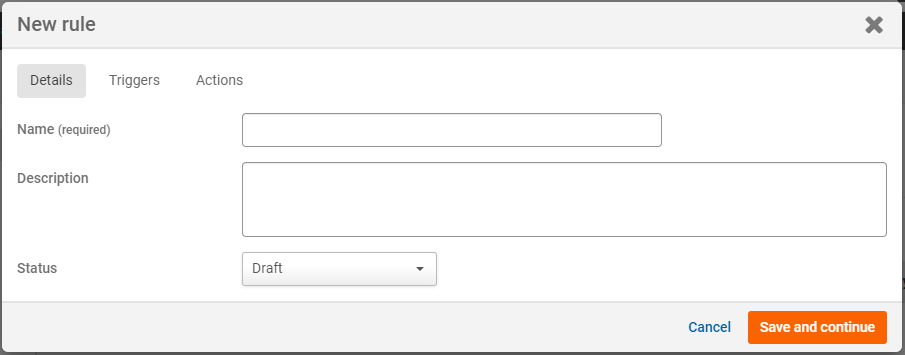
note
To update an existing rule, click the name of the rule instead of
New rule
.When creating your new rule, give it a
Name
and Description
. When you have finished, select Save and continue
.Set triggers
The
Triggers
tab opens: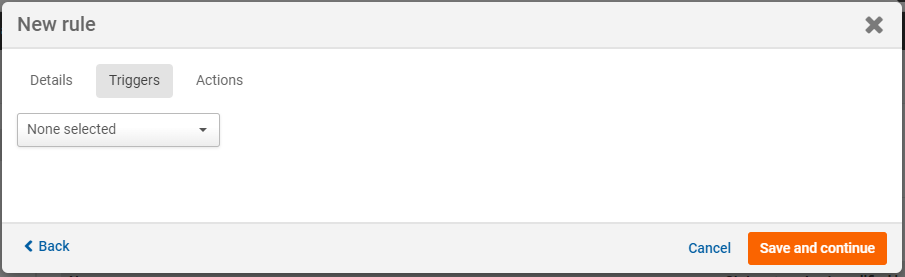
Select
iSheet record
from the first drop-down menu: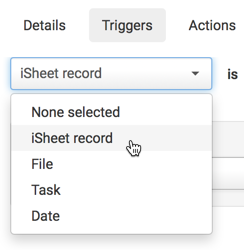

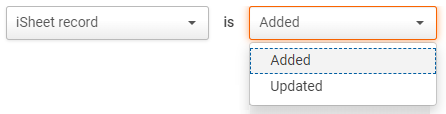
Then select if your rule will trigger if an iSheet record is
Added
or Updated
:
Select the iSheet that would contain a new or updated record from the
iSheet
dropdown menu: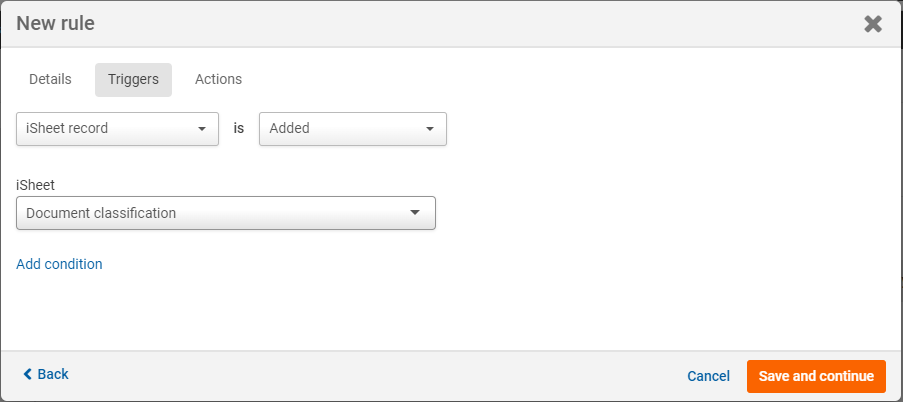
Add conditions
If necessary, select
Add condition
.Select a column that will be monitored to trigger the rule:
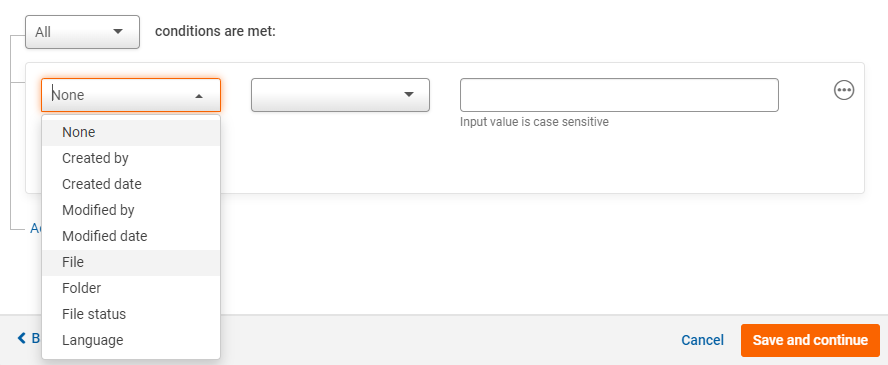
And enter the condition (or conditions) for the rule to trigger.
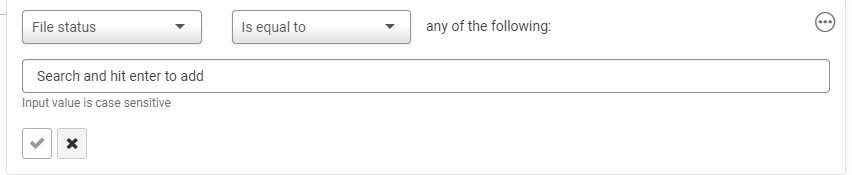
You may add further conditions or triggers.

When you have finished select
Save and continue
.Actions
The
Actions
tab is displayed. In the Choose action
menu, select Update attachment file metadata
:
Select up to 10 attachment columns that contain data that will be used to populate the file metadata iSheet:

note
Only
Choice
, Date
, User Lookup,
Single-line Text
and Multi-line text
columns can be selected as the target column to be updatedThen select a column to update in the file metadata iSheet:

Enter a mix of text and variables to pull data from the selected source columns. For example, to simply copy the contents of one column to the file metadata iSheet with no other changes, select
Insert variable
and select the name of the source column.note
Select
Add column
to update multiple columns in the file metadata iSheet.Select
Save
to save the actions.Save and activate
After you save your rule, the rules screen opens:
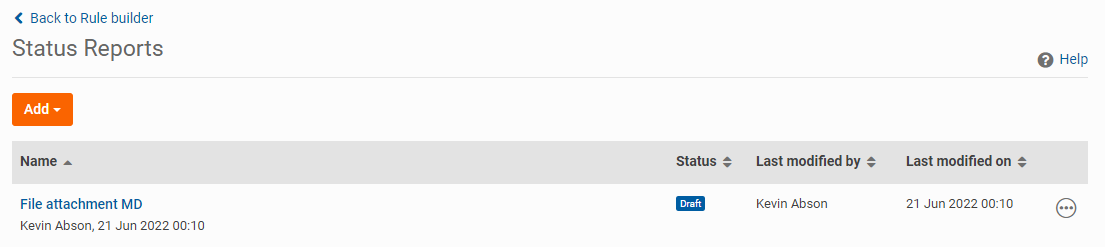
You can view the name, status, last modified date and time of your rule, and also who modified it.
Additionally, you have access to the
More actions
menu: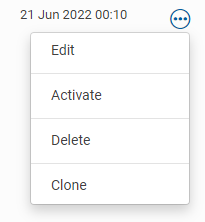
The options are as follows:
- Edit- allows you to edit the rule
- Activate- lets you activate your rules and changes the status fromDrafttoActive. If you selectMore actionson an active rule, you can insteadDisablethe rule.
- Delete- allows you to permanently delete the rule
- Clone- create a copy of the rule
Activating your rules
Once you have created your rules, they must be activated if you want them to trigger. Click
More actions
> Activate
to do so. If you activate rules but your workflow is not active, you will receive a warning message.