
Primary Owner/Owner Configuration Guide: Adding HighQ MCP as a Custom Connector
This guide provides step‑by‑step instructions for Primary Owners and Owners to add HighQ MCP as a custom connector.
Prerequisites:
- Claude Desktop installed (download here).noteAlways update to the latest version for best results.
- A valid Claude license (Pro, Team, or Enterprise).
- An active HighQ Collaborate account.
- HighQ instance URL (e.g., https://[your-instance].highq.com/[site-name]/mcp).
- Raise a ticket with the support team to enable the MCP server on your Collaborate instance.noteThe instance needs to be hosted in the Azure environment for the MCP server to work.
- Connector setup requires Claude Enterprise "Primary Owner" or "Owner" rights.
Configure HighQ MCP connector enterprise level
Step by step guide for Primary Owner/ Owner of Claude Enterprise:
Connect HighQ to Claude
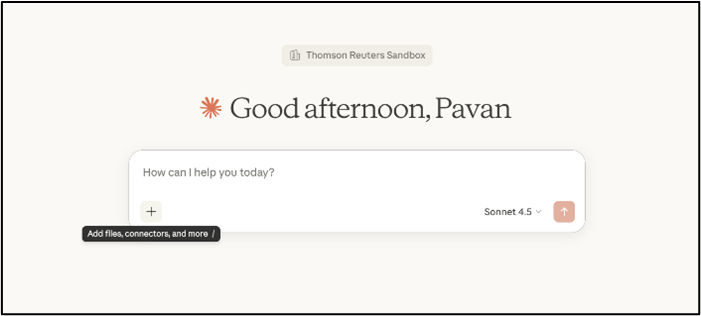
- Open the Claude Desktop application.
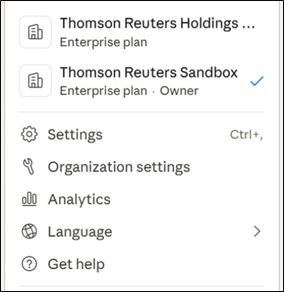
- Click on your profile icon in the bottom-left corner, and as a Primary owner/Owner of Claude Enterprise, you will see theOrganization settingsoption.
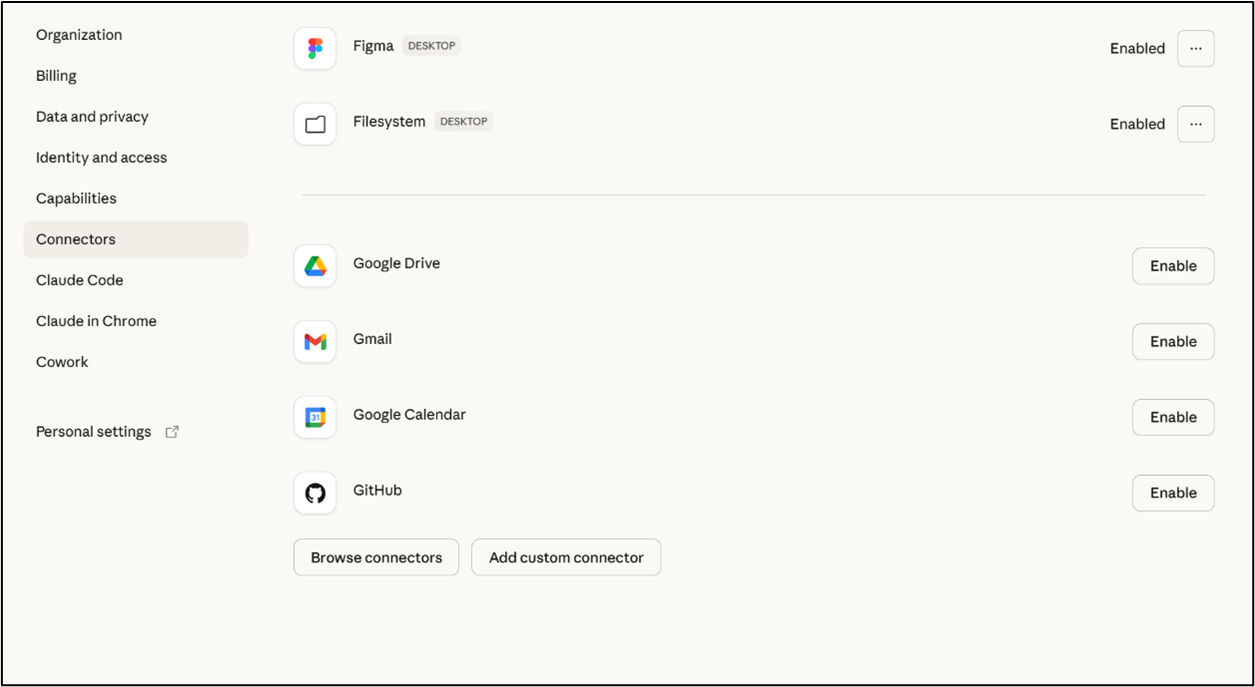
- Now, clickConnectorsin the left sidebar..
 noteIf you do not see "Connectors" in the sidebar, ensure you're using Claude Desktop (not web) and have the latest version installed.
Add Custom Connector
- ClickAdd custom connectorbutton.
- In the dialog box, enter:
- Name (for your connector)
- HighQ Instance MCP URL (e.g., https://[your-instance].highq.com/[site-name]/mcp)
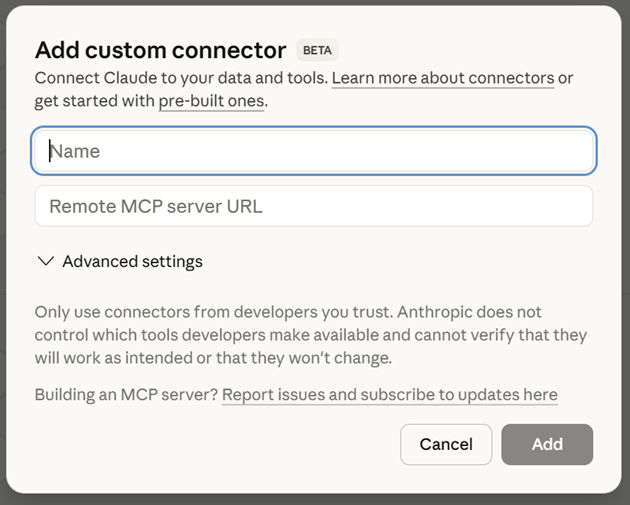
- ClickAdd, you will now see HighQ MCP under connectors with the status as enabled.

HighQ MCP is now configured at the organisational level.
Tips and Best Practices
- Use centralised connector management for team-wide policies.
- Review tool permissions to ensure that all required tools are enabled and not inadvertently blocked for users.
- Communicate any changes in connector availability or permissions to your team.
- Periodically audit connector usage and permissions for compliance and security.