Adding Contract Express templates
Once you have enabled the new HighQ Document Automation module powered by Contract Express on your instance or site, you must add new templates to produce documents using your organisation's data.
note
A site admin can add new templates so that site users can generate documents based on information added to the site.
Site admins must be a member of one of the Contract Express system groups, to allow access to Contract Express templates. See the overview for more information.
To add a new template to the site, navigate to
Admin
, within a site.
The
Site admin
screen opens. Within the Site admin
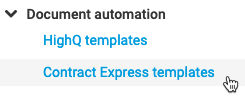
screen, navigate to Document automation
> Contract Express templates
.
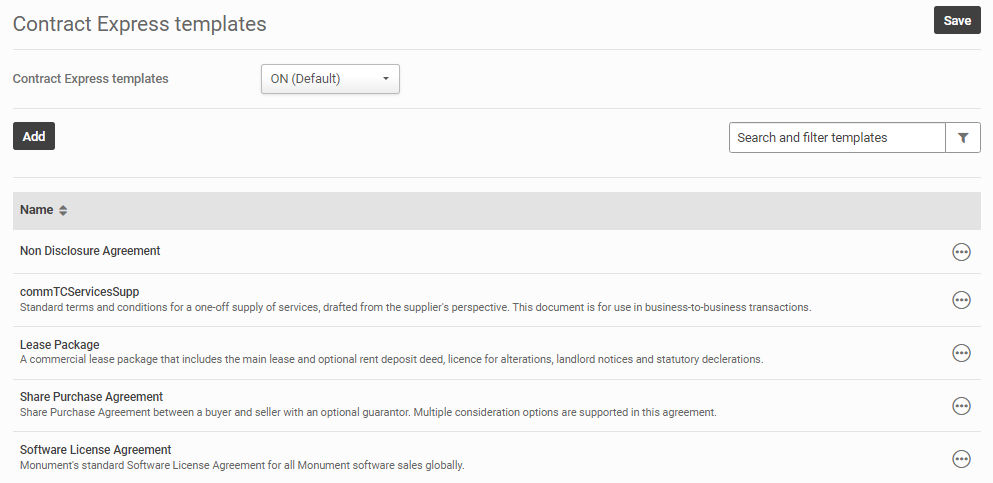
The
Contract Express templates
screen opens.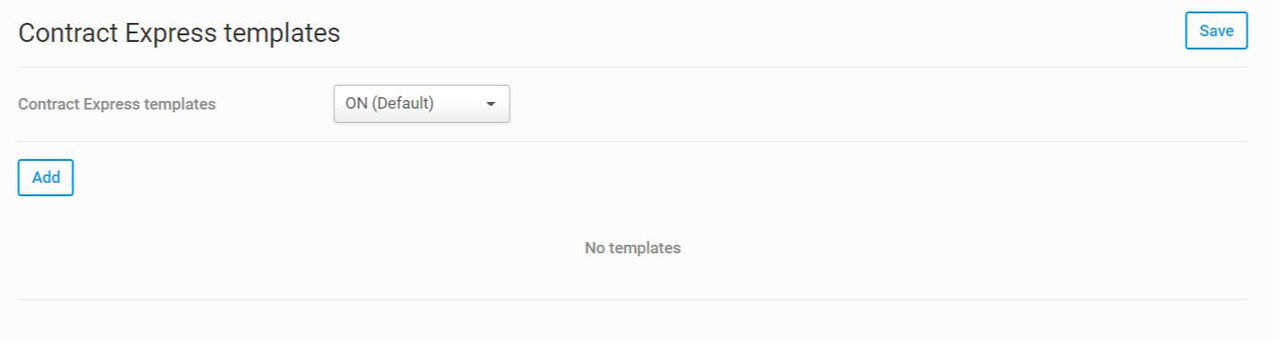
Add a template
Within the
Contract Express templates
screen, select Add
. The Add template
screen opens.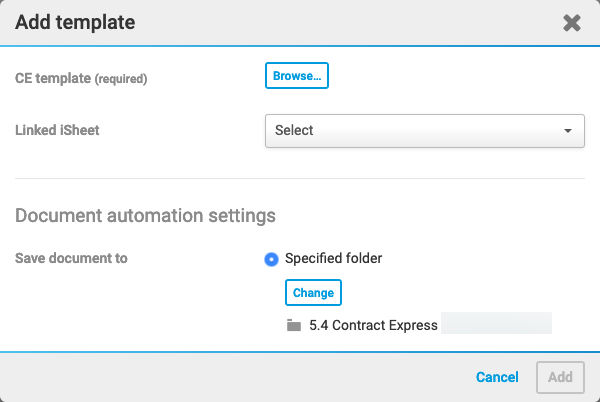
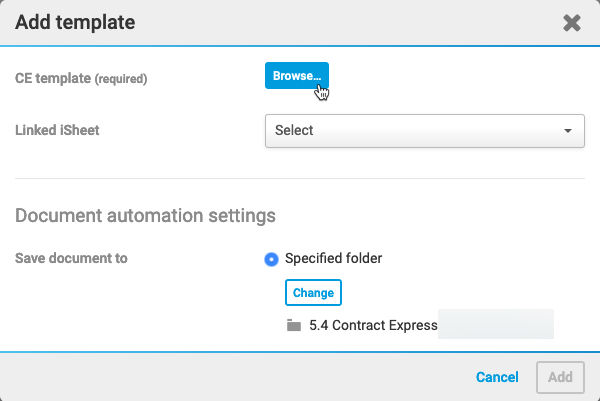
Within the
Add template
screen, click Browse
to select a CE template
.
The
Contract Express templates
screen opens.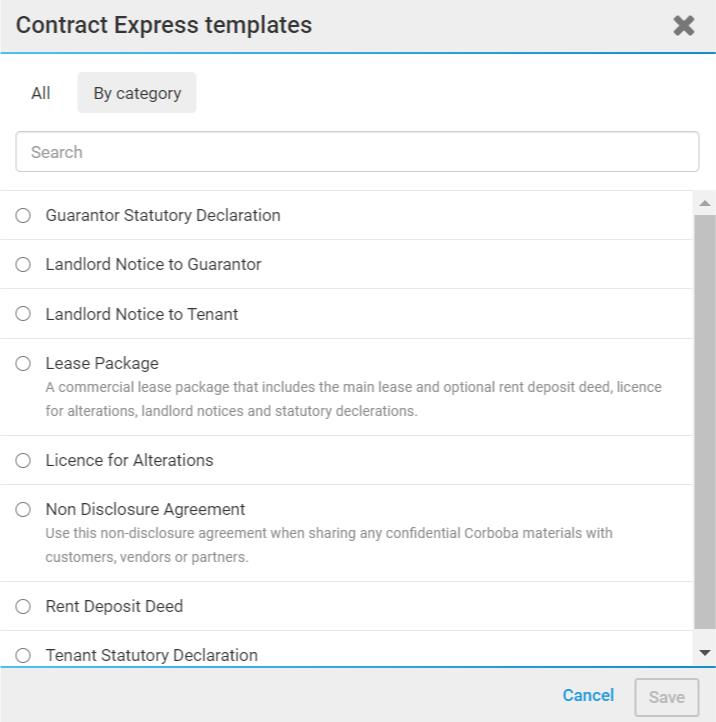
note
As of April 2023, categories that do not contain templates are not shown in this list; however, some empty categories may be present if you do not have permission to view templates in the category, or permission to view one of the parent categories.
Select a template and select
Save
.note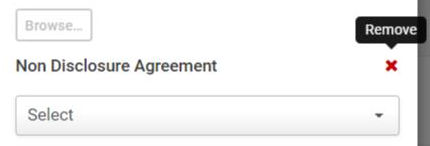
If you select the wrong template, or wish to change the selected template, click the red
x
next to the name of the template you have chosen.A warning screen is displayed. Select
Continue
to remove the template.Link an iSheet and view
Once you have selected a template, you can select a Linked iSheet from the
Linked iSheet
drop-down menu.note
You can use columns from the linked iSheet to fill values in the Contract Express questionnaire, which are then used to generate a document.
If you select a linked iSheet, you need to select the
Linked view
, which is either All views
or Specific views
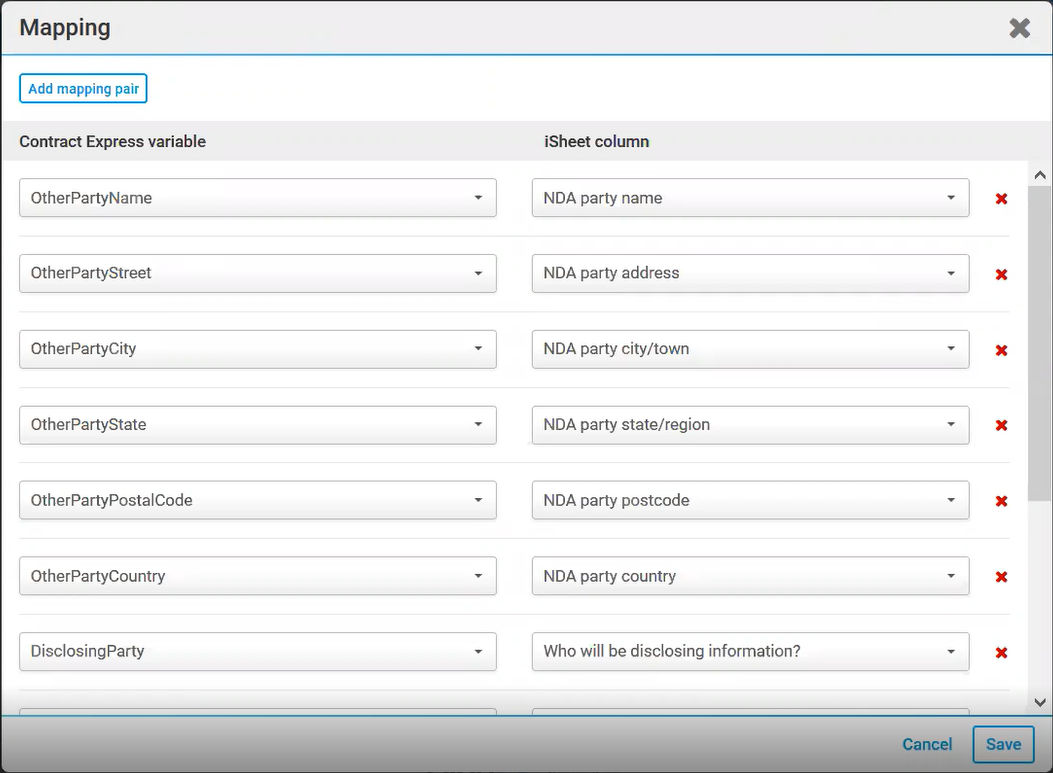
.Add or Create Mapping
After selecting a view the template must know where to find the information that is added to the generated document.
See map iSheet columns to Contract Express variables for more information.
Document automation settings
Once you have configured the above, select where the document will be saved. You can select a
Specified folder
on the site, or a Specified iSheet column
(an Attachment column).
Select either
Specified folder
then Change
to select a different folder, or select Specified iSheet column
then select an iSheet attachment column from the drop-down menu.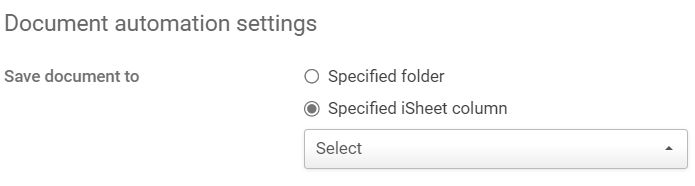
Select the location to save generated documents then click
Add
to add your template to the list of templates available on this site.note
If you use an iSheet attachment column to store generated documents, the Files module must be active to view the documents in the iSheet module.
You can now generate documents using your template. Click here for more information on how to do this.
Archiving templates
A site admin can archive unneeded templates to remove them from the list of templates.
Open the
Admin
module, then select Contract Express templates
.
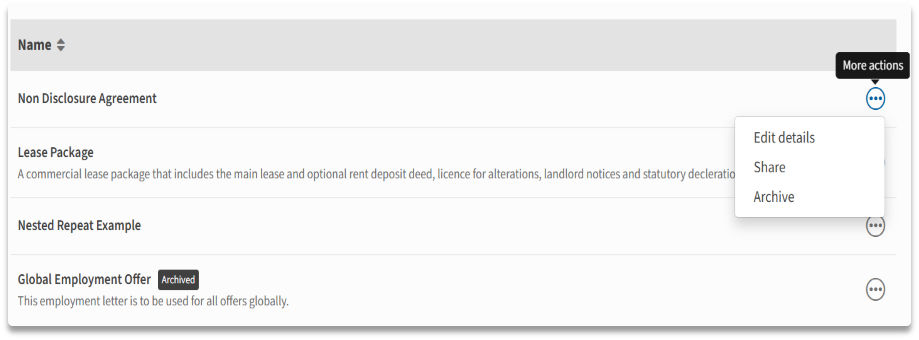
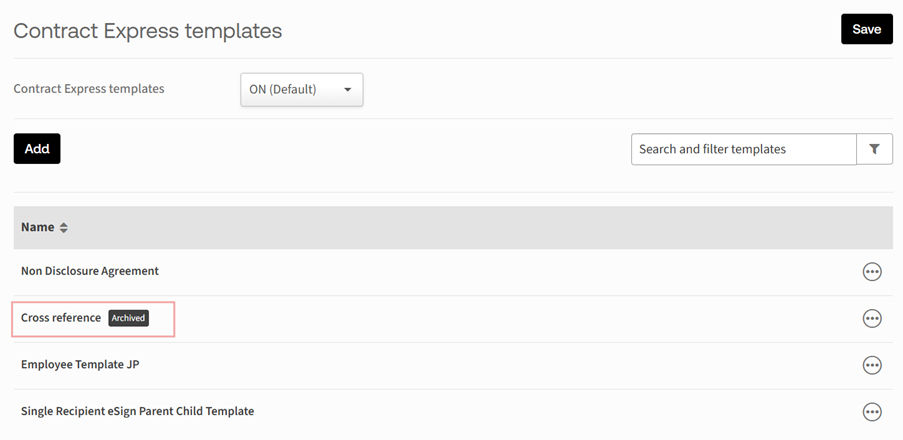
Scroll to the template to archive, or use
Search and Filter templates
to narrow the list. Select the More actions
icon for the template and select Archive
.
note
As of August 2023, by default, archived templates do not appear in the list of templates. Select
Archived
in the Search filter to see Archived templates.Delete Output iSheets for Archived CE templates
Site administrators can now delete output iSheets associated with archived Contract Express (CE) templates. This helps maintain a clean and organised site by removing outdated iSheets and reducing confusion caused by similarly named templates.
When a CE template is archived, the associated output iSheets remain on the site by default. With the June 2026 release, site administrators can now permanently delete output iSheets that are linked to archived CE templates.
note
- TheDeleteoption is now available for all output iSheets. When the associated CE template has been archived, you can delete the output iSheet. If the associated CE template is still active, deleting the output iSheet will throw an error. This ensures that important data is preserved until you explicitly choose to delete it.
- Deleting an output iSheet is a permanent action. If you later reactivate the archived CE template, the deleted output iSheets will not be restored. Instead, a new output iSheet will be created when the first document is generated from the reactivated template.
When you delete an output iSheet associated with an archived CE template, the metadata of that output iSheet is also removed from all documents in the Files module that were generated from or linked to the archived CE template. The CE-generated document and any additional attachments will be converted to standard documents.
To delete an Archived CE template:
- Navigate to theAdminpanel.
- Go toActive iSheets.
- Locate the archived CE template's associated output iSheet you want to delete.
- Select theDeleteoption for the output iSheet.
You will then be prompted with a confirmation window. Select
Delete
to permanently remove the iSheet, or Cancel
to keep it.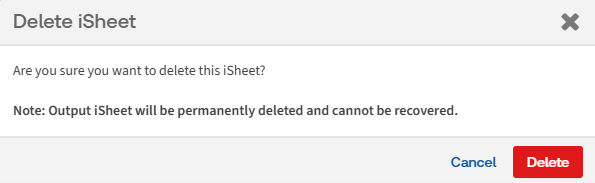
If multiple CE templates are archived, you can select and delete multiple associated output iSheets at once. Only users with the appropriate file and iSheet permissions to archive CE templates can delete the associated output iSheets.
Exclude unwanted Output iSheets from Site templates
When you save a site as a template, Output iSheets associated with archived Contract Express (CE) templates are now automatically excluded from the site template. This ensures that new sites created from the template remain streamlined and free from unnecessary iSheets.
When a site contains iSheets that were generated as outputs from Contract Express templates, those iSheets are typically copied when the site is saved as a template. Previously, this included Output iSheets even when the associated CE template had been archived, resulting in unnecessary items being carried over to new sites.
With the June 2026 release, the system now checks whether the CE template associated with an Output iSheet has been archived. If the CE template is archived, the Output iSheet is automatically excluded from the site template. This means:
- Output iSheets linked to archived CE templates are not copied to the new site template.
- Any sites subsequently created from that site template will not include these excluded Output iSheets.
note
This exclusion applies only to Output iSheets associated with archived CE templates. Output iSheets linked to active CE templates continue to be included in site templates as normal.