Approvers and Requesters within Legal Tracker (TIMI)
This article details the roles of requester and approver when using Legal Tracker within HighQ.
Requester
A requester is a user who needs legal help and can use a form to create a legal intake request.
note
A requester has to be invited to HighQ Instance to create a Legal intake request.
Adding a new request
In the dedicated site for legal intake, select
Add Request
from the admin menu bar.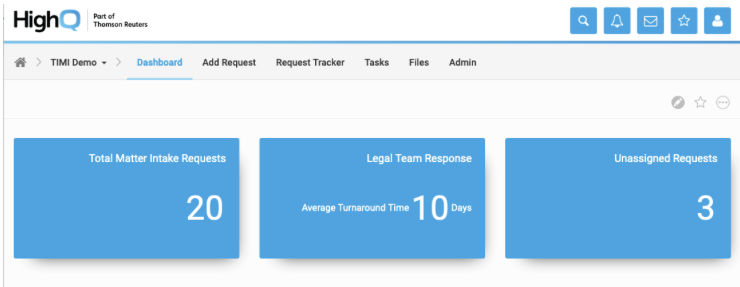
The
Add record
screen opens:Several sections and fields need to be entered before creating the Legal intake request. For example, in the Matter Information section, the
Matter Description
and Full Matter Name/Parties Involved
fields are required. 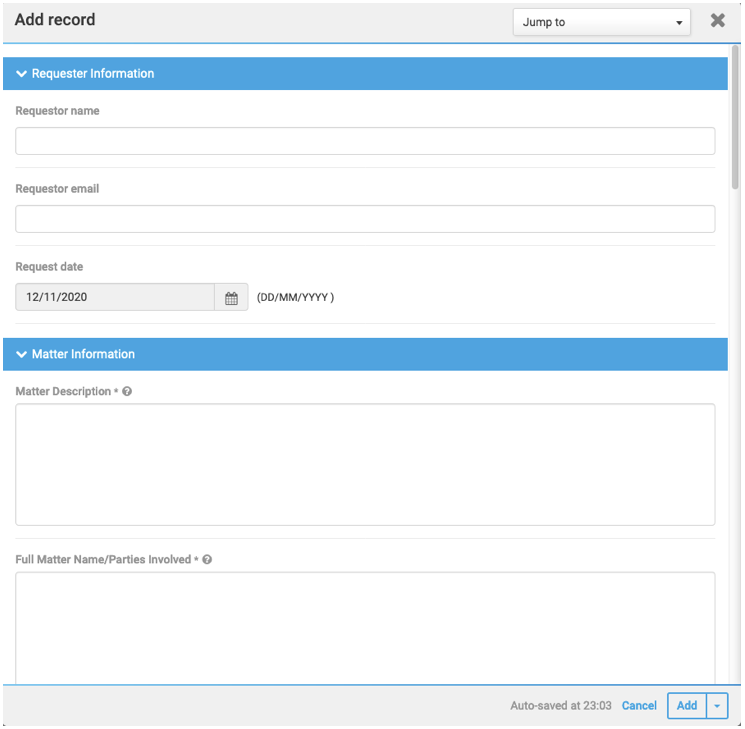
note
You can select the header of a section (Status, for example) to expand that section and access the fields, but some fields are to be completed by the reviewer, so be vigilant and only fill in the details required of you.
Once you have entered all the details of the intake form, select
Add
at the bottom of the form.Your request will be created and a notification will be sent to the Approvers/Reviewers to review and approve the intake request.
Approvers
An approver is a user reviewing the legal matters sent in by a requester. The approver has access to the management aspect of the intake request. The Approver is a specialised site group created for the site with additional privileges and workflow.
Approving a new request
To access the list of requests, within your site, select
Request Tracker
from the admin menu bar.
The
Request Tracker
screen opens to show a grid containing data about each request.
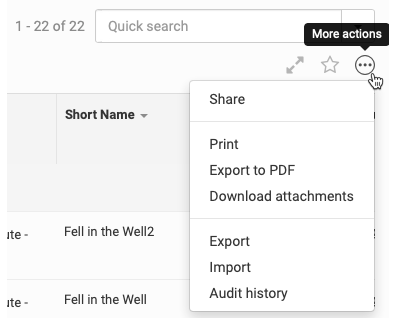
Mark the checkbox for a request to manage, select
More actions
, then you can choose to:- Viewthe record.
- Editthe record.
- View the record'sAudit history.
- Generate a documentof the record.

Select
Edit
to edit the record:The record is displayed with the information filled in by the requester. View the
Requester Information
(Requester name
, Requester email
, and Request date
).
Go to the
Status
section, where you can edit the status of the record. The default status of the request is 'New'.Navigate to the
Legal Department Approver/Reviewer
section and fill in the relevant details within the relevant fields.Navigate back to the
Status
section and change the status to 'Send to Tracker' so send the intake request from HighQ to Legal Tracker. Once an intake request is created in Legal Tracker an intake request ID will be created by Legal Tracker and sent back to HighQ, this ID is stored as the Intake request ID of the Matter Intake Management
section of the form.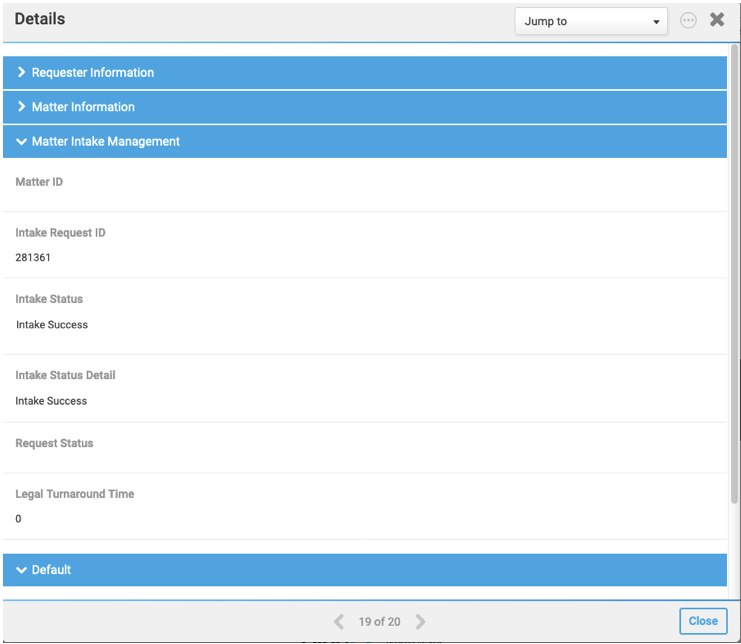
note
Approvers should only change the status to 'Send to Tracker' as the system manages all other statuses.
Tracker Matter Intake Status definitions
See below for the definition of each Tracker Matter Intake Status:
Send to Tracker
Once the Approver/Reviewer has reviewed the intake request, they can send the request to Legal Tracker by changing the status to 'Send to Tracker'. Once the Workflow notices that the status of the Intake Status field has been set to 'Send to Tracker' it will send the request to Legal Tracker to create an intake request in Tracker.
Intake Success
The status of the column is set by the integration to 'Intake Success' when an intake is successfully created in Tracker and a valid ID is returned to HighQ to store it in the record.
Intake Failure
The status of the column is set by the integration to 'Intake Failure' when an intake fails and no Intake ID is returned to HighQ.
Intake Rejected
Once the Intake is processed in Legal Tracker, the intake request might be rejected. In this, case the Legal tracker integration will set the status to 'Intake Rejected'.
Matter Created
If the Matter creation is successful in Legal Tracker, then the Legal Tracker will change the status of this column to 'Matter created'.
Record management
In the
Request
Tracker
screen, all details of all requests are displayed and you can manage each record.You can use the
Actions
dropdown list to choose Export
, Delete
and Download attachments

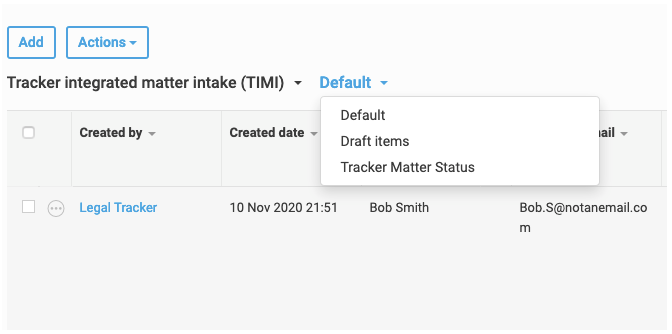
You can filter the requests by using the sheet dropdown list.
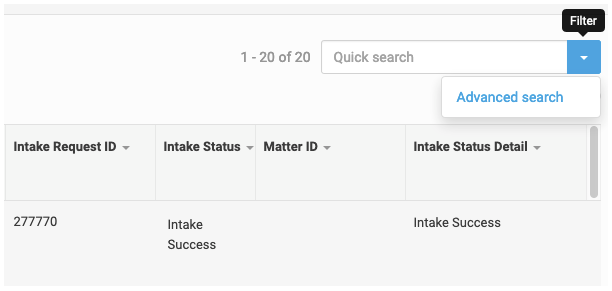
You can search for a specific record using the search functionality. Select the
Filter
dropdown next to the Quick search
bar, then select Advanced search
:
Directly after the Quick search, you find
Full screen
and Add to favorites
options.
From the
More actions
dropdown menu, you can select Share
, Print
, Export to PDF
, Download attachments
, Export
, Import
and Audit history.