
Image column
The image column allows a user to add an image to an iSheet, which will be displayed and can be downloaded. All standard image file types are supported (jpg, jpeg, bmp, png, gif).
There are two methods for adding an image and you must choose one or the other when the column is created. You will either select to add the
Image as attachment
or Image as URL
. You can change the method at any point in the future by editing the column.
Image as attachment
When adding an image as an attachment, click the
Browse
button in the Add item
form page.
Navigate to and select the file you wish to upload.
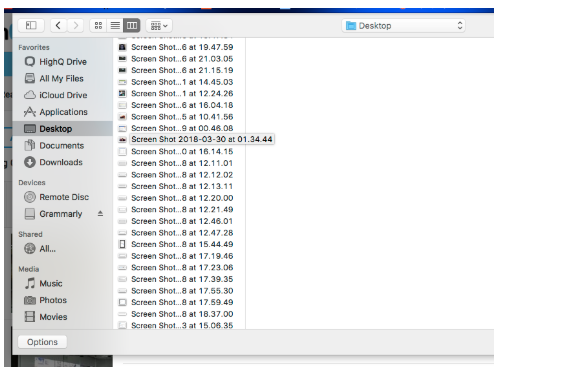
Select
Add
to complete the process.Adding Image as URL
When adding the image as a URL, first get the URL from the image you want to add. You can do this by right-clicking and selecting copy image address. Then paste the URL into the Enter URL field in the
Add item
form page.
Once the URL has been entered, you can click on the
Preview image
button to the right, to test the image URL.
Select
Add
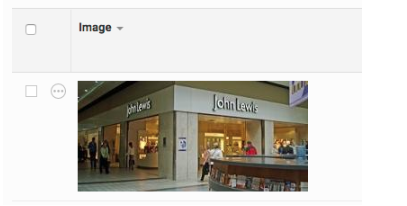
to save the record. Once the record has been added the image will appear in the table view.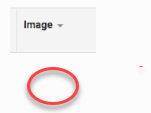
Click the thumbnail to see the full-sized image.
Advanced
Column width
Setting the column width on an image column type will control the maximum width of the image while preserving its aspect ratio. For example, if an image has a width of 150 pixels and the column width is set to 100 pixels, the image will appear in the iSheet table view as 84 pixels wide with the height adjusted to preserve the aspect ratio.
However, if the same image is displayed in a column with a column width set to 200 pixels, the image would have enough width space to display full size.
note
8 pixels of padding are applied on either side of the image.
Related Content
-
Column types
Format: Article