
Add a workflow
Adding a new workflow
To add a workflow, open the
Admin
module.
In the
Admin
module, select Rule builder
in the Workflow
section.
The Workflows screen
This displays the
Rule builder
screen.
This screen lists existing workflows (if any have been built) and allows you to add new ones.
note
See Manage workflows to automate tasks for best practices when adding workflows.
Add a new workflow
To add a new workflow, click
Add
> New workflow
.
The
New workflow
screen opens.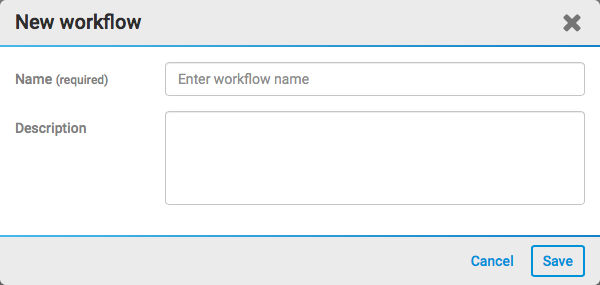
Enter the name and description of your workflow, and select
Save
. The new workflow is saved as a Draft
and the Create rule
screen opens.
After creating a workflow, add rules to define what it does (actions) and when it does it (triggers and conditions).
Activating a draft workflow
After adding and configuring rules, return to the
Rule builder
screen to change the status of your Draft
workflow to Active
.
Click the
More actions
icon, then select Activate
.note
Individual rules configured in a workflow may also be activated or disabled.
Managing a workflow
After a workflow is created (even if it is empty), you have access to the
More actions
menu for each workflow listed in the Rule builder
screen.
The options are as follows:
- Edit- open theCreate rulescreen to edit the rules in your workflow
- Activate- changes the status fromDraft(orDisabled) toActive; all rules will trigger actions as configured. If you selectMore actionsfor an active rule, you can insteadDisablethe rule:
- Disable- temporarily stop an active workflow, no rules contained in that workflow (with triggers and actions) will run until Activate is selected
- Delete- allows you to permanently delete the workflow, including all rules and configuration
- Clone- allows you to create a copy of the workflow. Once a workflow is cloned, the status of the new workflow will be set to Validate, and it will not trigger until the status is set to Active..