
Map iSheet columns to Contract Express templates
When you create a document from a linked Contract Express template, you may select one or more iSheet records, and then save the generated documents to either a folder in the
Files module
, or as an attachment
in the linked iSheet.note
Please visit the Contract Express video gallery for additional information.
You must 'map' iSheet columns in an 'input iSheet' to the variables required by the document template. This allows you to generate a single document, or a series of documents, from iSheet records.
note
You can also store information generated by Contract Express in an output iSheet.
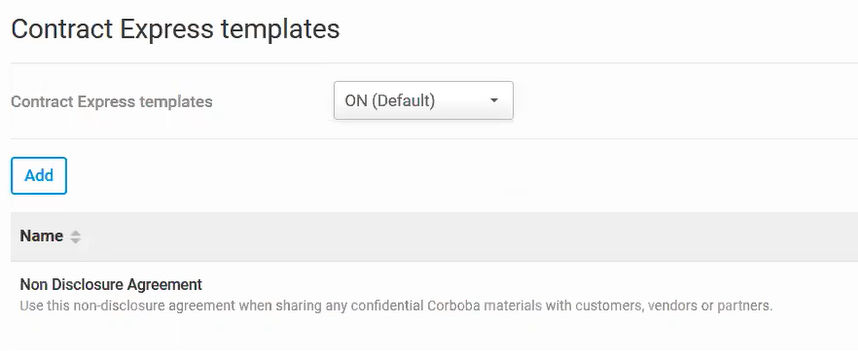
Access Contact Express templates
You can add or edit templates from the site
Admin
module. Select either Internal
or Public access
under Document automation
/ Contract Express templates
.
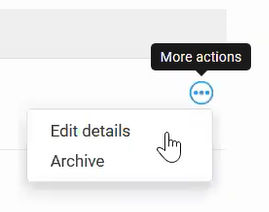
Click the
More actions
button and select Edit details
.
Select a
Linked iSheet
, which acts as the input iSheet for the linked template:note
The iSheet must be prepared in advance, with column names that match the required variable names in the Contract Express template.
Ideally, you should develop the iSheet on a staging site and move it to a live production site after it has been finalised. This avoids potential issues that can arise when changes are made during development.
Tip: If you need to change the column type in a linked iSheet, to avoid issues with existing names and column maps, please create a new column with a different name from the original column.
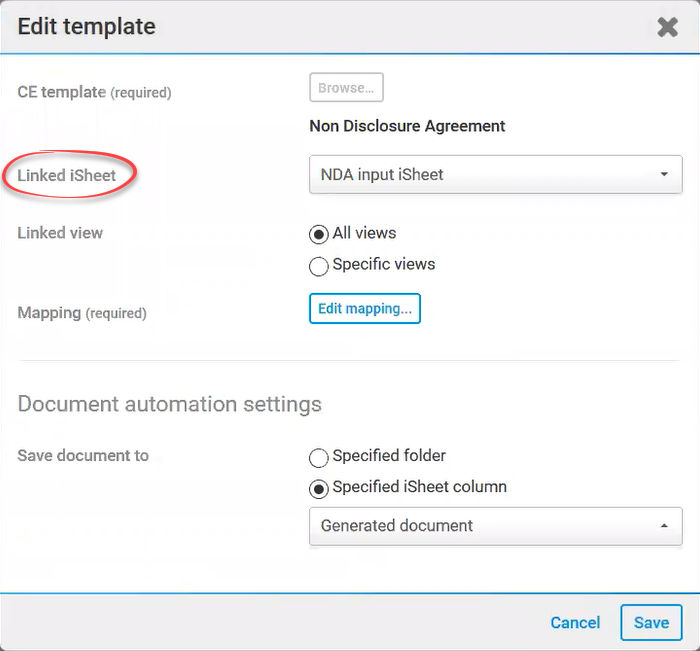
You must select a
Linked view
:- All views- map variables from all columns that you have permission to view.
- Specific views- map variables from columns in a specific view, useful if the linked iSheet has many columns.
Template name and description
The template name and description, seen in the list of Contract Express templates, dashboard panel or the public access link, are set in the template file.
To set these values, open the template in Microsoft Word, then select
Contract Express
and Template Setup
.
You can define the
Reference
, Version
, Description
and Name
of the template. Select OK
to save any changes.note
The description is imported when you add the template to HighQ.
f you update the description in the Contract Express template, the description in the list of templates is also updated. To avoid any performance issues, checks are made overnight, and the updated list of templates is available the following day.
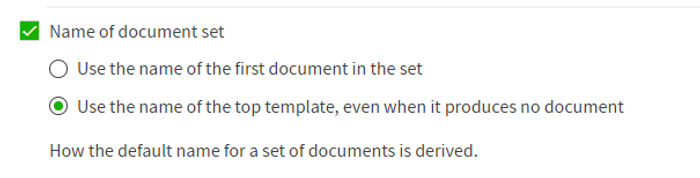
Setting generated folder names for a set of documents
You can set the name of generated folders to follow the rules set in Contract Express.
Select
Use the name of the top template, even when it produces no document
so that the folder name used when generating a set of documents matches the top template, which is usually the expected result.Open
Contract Express
, then select Admin
, Profiles
and Edit Profile
.
Select
Save
to keep any changes.Working with the Input iSheet
The Input iSheet contains columns that are mapped to the variables required by the Contract Express template. This allows you to generate a document, or a series of documents, from iSheet records.
Map columns to variables
Select
Create mapping
(or Edit mapping
if a mapping already exists). The Mapping
window displays variables from the Contract Express template and the iSheet column mapped to that variable.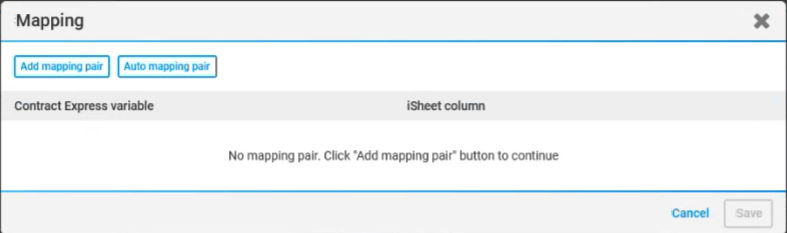
Auto mapping
If you used the function to import iSheet columns as Contract Express variables, the Contract Express variable names are identical to the iSheet column names.
HighQ can automatically detect and map variables with the same name.
Select
Auto mapping pair
to automatically match variable names with iSheet column names and add them to the list: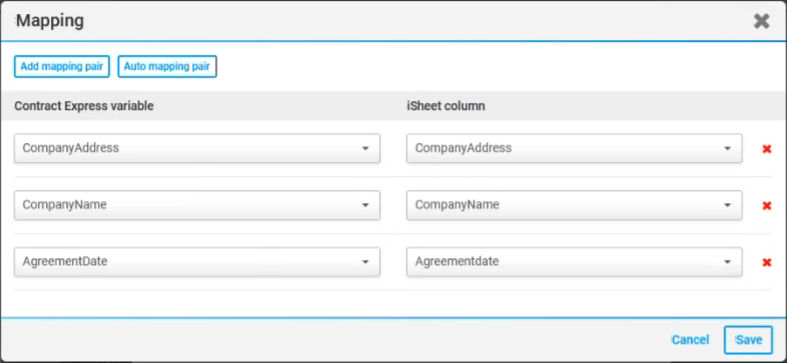
note
Variable and column names are matched only if the text matches. Note that capitalisation and spaces are ignored (i.e.
AgreementDate
, Agreementdate
and Agreement Date
would all match).Add mapping pair
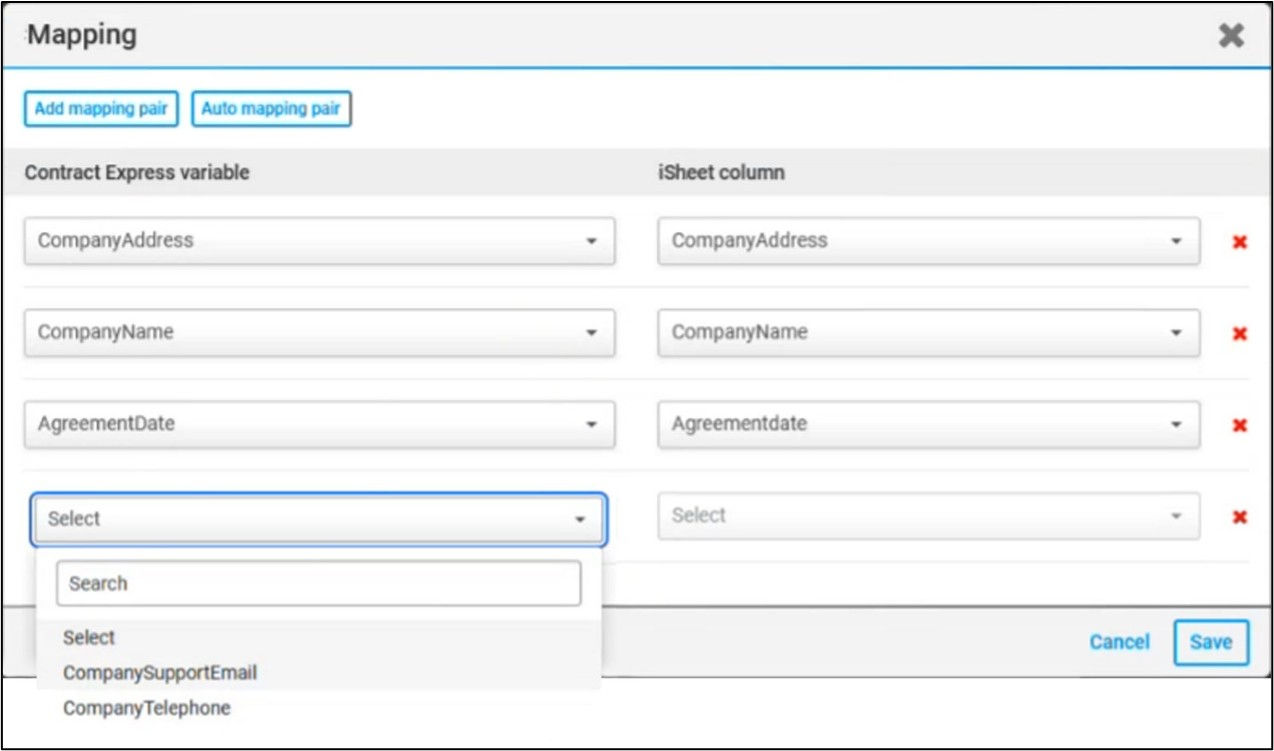
To map additional variables, i.e. matches not identified with
Auto mapping pair
, select Add mapping pair
to add a line to the mapping window.From the Contract Express variable drop-down list, choose a variable that has not yet been mapped in the template, and then select the iSheet column drop-down to choose the column that matches the variable.
A complete map contains a list of all variables and columns, as shown in the image below, and to remove a mapped pair, click the red  on the right.
on the right.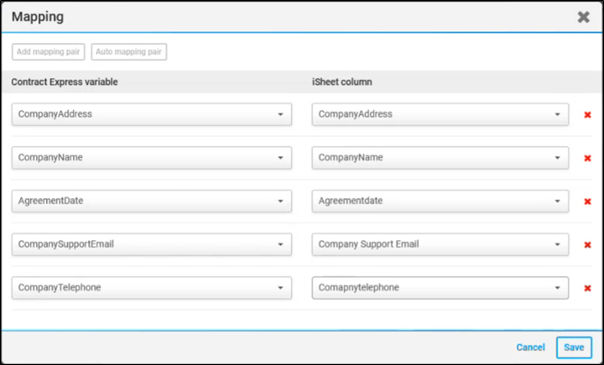
As of January 2026, you can also map an iSheet attachment column to a
File upload
variable to automatically pre-select attachments for document generation or include them in workflows. 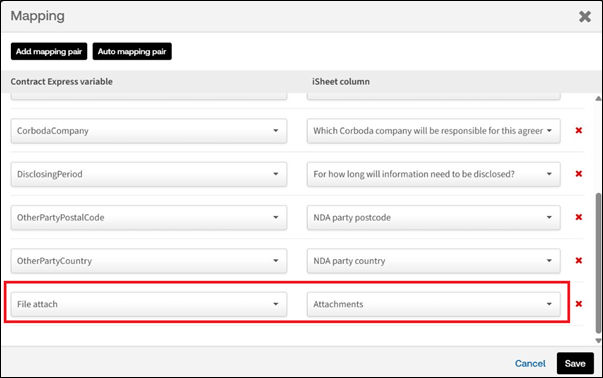
Select
Save
to finish mapping and return to the Edit template
window.note
- Options are limited to columns appropriate to the selected variable, i.e. only text, choice, attachment, and date columns.
- A variable can only be mapped to a single column. If you have already selected an item, it is removed from the menu for later selections.
- Add mapping pair and the Auto mapping pair are not available, if all variables are already mapped.
Lookup columns with multiple lookups
If a Contract Express question is mapped to
Lookup column
that allows multiple lookups, when the questionnaire is auto-filled then only the first value is entered into the question field in the questionnaire for the following iSheet columns:- Single select choice
- Number
- Date
- Time
note
Text columns where all values are entered from the questionnaire are not affected by this limitation.
Time questions in date and time columns
If a Contract Express time question is mapped to a
Date and time column
, you must set the associated 'date' in the iSheet column to '01 Jan 1920
' so that it only extracts the 'Time' part of the value.Document automation settings
After you have saved the mapping, select where to save the document. You can choose a specific folder, or an attachment column, in the selected iSheet.
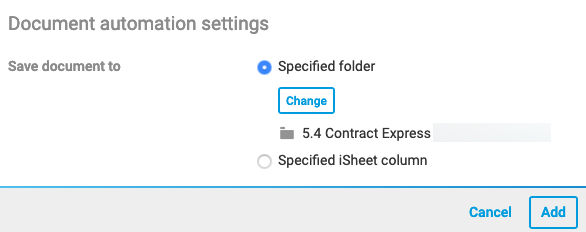
Select either the folder or iSheet column, and click either
Change
to select the folder, or select an iSheet column from the drop-down menu displayed.Once you have selected the location to save the documents, select
Add
to add your template to the list of templates available for this site.You can now generate documents using your template. Click here for more information on how to do this.