![]()
Triva isn't available right now.
Check out the support page for our phone number and hours
![]()


Column header |
Map to column type |
|---|---|
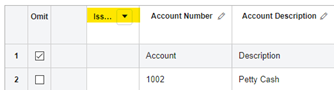
Account |
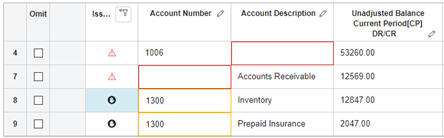
Account Number |
Account Description |
Account Description |
Type Code |
Not used |
Tax Code |
Tax Information-Tax Code |
Property Code |
Tax Information-Property Code (or not used) |
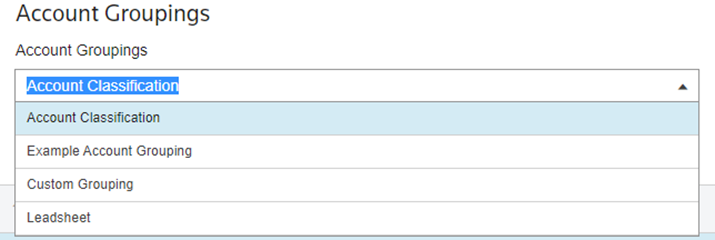
Account Classification Code |
Account Grouping-Account Classification-Code |
Account Classification Subcode |
Account Grouping-Account Classification-Subcode |
Column header |
Map to column type |
|---|---|
Account Class Custom Code |
Account Grouping-Account Class Custom-Code |
Account Class Custom Subcode |
Account Grouping-Account Class Custom-Subcode |
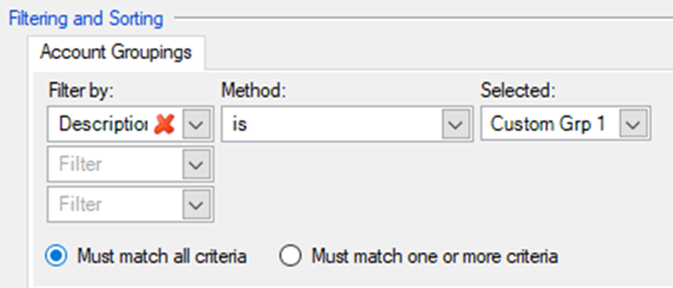
Custom Grp1 Code |
Account Grouping-Custom Grp1-Code |
Custom Grp1 Code Subcode |
Account Grouping-Custom Grp1-Subcode |
Column header |
Map to column type |
|---|---|
CY Adjusted, Report or Tax |
Unadjusted Balance-Current Period[CP]-DR/CR |
PY Adjusted |
Adjusted Balance-Prior Year Date-DR/CR |
PY Report |
Report Balance-Prior Year Date-DR/CR |
PY Tax |
Federal Tax Balance-Prior Year Date-DR/CR |