![]()
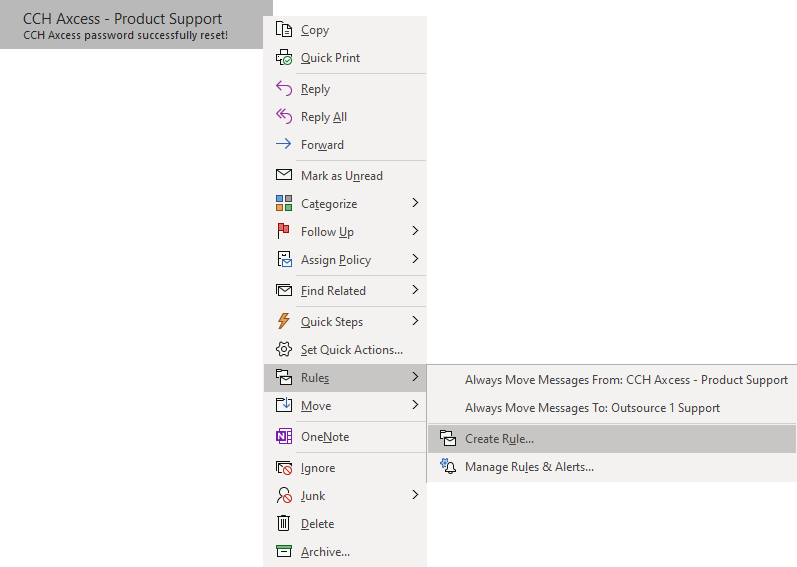
Triva isn't available right now.
Check out the support page for our phone number and hours
![]()
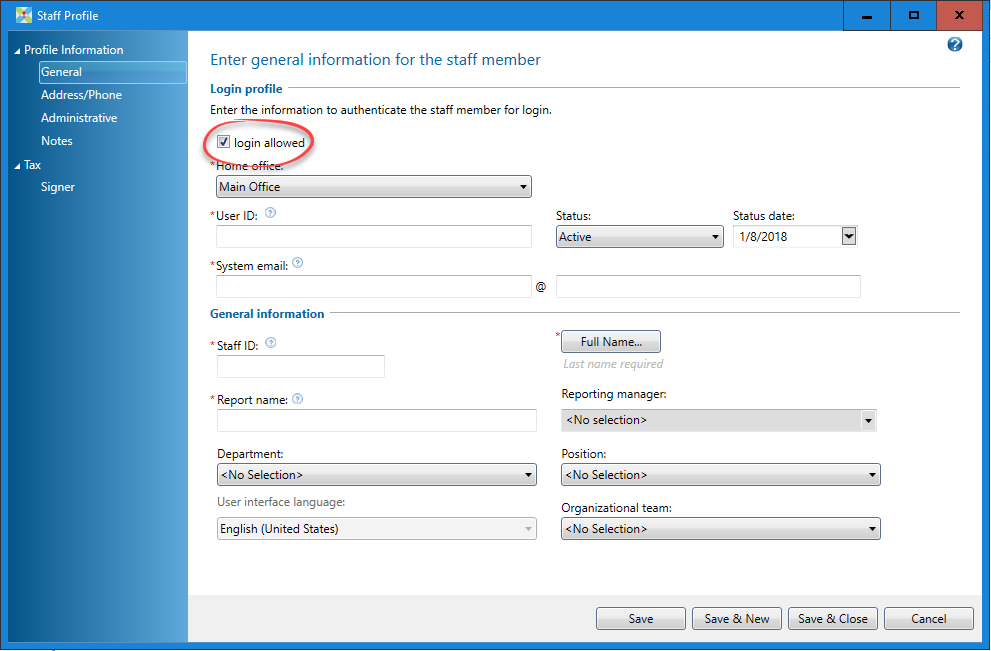
User ID | System Email | Staff ID | Reporter Name | First Name | Last name |
|---|---|---|---|---|---|
[Domain ID].OnshorePreparer1 | Create a dedicated email address at your firm as: [Domain ID]-OnshorePreparer1@[Your Firm's email domain].com | [Domain ID].OnshorePreparer1 | Onshore/Offshore Preparer 1 | Onshore/Offshore Preparer 1 | Onshore/Offshore Preparer1 |
Example: BL-01.OnshorePreparer1 | Example: BL-01-OnshorePreparer1@BL&Associates.com | Example: BL-01.OnshorePreparer1 | Example: OnshorePreparer1 | Example: OnshorePreparer1 | Example: OnshorePreparer1 |

Outsource Preparer | Select Country | Phone number |
|---|---|---|
Onshore | United States | 9494183589 |
Offshore | India | 734-973-7632 |

User ID | System Email | Staff ID | Reporter Name | First Name | Last Name |
|---|---|---|---|---|---|
Create a dedicated email address at your firm as | |||||
[Domain ID].Preparer2 | [ Domain ID ]-OffshorePreparer2@[Your Firm's email domain ].com | [Domain ID].OffshorePreparer2 | OffshorePreparer2 | OffshorePreparer2 | OffshorePreparer2 |
[Domain ID].Preparer3 | [ Domain ID ]-OffshorePreparer3@[Your Firm's email domain ].com | [Domain ID].OffshorePreparer3 | OffshorePreparer3 | OffshorePreparer3 | OffshorePreparer3 |