Export data to Lacerte

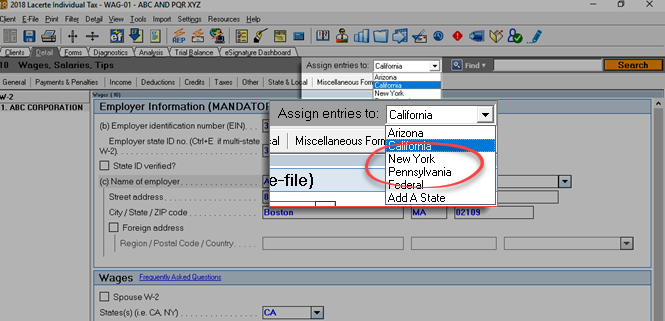
Once you are done preparing a client's binder, exporting data back to the tax software lets you sync all the captured and updated data back to the tax software. Before you export binder data to the tax software, make sure the tax return that is being exported is currently closed in the tax software (that is, Lacerte).
note
  1. Don’t delete any proforma information before exporting data from SPbinder to tax software. You can delete proforma information from the tax software and SPbinder after the Export to the tax software is complete. Save the return after it is complete.
  2. For SurePrep Outsource binders, don’t use the
    Export to Tax
    feature in this article to export the data into the tax software. You must restore the tax return file instead.
note
Make sure you have the latest version of the Lacerte SDK driver installed on your machine/environment in: Create binders in FileRoom, Export binder data to tax software, Create Custom DRL in TaxCaddy Latest release: December, 19, 2023 . Uninstall the previous version before installing a new version.

Export data to Lacerte

Follow these steps to export data from SPbinder to Lacerte:
  1. Select the
    Export to Tax Software
    Export to Tax Software icon icon from the SPbinder toolbar. Alternatively, select
    Binder
    , point to
    Export
    , then select
    Export to Tax Software
    .
    Select Export to Tax Software icon
    You can also export to tax software from FileRoom. Point to the
    OPTIONS
    column, then select the
    Picklist
    Picklist icon icon on that binder. Select
    Export to Tax
    from the dropdown menu.
    Select Export to Tax
  2. The
    Export to Lacerte
    Tax window appears. Select
    Setup
    . You can skip this step if you have already set up the export path.
    Select Setup
  3. Select a path from the dropdown that has been set up in the
    Admin
    ,
    Account Setup
    ,
    Tax File Activation
    , then
    Lacerte
    , since you might have more than one path here. This would be in case you have set up separate locations for different tax years or if you own multiple offices.
    note
    Lacerte Data Path for tax year prior to 2018 (that is, 2017, 2016) includes the
    Details
    folder (that is,
    L:\LACERTE\17TAX\IDATA\
    DETAIL
    ). Lacerte Data Path for the 2018 tax year can now be either be until
    IDATA
    folder or
    IDATA\DETAIL
    folder (that is,
    L:\LACERTE\18TAX\
    IDATA
    or
    L:\LACERTE\18TAX\
    IDATA\DETAIL
    )
  4. If you folder path is empty, then select
    Browse
    and select the Lacerte folder, where your tax software file lies.
    Select Browse
  5. Select
    OK
    .
    Select OK
  6. To access client data, permission is required. You may see the
    Access Confirmation
    window minimized in the background. Maximize the
    Access Confirmation
    window.
    Open the Access Confirmation window
    On the
    Access Confirmation
    window, select
    Grant
    . The
    Access Confirmation
    window only appears once, any subsequent attempts to access the client data will only require sign in once every 24 hours.
    note
    Install the latest
    Lacerte ODBC Driver
    to access client data. This window won’t appear if the driver is not installed on your machine/working environment.
    Access Confirmation window
    On the
    Sign in
    window, enter your Lacerte sign in credentials, then select
    Sign In
    .
    note
    You will need to enter your Lacerte sign in credentials again when your sign in session expires in 24 hours.
    Lacerte sign-in screen
  7. Select
    Proceed
    to complete the export to Lacerte Tax.
    Select Proceed
    note
    A window appears if any new states are added that were not proforma'd in the Lacerte tax file. You have to add the newly added states manually in Lacerte.
    Unable to export warning
  8. The export starts. Wait while the import processes.
    Notification that the export data is generating
  9. A message indicating the export was completed successfully appears.
    Notification that the export completed
    note
    Any data entered in your Lacerte tax file after uploading the return in SPbinder will be overridden on completion of the Export process.
  10. To view exported data, open Lacerte and select
    File
    , then
    Refresh
    .
  11. After Exporting data into the tax software, if the user tries to export again without entering any new data in the binder, the following window appears:
    Notification that no new data is not identified

Exporting data to Lacerte with additional states

A window appears if any new States are added that were not originally proforma'd in the Lacerte tax file.
Notification that it cannot be exported
This window appears for the following reason:
For example, if you initially had
AZ
and
CA
as proforma states in Lacerte.
Select entries to assign to
Then you manually add a new States in SPbinder (that is,
PA
added through OCR and
NY
added manually).
Manually add state to SPbinder
When you export data to Lacerte, you will get a warning window if additional states are detected.
Select
Ok
, to export data to Lacerte without adding a new .
Select
Cancel
to cancel data export. You can manually add the following states in Lacerte then reinitiate the
Export to tax software
.
Notification that you cannot export to the states
To manually add the states in Lacerte, open the client data in Lacerte, then select the
Assign entries to
menu to see options.
Select the Assign entries to
On the dropdown menu, select
Add State
to add a new state.
Select Add A State
When the
Select a State...
window appears, select the new states added in SPbinder (that is, PA, NY), then select
Ok
.
Select OK
After adding a new state, select the
Assign entries to
dropdown menu to verify it has been added.
Select State from dropdown
Close Lacerte, and retry the export to Lacerte process again.

error-icon

Triva isn't available right now.

Check out the support page for our phone number and hours

error-close