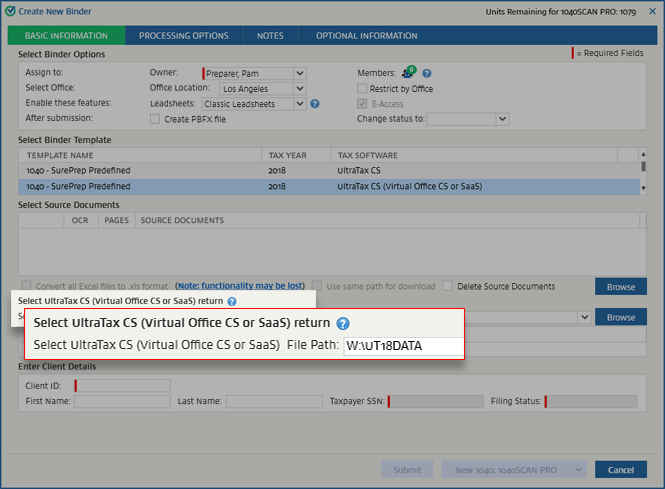
The
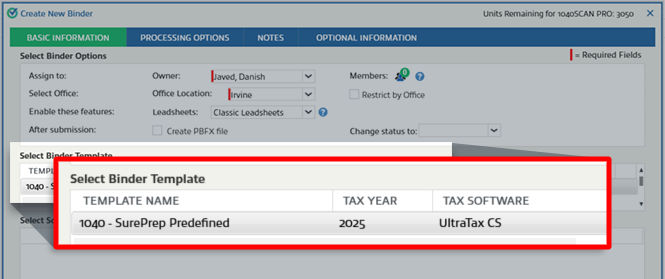
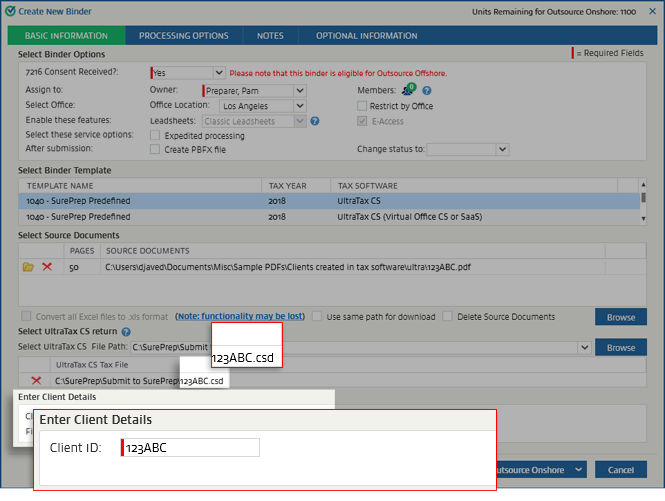
Create New Binder
wizard will open. Under
Select Binder Template
, select the template with the tax year and
UltraTax CS (Virtual Office or SaaS)
as the tax application.
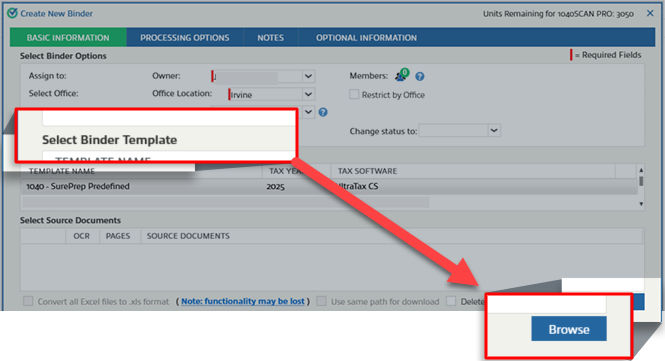
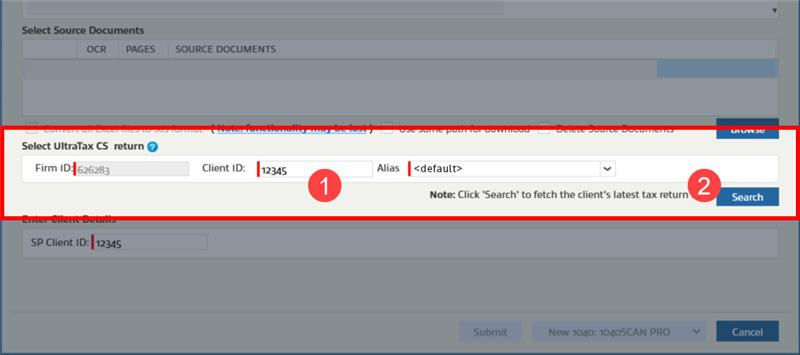
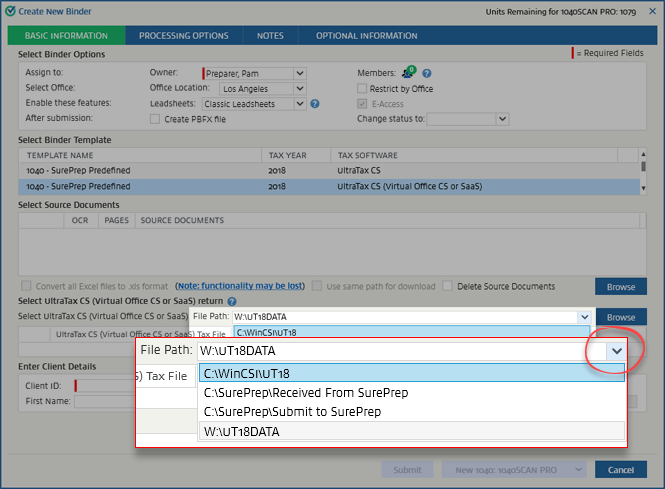
Under
Select UltraTax CS (Virtual Office CS or SaaS) return
, the folder path set in
Tax File Activation
, then
UltraTax CS
will be displayed by default in
Select UltraTax CS File Path
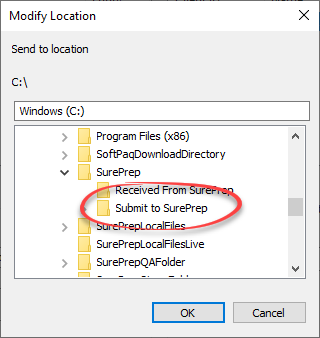
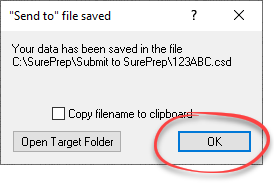
. View Tax File Activation for UltraTax CS To automatically match the client tax file, select the same path (that is, Submit to SurePrep) where you saved the client's CSD file earlier.