
Deploy Author Online via shared folder
The Author Online add-in can be installed through the shared folder option. This section outlines the process of deploying Author Online without the office store by placing its manifest file in a shared network folder, configuring Word's Trusted Add-in catalogs to reference that folder, and directing users to install the add-in from the shared folder tab.
To download manifest file, click here. This file contains the necessary metadata for Office applications to recognise and enable the add-in.
Part 1: Upload the manifest file via network path
- Create a folder namedmanifestin yourDownloadsfolder.
- Place the downloadedmanifest.xmlfile into the newly created folder.
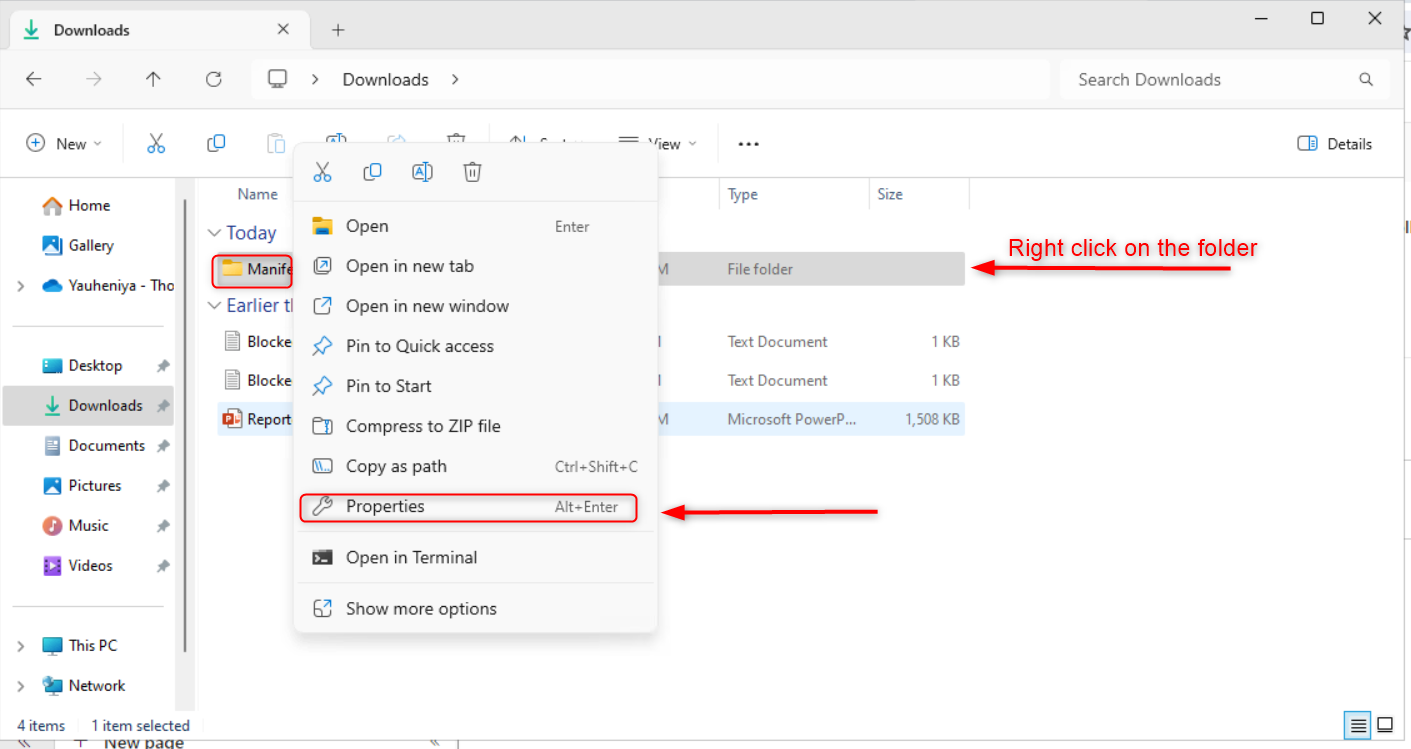
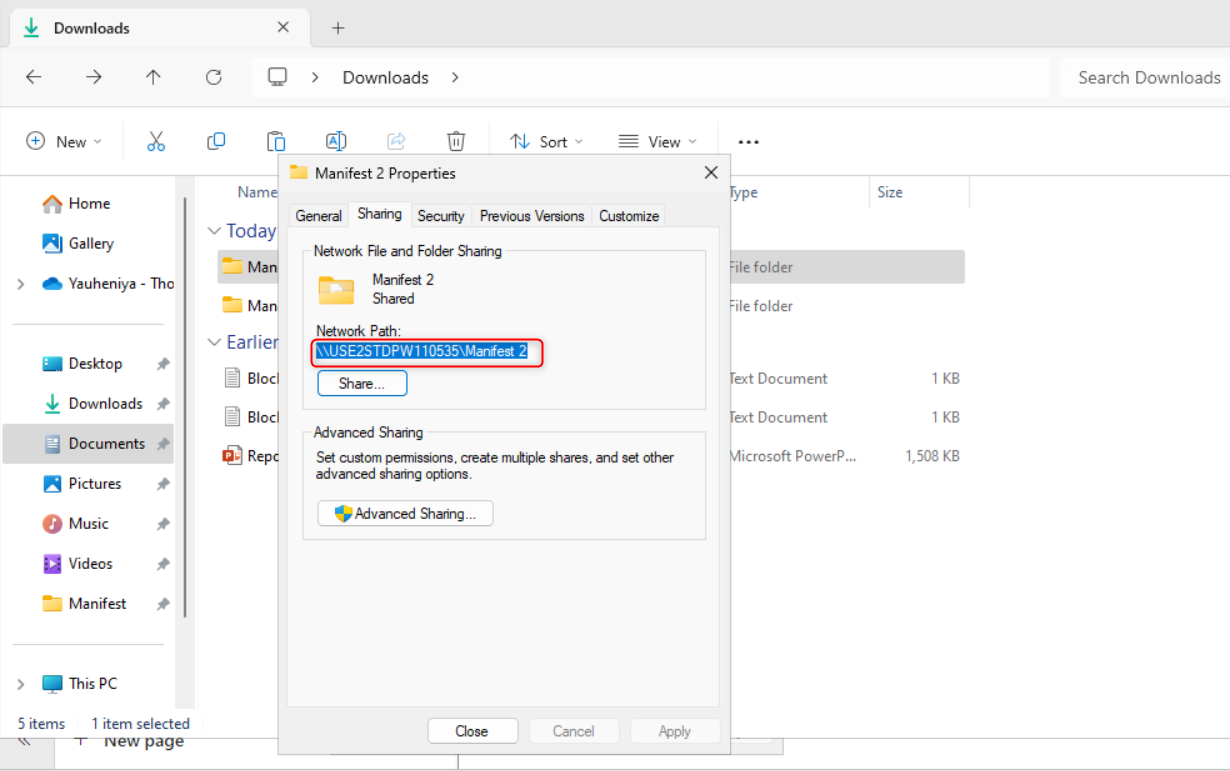
- Right-click themanifestfolder and selectPropertiesfrom the context menu.
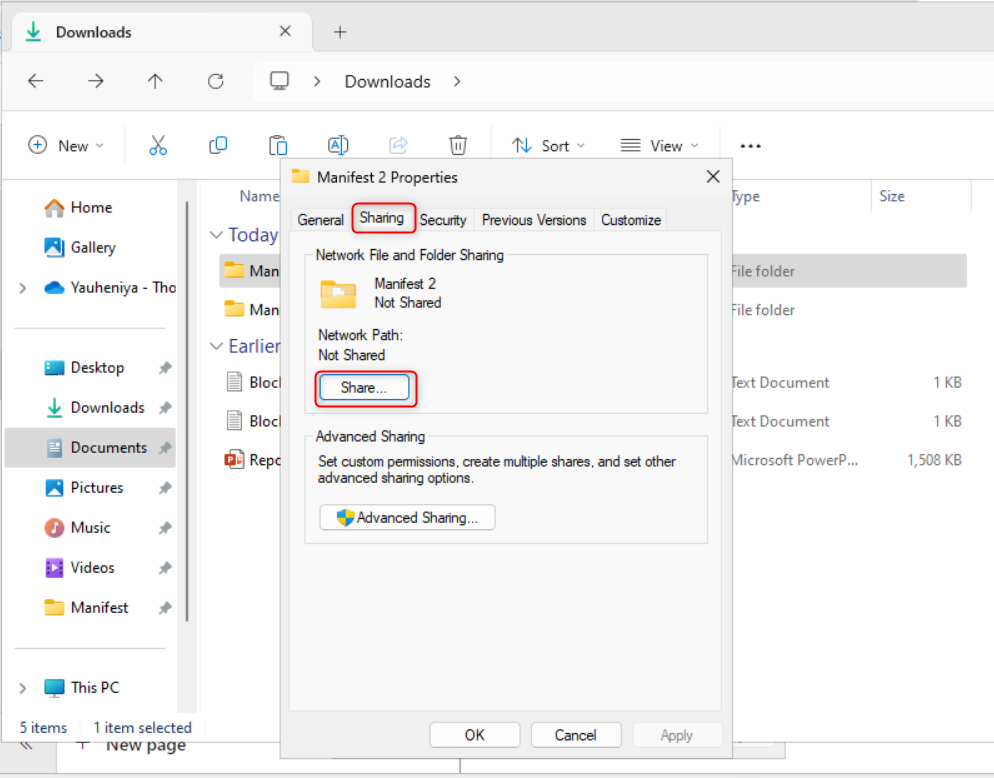
- Go to theSharingtab in the folder's Properties window, then clickShare.
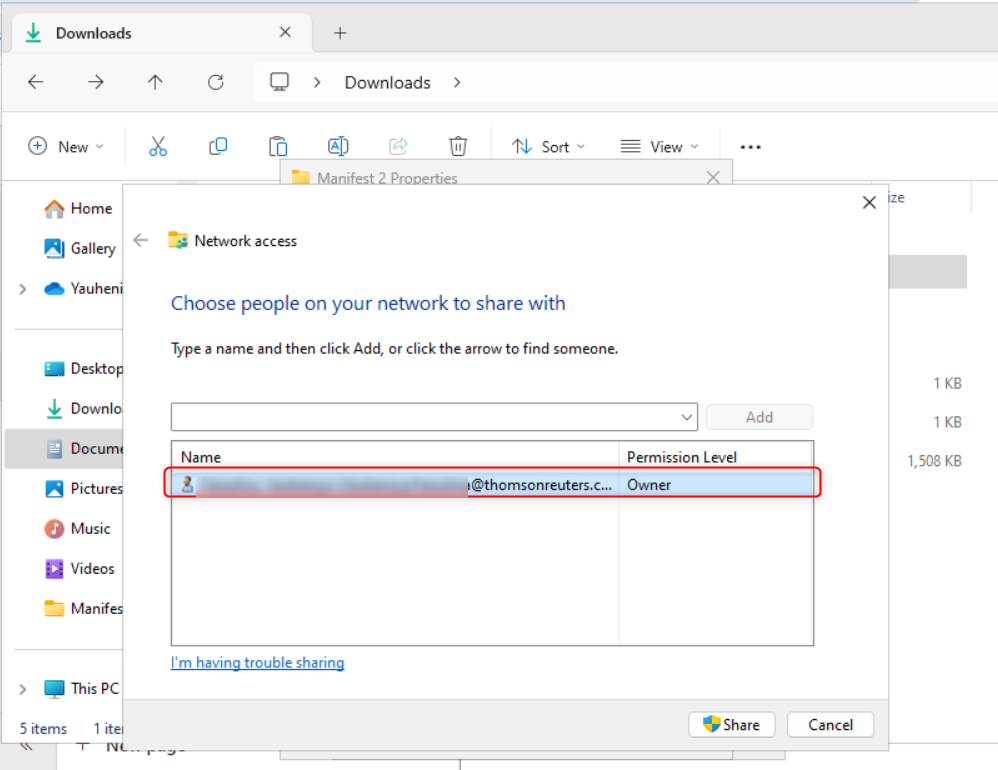
- In the sharing window:
- Select the row that displays your username.
- Click theSharebutton at the bottom of the window.
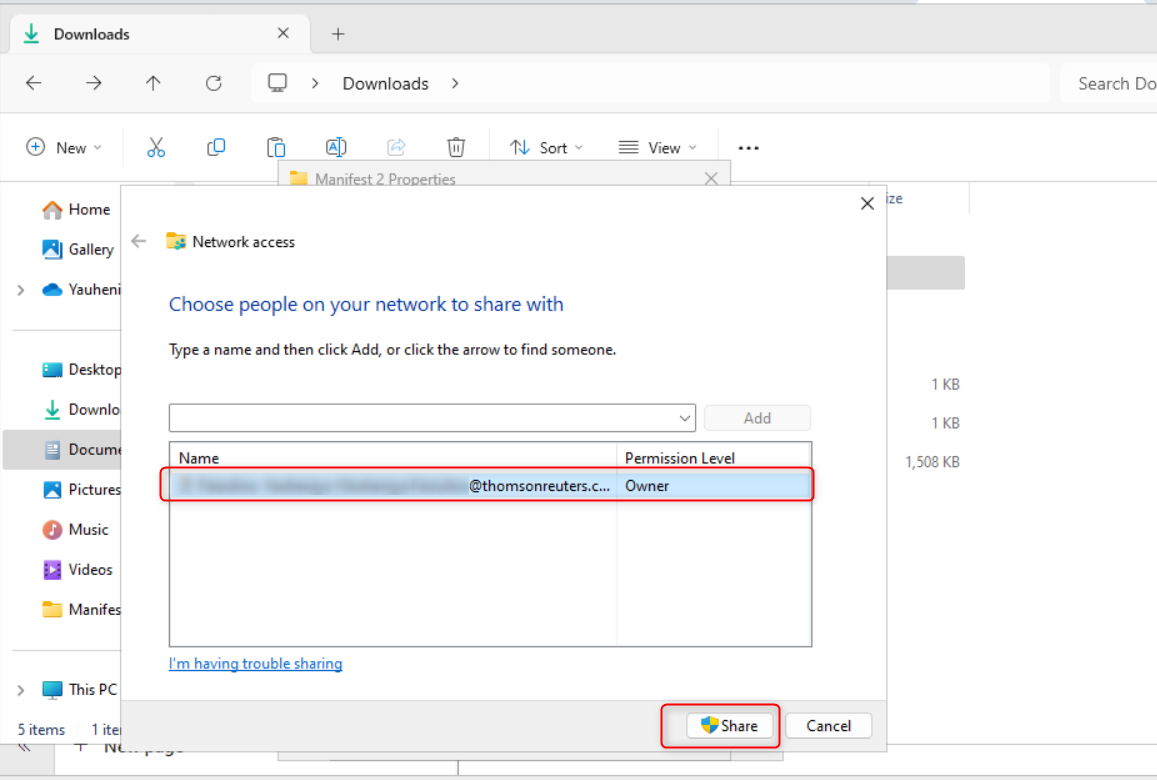
- In the confirmation pop-up, clickDoneto complete the process.noteOnce shared, themanifest.xmlfile will be accessible via anetwork path, typically shown as aUNC (Universal Naming Convention) path, for example, \\ComputerName\manifest. Make sure tocopy and save this pathfor easy access later in the deployment process.
Part 2: Add the add-in to the Word document
- Open theWord document.
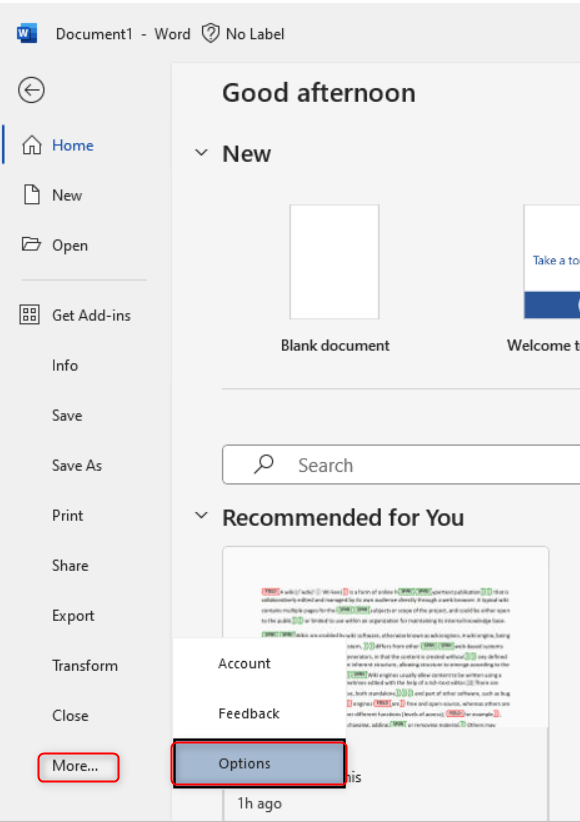
- Navigate toFile>More>Options.
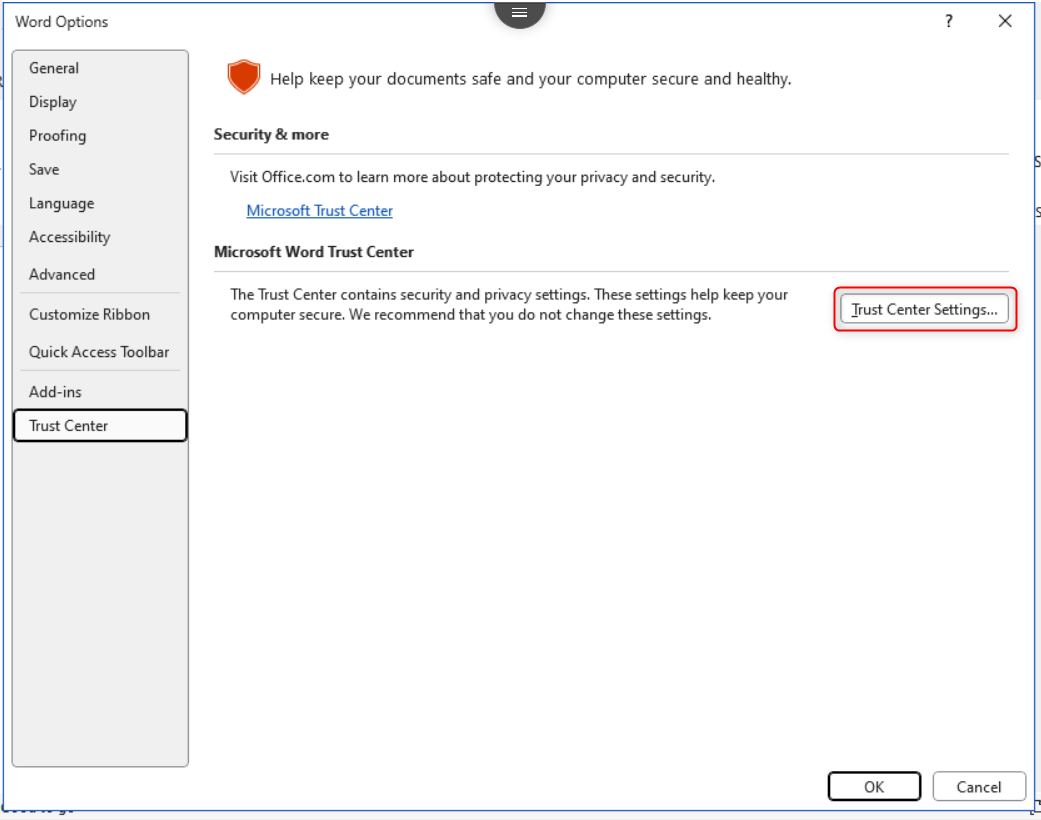
- Go toTrust Centerand clickTrust Center Settings.
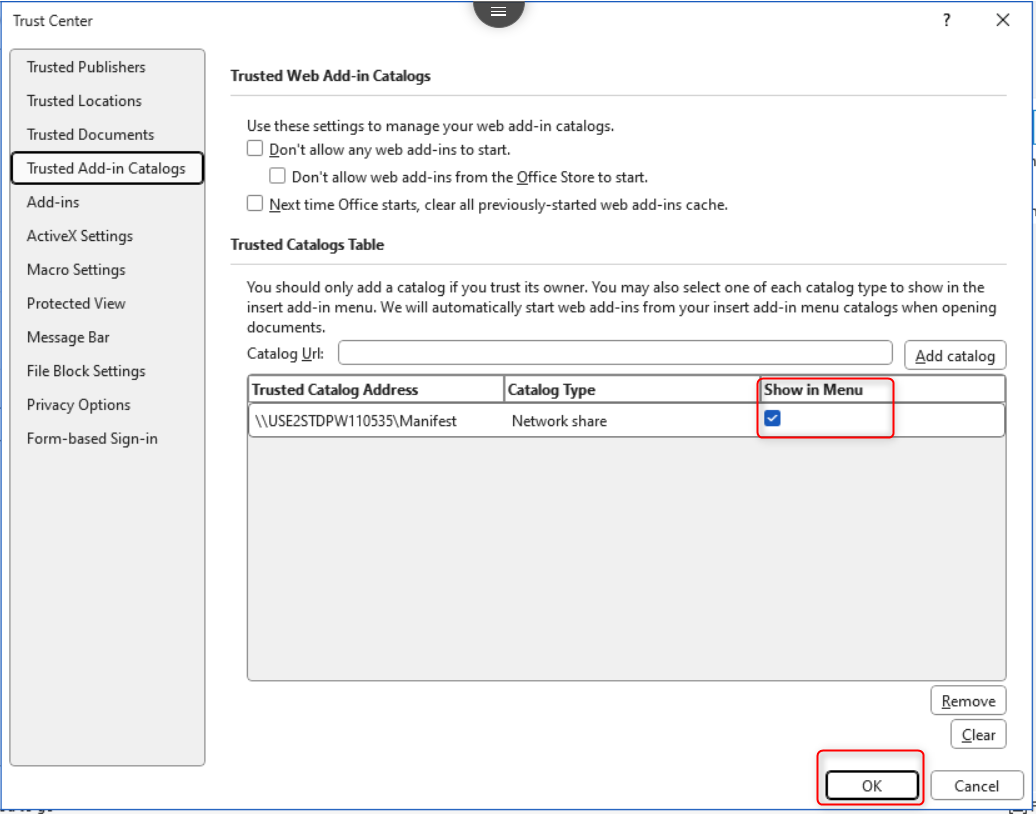
- SelectTrusted Add-in Catalogs.
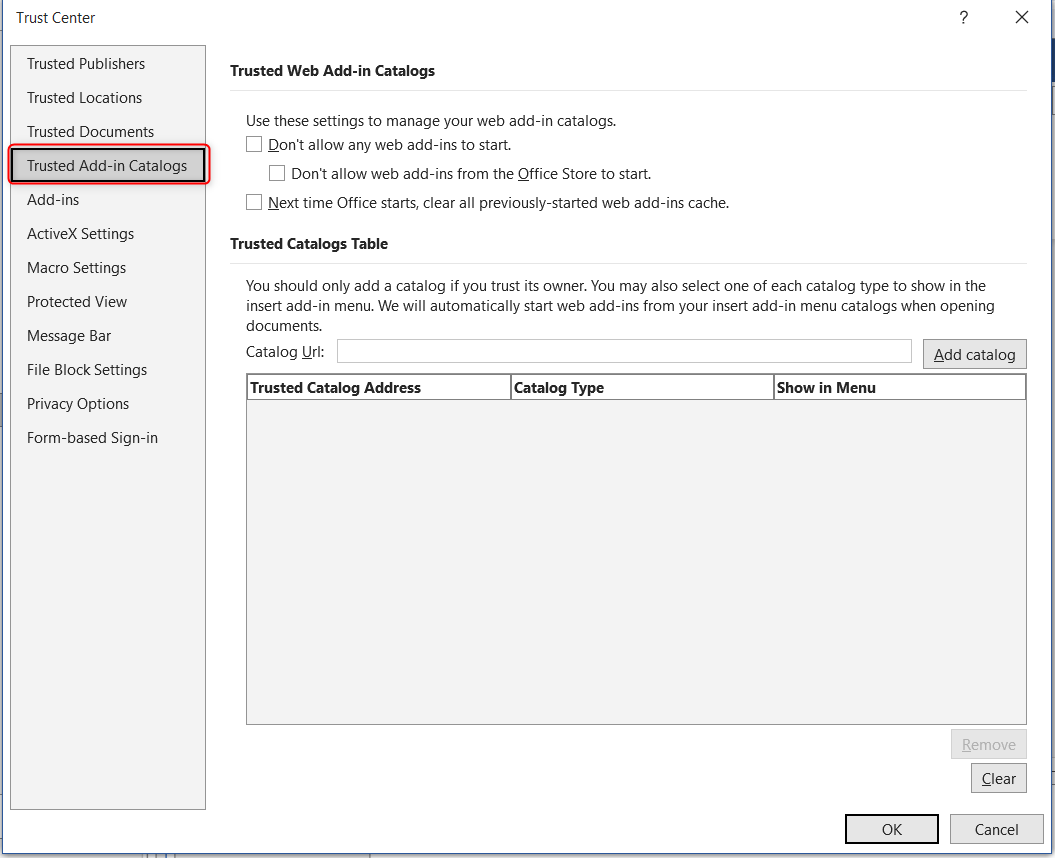
- In theCatalog URLfield, enter theUNC pathcopied earlier (for example: \\ComputerName\manifest).
- ClickAdd catalog.
- Check the box forShow in Menuand clickOKto close all tabs.
- Restart your computer to apply the changes.
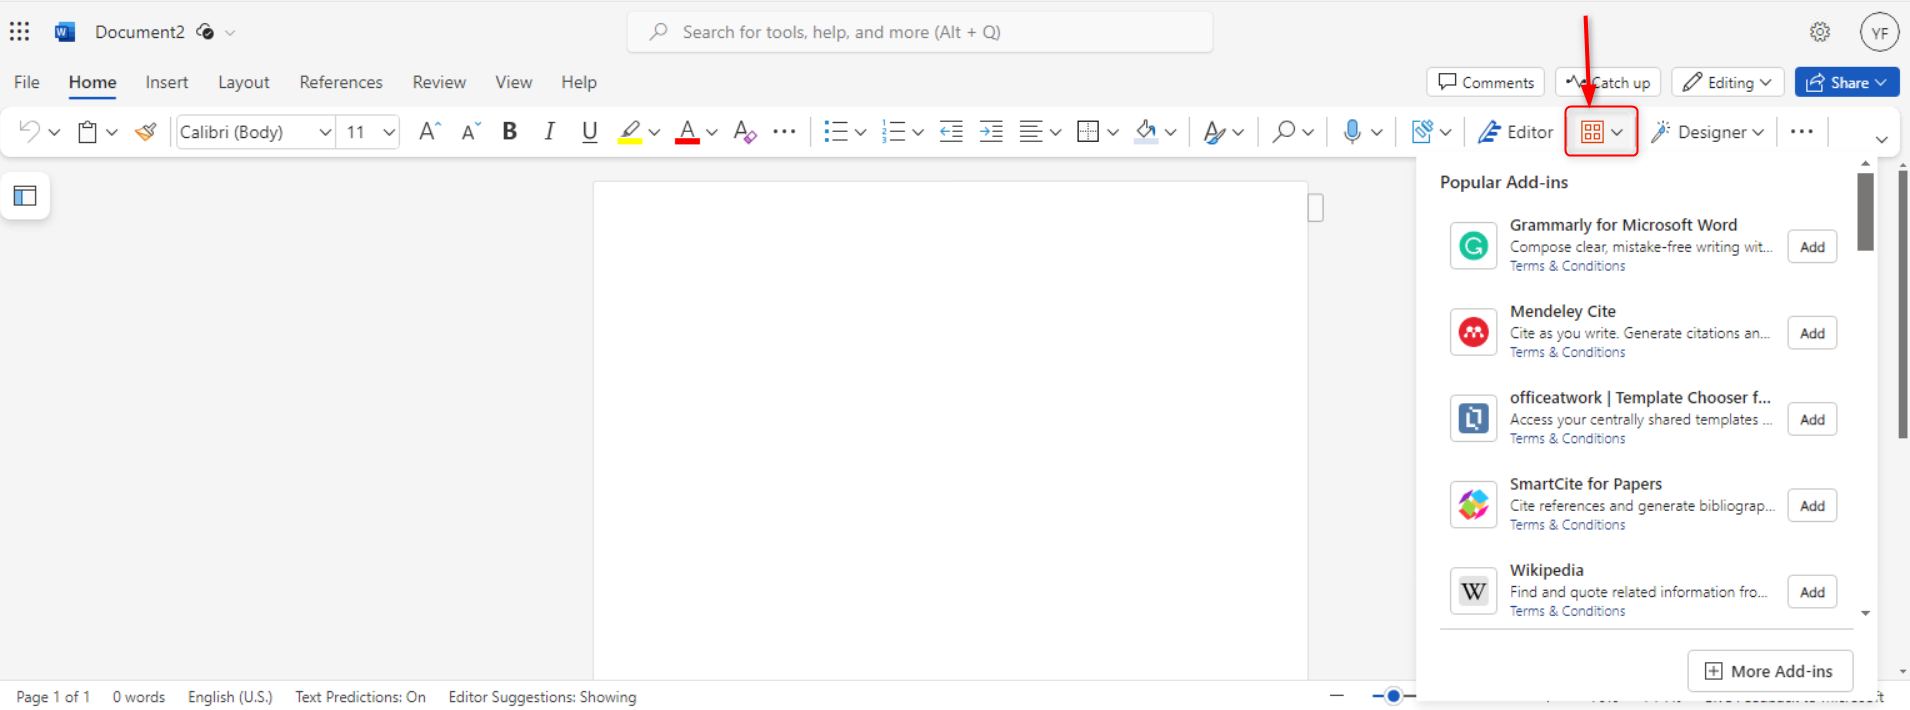
- Open Word and click theAdd-insbutton from the toolbar.
 noteIf the ribbon is hidden or collapsed:
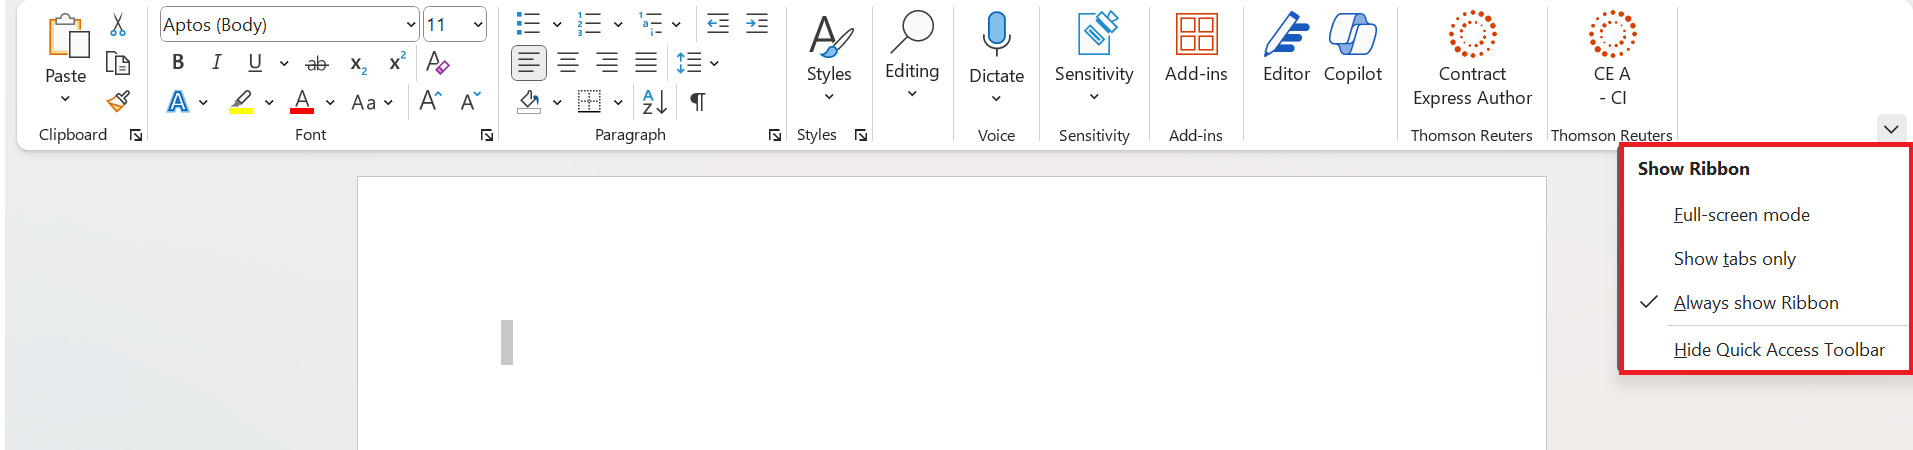
- Click the icon in the top-right corner labelledRibbon Display Options.
- SelectAlways show Ribbon.
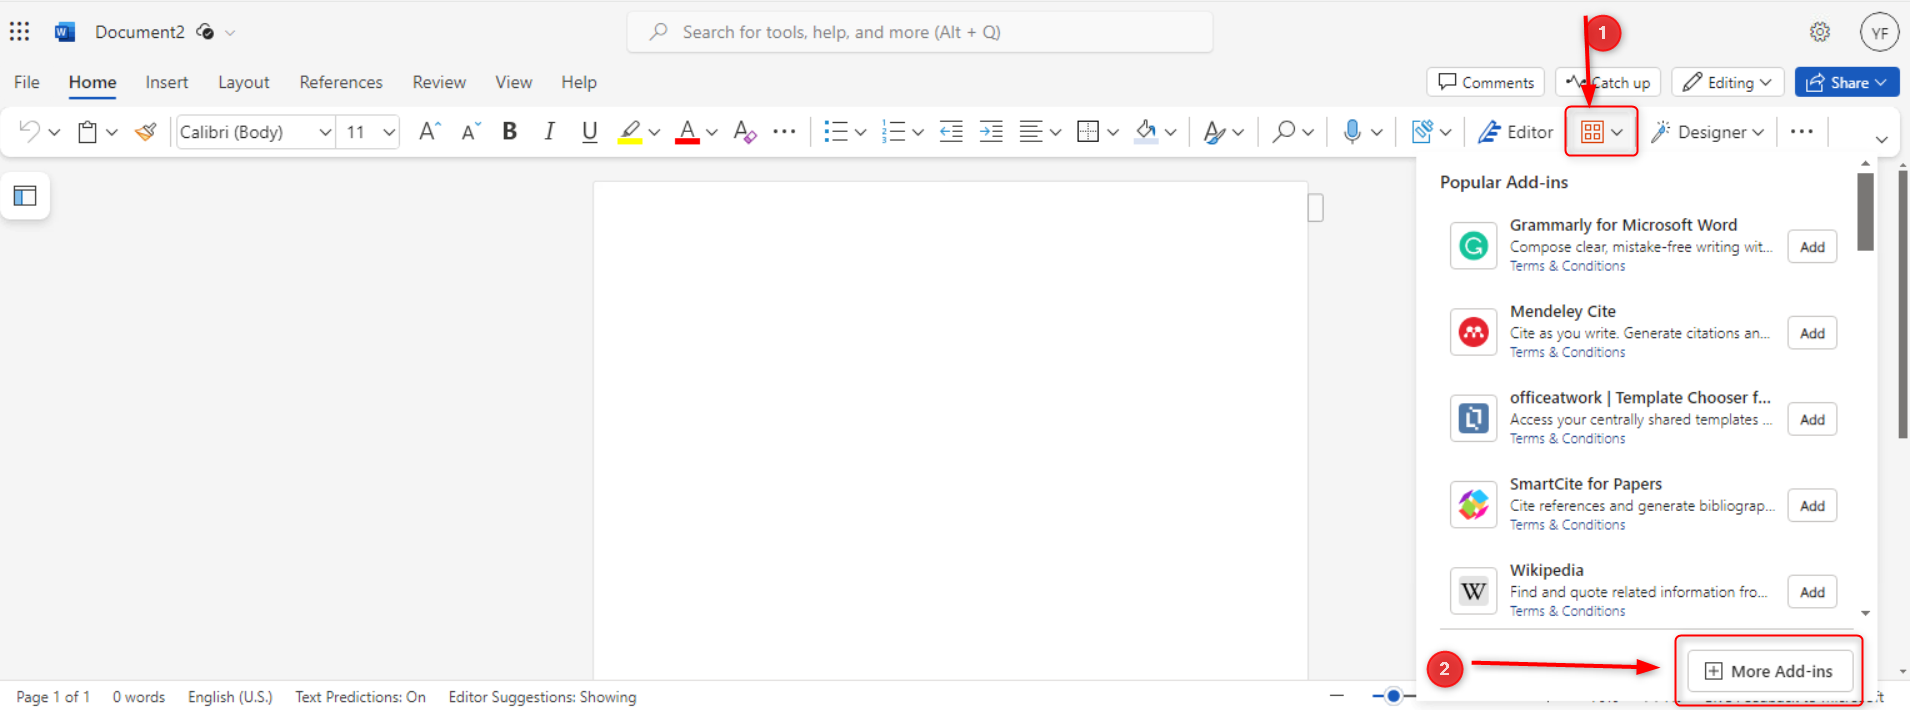
- ClickMore Add-insand go to theShared Foldertab.
- Choose the availableContract Expressadd-in from the shared folder tab and clickAdd.

- You should now see theContract Expressicon on the ribbon.

- Click the icon to open the Contract Express task pane.
For more comprehensive instruction, see Microsoft's help article on Sideloading Office Add-ins on Windows from a network share.
Common Issues and Fixes
1) I don't see the shared folder tab
Confirm that you checked
Show in Menu
when adding the catalog and verify that the UNC path points to the folder (not the XML file inside it).2) Can't share a folder or missing the sharing tab?
Open Advanced sharing settings and enable the
File and printer sharing
option.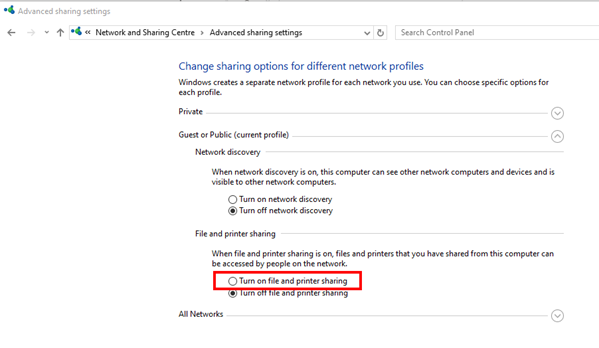
If you don't have permissions to change this setting, contact your IT support team to grant share and read permissions.
Support
If you encounter issues or require further assistance, contact your IT administrator, or reach out to Author Online support for help with your deployment.
Related Content
-
Install Author Online when the office store is unavailable
Format: Article