
Adding a New Policy
Use this screen to add a new policy into the system.
On the
Main Menu
select either Commercial or Personal Lines
. The side menu dynamically changes depending what you select.You can also select
Data Setup > Personal Lines Data Setup > Policy Types
.- On the side menu selectAdd New.

- Enter thePolicy Number.
- Enter theFirst Named Insured.
- On the side menu selectContinue.
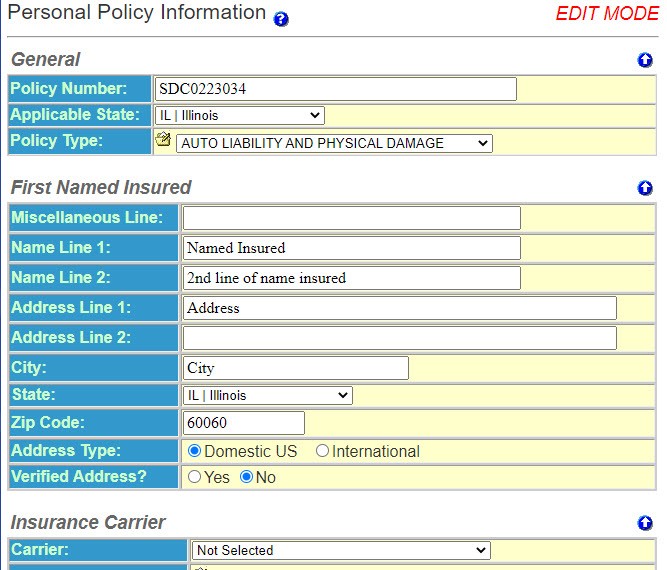
- Enter theGeneralinformation.
- Policy Number - The policy number defaults from the previous screen.
- Applicable State - The state whose laws apply to the notice.
- Policy Type - Select the policy type from the drop-down list. These policy types can be renamed toUtilities.
- Enter theFirst Named Insuredsection information:
- Miscellaneous Line – This is an optional field. It prints above the name of the Insured and appears in a window envelope. It can be used for the Account Number, Policy Number or any other character string. Using the Miscellaneous Line allows you to find your file if the notice should come back from the Post Office as undeliverable.
- Name Line 1 – First line of the Insured Name. This defaults from the previous screen.
- Name Line 2 – Second line of Insured Name, if applicable.
- Address Line 1 – First line of the Insured’s Address.
- Address Line 2 – Second line of the Insured’s Address, if applicable.
- City – City in the Insured’s Mailing Address
- State – State in the Insured’s Mailing Address. You can enter this from the drop-down list or, once the field is highlighted, enter the first letter of the state until the appropriate state appears.
- Zip Code – Zip code in the Insured’s Mailing Address
- Address Type – Indicate if this is a domestic or international address.
- Verified Address? - Indicate if you have verified this address.
- Enter theInsurance Carrierinformation.
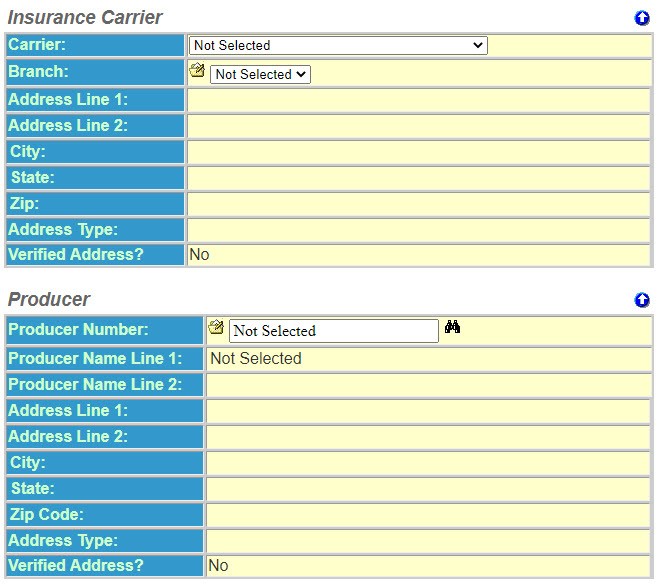
- Carrier – The insurance company writing the policy.
- Branch – Select the appropriate Branch Description. This will pre- fill the address of the carrier. This address prints below the name of the Carrier at the top of a notice.
- Enter theProducerinformation:
- Producer Number – The number you have assigned your Producer or Agent. You can select this from a list by selecting the binoculars icon. If you have supervisor rights, you will see the file folder next to the number field. Selecting the file folder allows you to add a newProducer. Once you select one, theProducerinformation is automatically filled.
- Continue to theAdditional Interestssection.