
Adding Custom Advance Days
Use this screen to add the address of the issuing office or the office the insured would contact for more information.
- On theMain Menu, selectUtilities > Data Setup.
- Select eitherPersonalorCommercial Lines Data Setup.
- SelectCustom Advance Days.
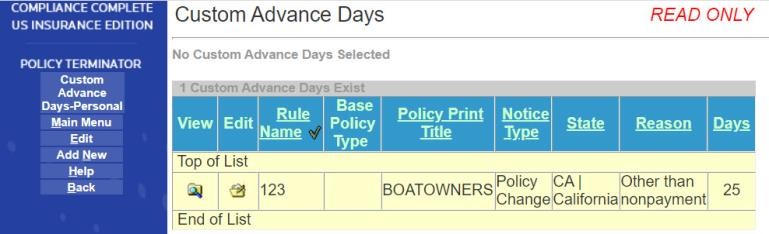
- On the side menu, selectAdd New.
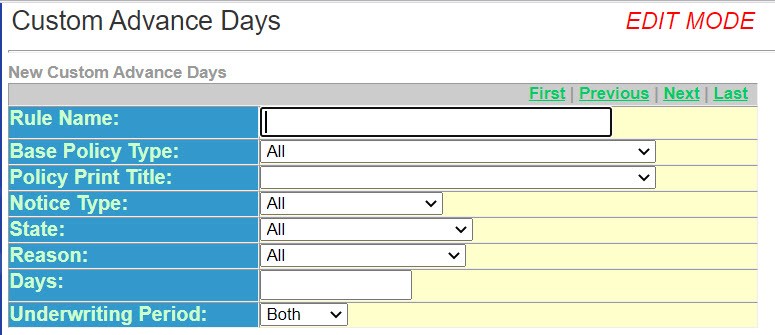
- Enter theRule Name. This is an identifying code for this specific situation.
- Select theBase Policy Type(The policy type to which this rule applies) from the drop-down list.
- Select thePolicy Print Titlefrom the drop-down list.
- Select theNotice Type(The notice type to which this rule applies) from the drop-down list.
- Select theState(The state(s) in which this rule applies.)
- Select theReasoneitherOther Than NonpaymentorNonpayment.
- Enter the number ofDaysthe notice is assigned.
- On the side menu selectSave and Return.