
Classification Search
The
Classification Search
screen provides the capability to search against the entire ONESOURCE Global Classification database at both the global and individual country levels. The search features on this screen enable you to create your own customized queries. This screen can be opened by choosing Classification Search
from the main Classification
menu.Any number of search parameters (Product Number, Product Description, HS Number, Country of Origin, PGA, etc.) can be used to create a search. Once a useful search is created, the user can save it for private use or export the search to other users within the same client partner.

Creating a Search
To begin using the
Classification Search
screen, select a Country View from the Choose Source
drop-down. For the standard China AEO Solution, there are two default profiles: China and Global.
Once a country view is chosen, the
Source Columns
dynamically change to display all available fields for the selected country.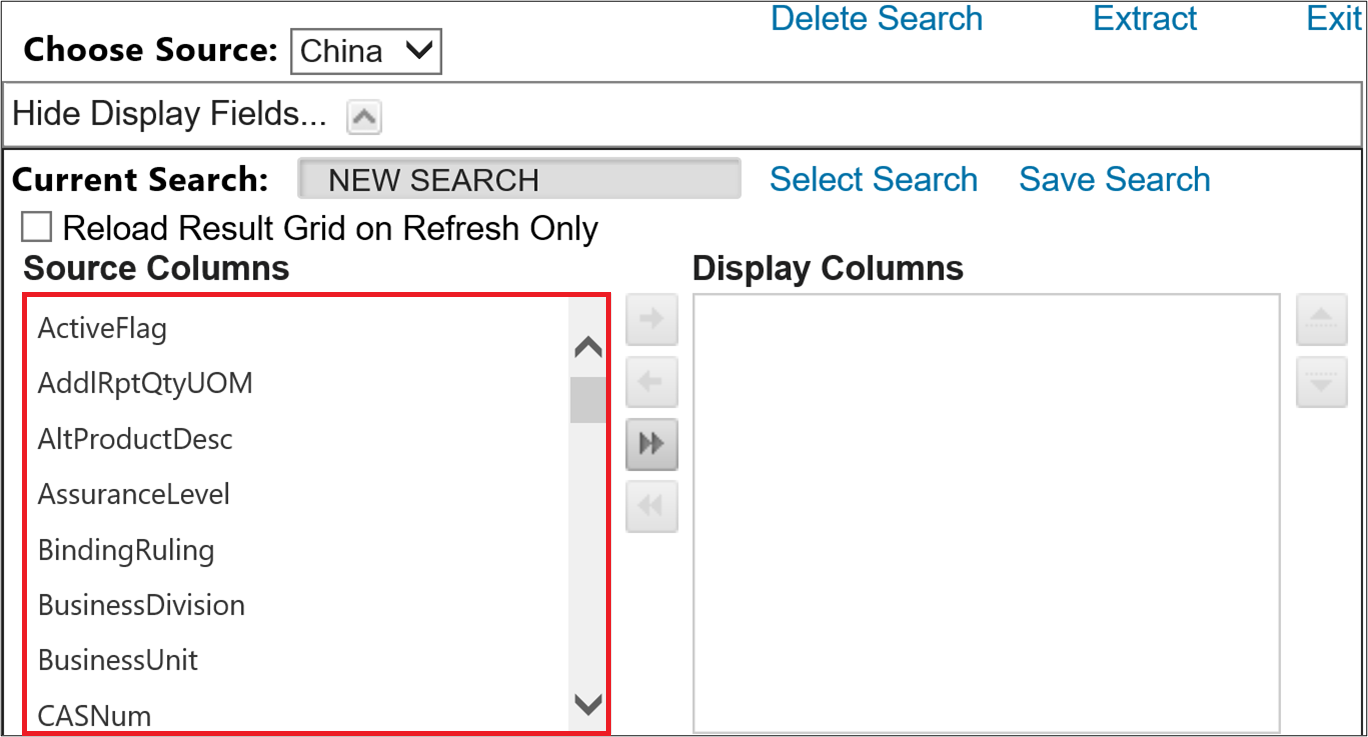
Display Fields
After a country source has been determined, the next step is creating the data set. Any field listed in the
Display Columns
section will be added as a column header in the Search
grid at the bottom of the screen.To add a field from the
Source Columns
list to the Display Columns
list, perform one of the following actions:- Click and drag the field name from theSource Columnstable to theDisplay Columnstable.
- Click on the field name in theSource Columnstable, and then click the single right arrow to move the field to theDisplay Columnstable.
- Click the double right arrow to move allSource Columnsfields to theDisplay Columnstable.
To move a field from the Display Columns list back to Source Columns, click on the field to be moved and then click the single left arrow.
To move a field from the Display Columns list back to Source Columns, click on the field to be moved and then click the single left arrow.
Clicking the double left arrow will move all fields back to Source Columns.
To change the order of the fields listed in
Display Columns
, you can either click and drag the fields or use the up/down arrows on the far right.Parameters
Classification Search
makes it possible to search for a specific value or values within a dataset by adding parameters or functions. Parameters can be added by clicking Add New Parameter
below the Source Columns and Display Columns
tables.
The following parameters are:
- Equal To
- Less Than
- Less Than or Equal To
- Greater Than
- Greater Than or Equal To
- Contains
- Does Not Contain
- Starts With
- Ends With
- Is Empty
- Is Not Empty
The
Search Parameter
list displays all the columns in the Display Columns
list. The Comparison list displays all available parameters (see list above). The Value
textbox is used to define the parameter to apply. Click Insert
to add the parameter or Cancel
to drop all changes.
To modify an existing parameter, click
Edit
.
Make any necessary changes, and then click
Update
.
To delete an existing parameter, click
Remove
.
Functions
Functions work similarly to parameters but are used for mathematical calculations. Functions can be added in conjunction with a parameter. Multiple parameters and functions may also be added to one search.
The following functions are available to be added to numeric columns:
- Sum
- Mean
- Count
To add a function, click
Add New Function
below the parameters grid.
Parameters | Meaning |
|---|---|
Columns | Displays all fields within the Display Columns table. |
Function | Displays all available functions (listed above). |
To apply a chosen function to a column, click
Insert
.
The result will display in the
Result
column next to the Function
list.
If a function was chosen to be run against a non-numeric column, an error message will appear:

Deleting Searches
To delete a search, select
Delete Search
. This deletes the current search and clears the Search
screen.
Saving Searches
The
Classification Search
screen allows you to save searches for future use. Once you define search parameters and want to use the search again, the current search can be saved using the Save Search
feature.To save a search, click
Save Search
.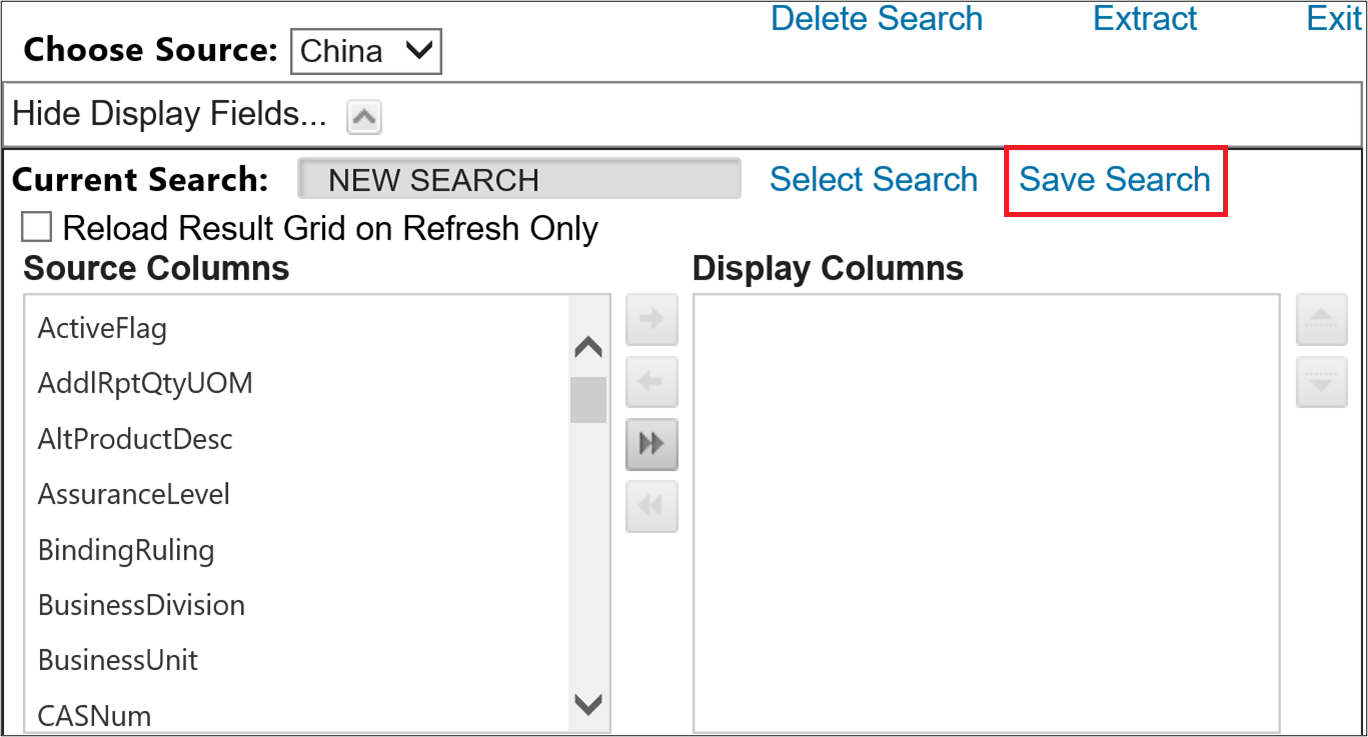
Clicking
Save Search
will open the Save Search
pop-up, which will ask for a Search Name, a Search Category, and whether or not the search is to be shared with other users. A description can be added to the search to make it easier to locate.To retrieve and open a saved search, use the
Saved Searches
drop-down.
New Searches
To begin a new search, scroll to the bottom of the
Classification Search
screen and click on the New Search
tab. Add new search parameters as described in the Using the Search Screen
section.
Once search parameters are defined, a search can be saved for future use. To save a search, return to the
Display Fields
section of screen and then click Save Search
.Clicking
Save Search
will open the Save Search
pop-up. Complete all required fields, and then click Save Search
.
Save New Search to Existing Category
To save the search under an existing category, click the
Use Existing
button and then choose a category from the corresponding drop-down. The tab name in the Report Fields
section will change to the name of the newly saved search.
Save New Search to New Category
To save the search under an existing category, click the
Use Existing
button and then choose a category from the corresponding drop-down. The tab name in the Report Fields
section will change to the name of the newly saved search.
Sharing a Search
Saved searches can be shared with other ONESOURCE Entry Verification users. To share the search, click on the
Share this search?
drop-down and click Yes
.
Search Descriptions
Searchable descriptions can be included to make it easier to find a specific saved search. Once saved, key words in the description can be used to locate similar searches or to find a saved search.
Retrieving Saved Searches
To open a saved search, return to the
Display Fields
section of the Classification Search
screen and then click Select Search
.
Clicking
Select Search
will open the Saved Searches
pop-up.The available tabs are search categories created by the user plus the
Shared Searches
shared among other system users.To open a search, choose a search from the list and click its corresponding link on the left.
Editing/Copying Saved Searches
Saved searches can be reviewed, modified, or copied as a baseline for a new search.
Editing an Existing Search
To edit an existing search, open the search as described in the
Retrieving Saved Searches
section of this User Guide. Once the search has loaded, modify the search parameters as listed in the Search Fields
section of this User Guide.If the name, shared status, or description needs to change, go to the
Display Fields
section of the Classification Search
screen and click Edit Search
.
Clicking
Edit Search
will open the Edit Search
pop-up. Make any necessary changes and save.
Copying a Saved Search
To copy a saved search, open the search as described in the
Retrieving Saved Searches
section of this User Guide. Once the search has loaded, click Copy Search to New
.
Make any necessary changes and save.
Extracting Searches
To extract the search results to Microsoft Excel, click
Extract
.
Once the extract is complete, open or save the report to the local drive.

Related Content
-
Global Classification
Format: Article