
Rearranging Report Order Elements
To rearrange the order of report elements, use one of the five methods listed below:
Adding Order Elements (Method 1)
In the
Report Builder
screen, go to the Fields
box and choose a field.
Click and drag the field to the
Ordering
box on the right and release.
Adding Order Elements (Method 2)
In the
Report Builder
screen, go to the Functions
box and click the expansion arrow to see all available functions.
With the
Functions
box expanded, choose one of the available functions.
Click and drag the function to the
Ordering
box on the right and release.
Adding Order Elements (Method 3)
Go to the
Ordering
box and click the +
on the far right.
A drop-down will appear on the screen. From the drop-down menu, click
Add Field
.
When the
Field Selection
pop-up opens, click on Add a field
… and begin typing the name of the field to be added.
This field has type-ahead capabilities. As the field name is entered, a drop-down list of available fields matching those letters becomes available. Click on a field name from the list to select it.

Once the field name has been selected, click
Save
.
Adding Order Elements (Method 4)
Go to the
Ordering
box and click the +
on the far right.
A drop-down will appear on the screen. From the drop-down menu, click
Add Function
.
When the
Function Selection
pop-up opens, choose a function from the list and then click Select
.
Enter the function information (Result Column Name and Field), and then click
Save
.
Adding Order Elements (Method 5)
Choose a field or function from the
Selected Items
box to move to the Ordering
box.
Click and drag the field or function to the
Ordering
box and release.
Editing Order Elements
To change the
Order By
element direction, click the carat icon in the order item display box.
Removing Order Elements
To remove an order element, choose an element to be removed. Once an element is selected, click the element’s
X
icon in the order item display box.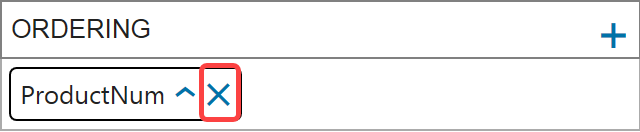
The element will then be removed from the report.
Related Content
-
Report Builder
Format: Article