
Entry Management
The
Entry Management
tab assists with the management of entries in the system as they move through the post-entry review process. This tab can be configured to display key data such as:- Notification of errors (as they occur)
- Description of the nature of the error at the Validation Group level
- Entry Status within the post-entry review process
- Whether or not an entry has been assigned to an individual
- Any notes associated with an entry
Viewing Detailed Entry Information
To view more detailed information about the actions taken during a PER, choose an entry from the grid and click its corresponding
View
link in the Notes
column.
The system can be configured to hide the note count. When this feature is enabled, the screen will look similar to the screenshot shown below:

After you click
View
a pop-up window opens, containing the following information about the entry:Entry information | Description |
|---|---|
Summary/Status Note | Displays the following:
|
Internal Note | Displays internal notes added to the entry. Additional information on how to add internal notes is provided in the Entry Validation screen section. |
External Note | Displays external notes added to the entry. Additional information on how to add external notes is provided in the Entry Validation screen section. |
Validation Notes | Displays Reason Codes selected during post-entry review. Additional information on how to add Reason Codes is provided in the Entry Validation section of this User Guide. |
Govt Validation Note | Displays notes added to the entry through the Government Data Validation screen. Additional information on this type of note is provided in theGovernment Data Validation section of this User Guide. |

Viewing Supporting Documents
The
Entry Management
tab also allows you to view supporting documents attached to the entry.To view supporting documents attached to an entry, choose an entry in the grid below and click its corresponding
Docs
link in the Documents
column.
After you click the
Docs
link, a pop-up window displays that contains all attached supporting documents (e.g., Commercial Invoice, Packing List, Letter of Credit, etc.). To open a document, choose a document from the grid and click its corresponding link in the
Document
column.
Data Columns
The fields displayed on the
Entry Management
tab are configurable and may vary from the screenshots displayed in this help documentation.Columns | Description |
|---|---|
Entry Num | The identification number for the entry filed with Customs. |
Entry Date | The date the Entry Summary was filed with Customs. |
Liquidation Clock (Optional) | The number of days left until the entry is liquidated. The Liquidation Clock capability is explained in more detail under theLiquidation andWork Queue tab sections of this help documentation. |
Validation Group Errors | If the entry has errors in either Validation Group, they will appear in this column. |
Status Field (Optional) | This drop-down menu tracks the entry’s status as the entry moves through the review process. |
Assigned To (Optional) | This drop-down menu makes it possible to assign specific entries to individuals involved with the entry review process. Assignments display under the Work Queue tab. TheAssigned To capability is explained in more detail under the “Work Queue” tab section of this User Guide. |
Priority | This drop-down menu allows you to set a priority level for the entry. |

Validation Group Configuration
The
Entry Summary
screen can be configured to show multiple Validation Groups (e.g., Classification, Purchase Order, etc.).Each Validation Group has a pre-defined list of discrepancies or
Validation Types
that are used as part of the Entry Verification validation process to determine whether an entry fails (red X
) or passes (green check mark) against any of the Validation Group/Validation Type combinations. The concept of Validation Groups and Types is explained in more detail in the section covering the
Entry Validation
screen.
Extracting the Entry Management Grid
The data in the
Entry Management
tab can be extracted into a Microsoft Excel spreadsheet format. This can be done by clicking the Extract
button. The extract will take into account any filters that have been applied to the data.
Using the Advanced Filter Options
The
Entry Management
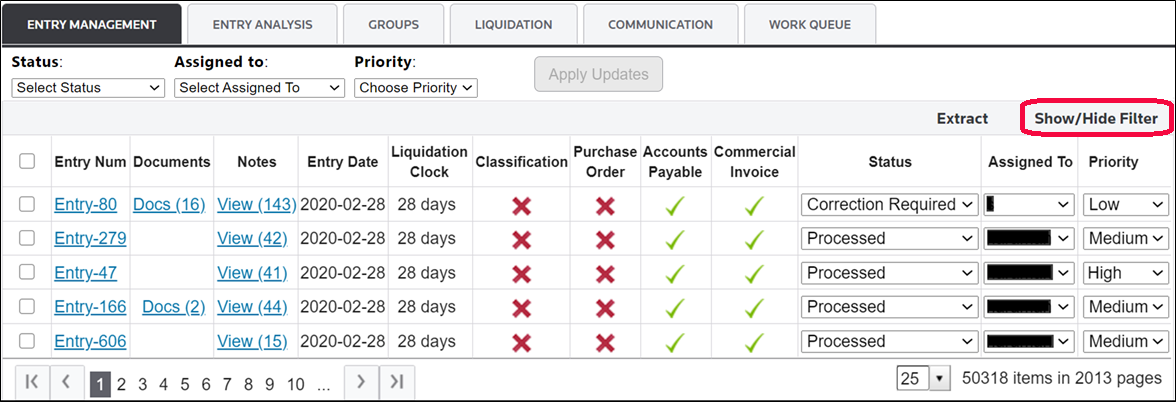
tab has advanced filtering capabilities that can be utilized to quickly locate specific information pertaining to an entry. To apply a filter to the Entry Management
grid, click Show/Hide Filter
. 
Once
Show/Hide Filter
has been clicked, a bar with filter fields will appear below the column headers. This means search options are now available. Choose a column to search by and enter a value into the field. After you enter a value, click the filter icon to the right.
Choose a filter option from the menu. Filter options will vary depending on column type (alphanumeric, date, numeric, time).

Once a filter has been selected, the grid will only display data matching the filtered parameters. More than one column can be filtered at a time to further narrow down search results. To extract filtered results, click
Extract
. 
If the available search fields contain a date, the filter will display a calendar. In these columns, a date (or date parameters) can be used to narrow a search.

The grid also allows for paging and setting the number of records displayed on the grid at one time. These features are located at the bottom of the grid.

Status
The drop-down menu in the
Status
column can be used to select a status for the entry, depending on where the entry is in the review process. 
The status options available in the drop-down menu are user-defined and can mirror certain steps in the entry review process. This drop-down menu can be configured based on security access to limit the number of users who can change an entry’s status.
In addition, statuses can be set either manually or automatically by the system, depending on performed tasks.

The status drop-down menu can also make the entry of notes mandatory once a status has been changed by a user. See below for an example of the
Add Notes
pop-up window that can appear when a status changes. Notes entered when a status changes are captured as part of the audit trail and are available under the Notes
column on the Entry Management
tab. 
Assigned To
The drop-down menu in the
Assigned To
column can be used to assign a specific entry to a specific individual involved in the entry review process. This drop-down menu can be configured based on security access to limit the number of users who can assign entries to other personnel. 
The
Assigned To
drop-down menu can also make note entry mandatory after a status is changed. 
Notes entered when a status changes are captured as part of the audit trail. These notes can be viewed by clicking a link in the
Notes
column on the Entry Management
tab. Priority
The drop-down menu in the
Priority
column can be used to assign an urgency-based priority to an entry. 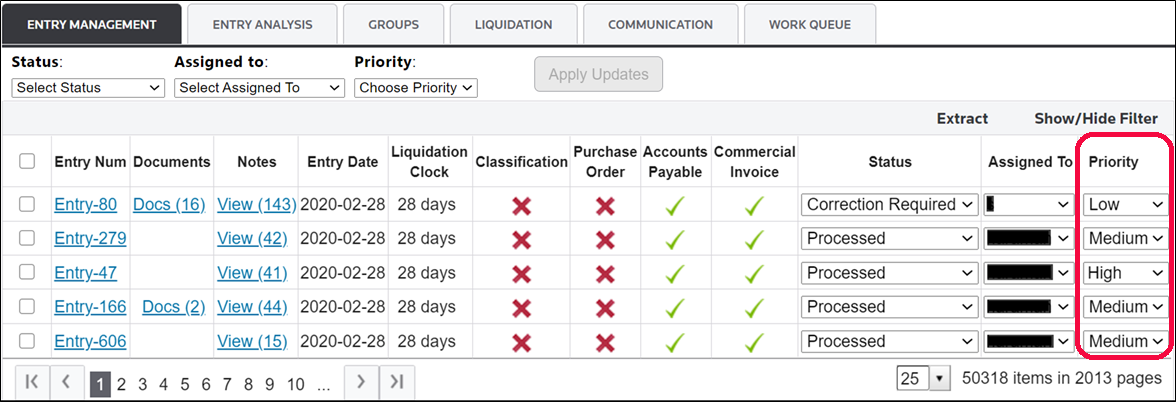
The
Priority
options available in the drop-down menu are user-defined and can mirror priority levels in the review of an entry. This drop-down menu can be configured based on security access to limit the number of users who can change an entry’s priority. 
The
Priority
drop-down menu can also make note entry mandatory once a status is changed. 
Notes entered when a status changes are captured as part of the audit trail. These notes can be viewed by clicking a link in the
Notes
column on the Entry Management
tab.Mass-Updating Entries
It is also possible to mass-update entries for the following categories:
- Status
- Assigned To
- Priority
- Business Status (if configured)
This can be done for a group of entries or even all entries shown on that page of the grid.

To perform a mass update, first determine which entries on the page should be updated. To update only specific entries, the entries’ checkboxes on the far left can be clicked individually, as shown below. To update all entries, check the box at the top of the column.

Once all entries to be mass-updated have been updated, the drop-downs above the grid can be used. One, all, or any combination of drop-downs can be used to complete a mass update.
The
Status
drop-down contains all statuses an entry can have within the ONESOURCE Entry Verification solution.
The
Assigned to
drop-down contains the names of all users within the ONESOURCE Entry Verification solution who can be assigned entries.
The
Priority
drop-down can be used to set a priority level for the selected entries.
Once one or more parameters for the update are set, the
Apply Updates
button will change colors, indicating that it is now usable. Click on the Apply Updates
button to apply changes to the entries selected.
After the
Apply Updates
button is clicked, a confirmation pop-up will appear on the screen. Click OK
to continue.
If configured to do so, the system may also request a note be added to the selected entries to provide a cause for the updates. Please select a reason from the drop-down and provide additional details in the text box beneath it. Next, click
Submit
.This note will appear on all selected entries for the update.

Once the changes are generated; a system message will appear on the screen, stating that the record(s) updated successfully.

Selecting an Entry
When initially opened, the
Entry Summary
screen will display information relating to all entries in the system.To view information pertaining to a specific entry, choose an entry from the
Entry Management
tab and click on the entry number.
Upon selecting the entry, the
Current Entry
field will contain the selected entry number. The screen and tabs will then only display information pertaining to the selected entry. The tab that automatically opens when an entry is selected may vary, as this is configured during implementation.In the example below, the
Entry Data
tab appears and opens when an entry number is selected.
Related Content
-
Entry Summary
Format: Article