
ABI: Lookup - Searching and Managing Entries
The
ABI Lookup
screen provides a high-level overview of all stored entries. From this screen, you can easily select which data is needed at that time. During implementation, a number of queries are added to the ABI Lookup
screen to display important information about the entries stored in the system. This screen can be opened by choosing ABI Lookup
from the ABI
menu.important
Note: Some users may also have access to the original Saved Queries screen, which displays the same information in a slightly more compacted view.
The docks on the
ABI Lookup
screen were configured during implementation to display key entry-related information you need at a glance to help quickly identify a particular entry or important attributes about an entry housed in the ABI product repository.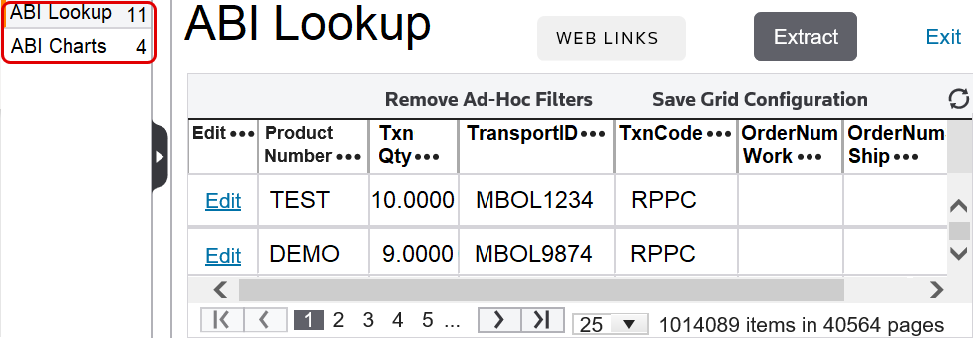
ABI Lookup Docks
Any number of configurable or client-specific queries can be found on the left side of the
ABI Lookup
screen. These queries show important high-level information concerning the entries stored in ABI and are referred to as docks. These queries can pull dynamic data to represent various milestones and will be configured to the client’s preference during implementation. Some examples of queries include:- New Entries
- Current CBP Rejections
- Entries with Hold Status
- Transmitted Entries
Next to each query title is a number in parentheses. This number indicates the number of records that will be returned for the query.
To open a dock, choose a dock from the
ABI Lookup
screen and click on the dock name.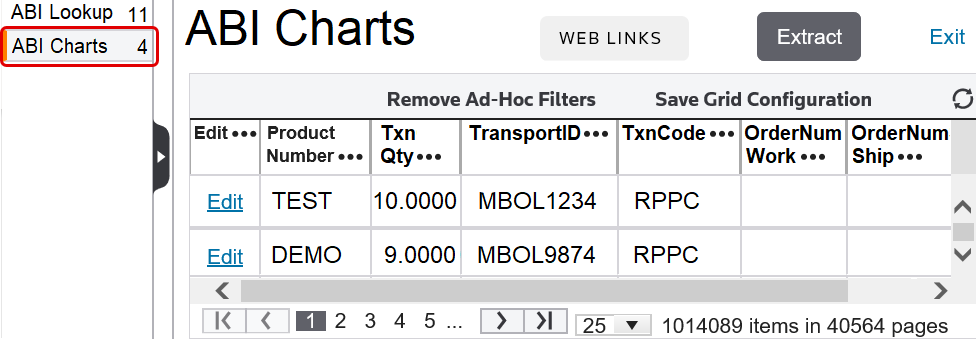
The
Refresh
button in the grid allows you to reload the query’s grid without completely reloading the screen.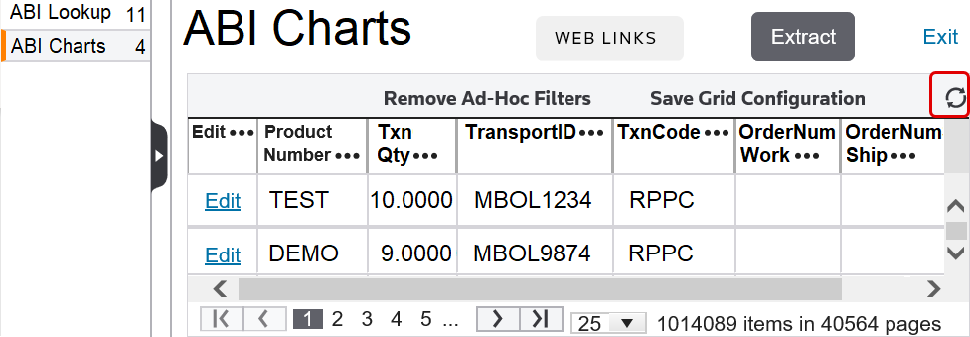
Editing a Lookup Record
To edit a lookup record, choose a record to edit and click
Edit
on the far left of the grid.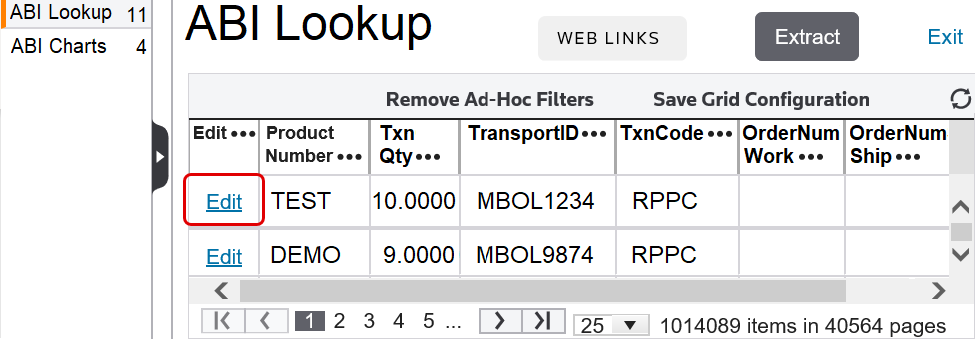
The
Edit
link will direct you to the Edit
screen for the specific record, facilitating the ability to update and compare all like records.After you access the
Edit
screen, you will have the opportunity to edit fields within that specific entry. Descriptions of fields that can be edited in an entry are provided in the sections below.
Lookup Action Links
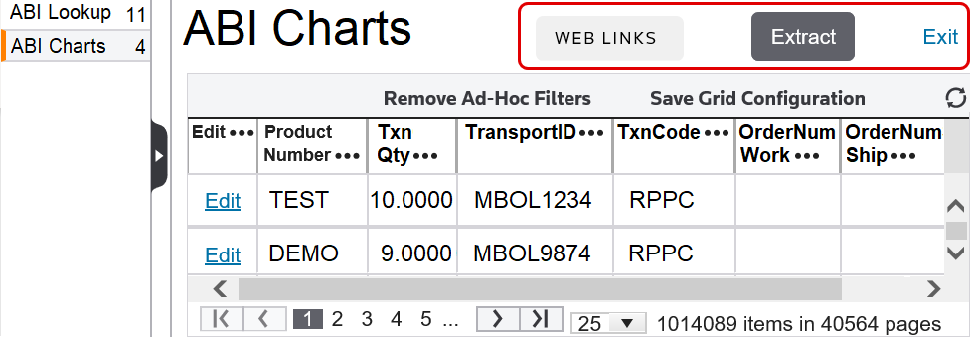
There are a number of functional links in the top right corner of the
ABI Lookup
screen.Functional links |
Description |
|---|---|
Web Links |
Provides a list of customizable links to external sites. Embedded links can be provided to other websites outside of the ABI module. If added during implementation, these links will display in the upper right of the ABI Lookup screen under theWeb Links drop-down menu. |
Extract |
Extracts the details currently being displayed on the screen to an Excel spreadsheet, allowing you to filter and extract a custom report directly from ABI Lookup . |
Exit |
Returns you to the ONESOURCE default homepage. |
General Overview
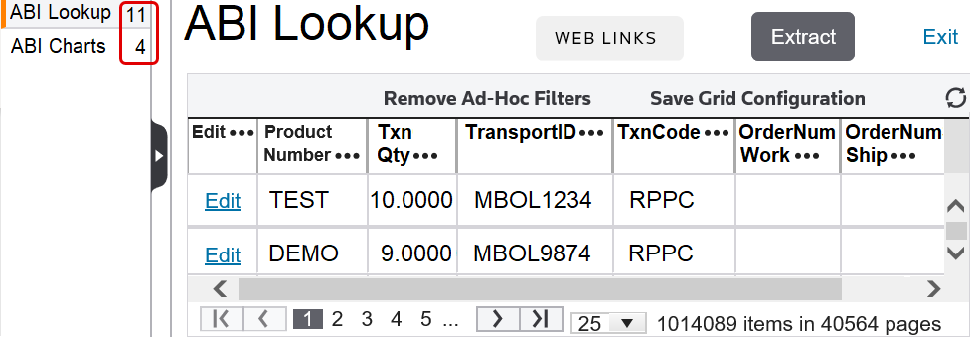
The tabs on the left side of a Lookup screen are referred to as
docks
. Docks are used to further narrow down the database based on the specified criteria. The dataset displayed within each dock is an accurate representation of the current database. Next to each dock title is a number or icon.Docks |
Description |
|---|---|
Number |
A number indicates the number of records matching the criteria for the dock. For example, if a record is edited and no longer applies to a specific dock, the record will be removed from the dock when the Lookup screen is refreshed. |
Loading (  ) ) |
This icon indicates that the dock’s query is still loading. If the query is successful, a number will appear in the icon’s place. If the query is unsuccessful, a warning icon will appear in the icon’s place. |
Warning (  ) ) |
This icon indicates that the system ran into an issue while running the query. If one or more Lookup docks show this icon, please contact your system administrator for support. |
Customized queries can also be added as docks to a Lookup screen. For security purposes, docks can be made visible or hidden based on Security Group permissions.
Opening a Dock
To open a dock, click on a dock name.
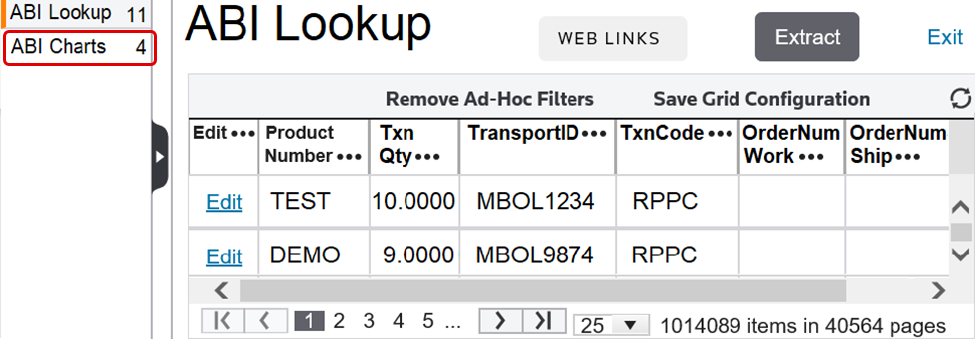
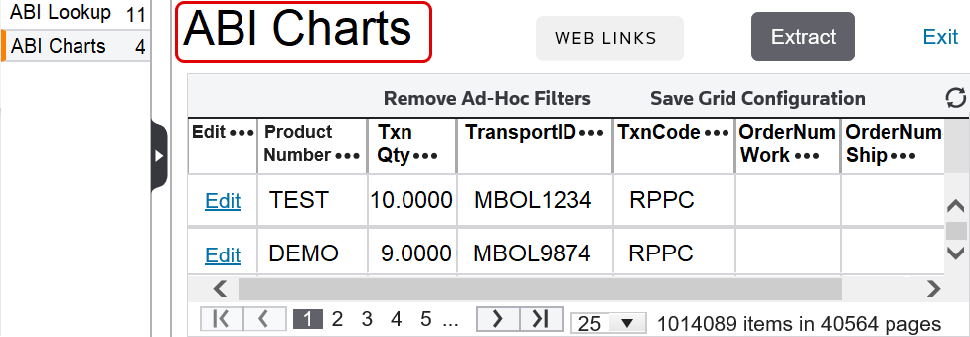
The screen will reload and display the dock results in a new grid. The header will match the name of the selected dock.
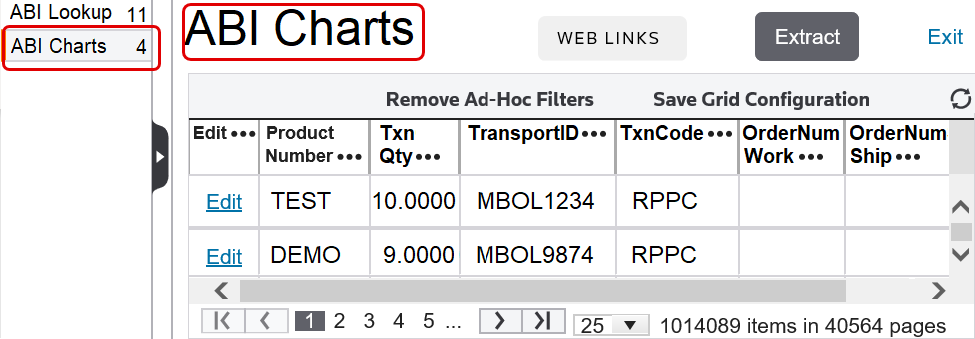
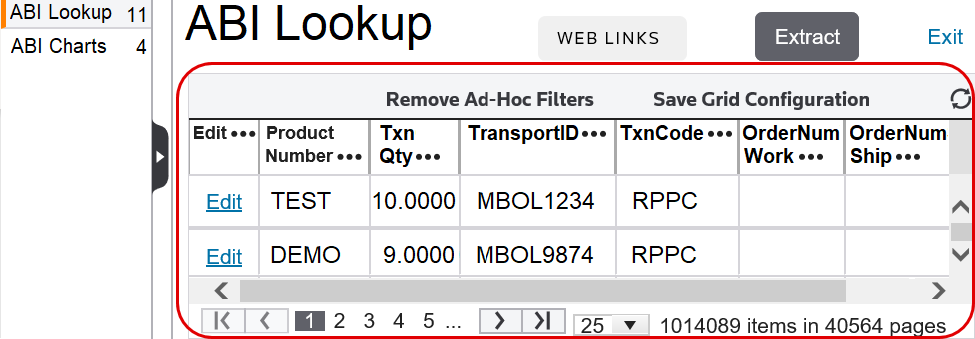
Each dock displays key information specific to that record. The fields shown on the Lookup grids are customizable per the client’s preference.
Showing/Hiding the Dock Menu
To make more room on the screen, the dock menu can be hidden. This can be done by clicking the tab on the left of the screen.
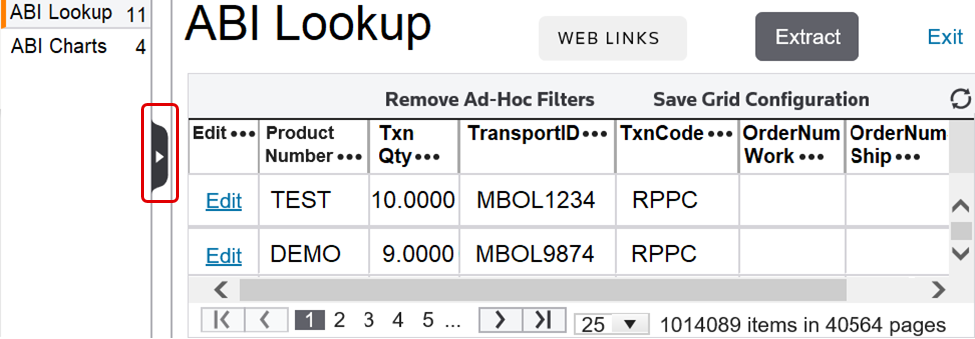
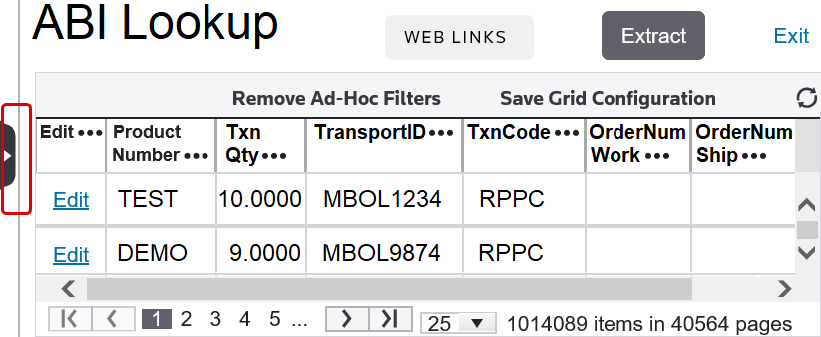
The screen will refresh to show the grid without the docks visible. Clicking the tab again will return the dock menu to the screen.
Filtering
After selecting a dock and view, you can use filters to search and quickly locate specific products. Search results can be refined on additional columns, if needed.
To perform a search, choose a column to search by and click the three dots icon to the right of the column name.
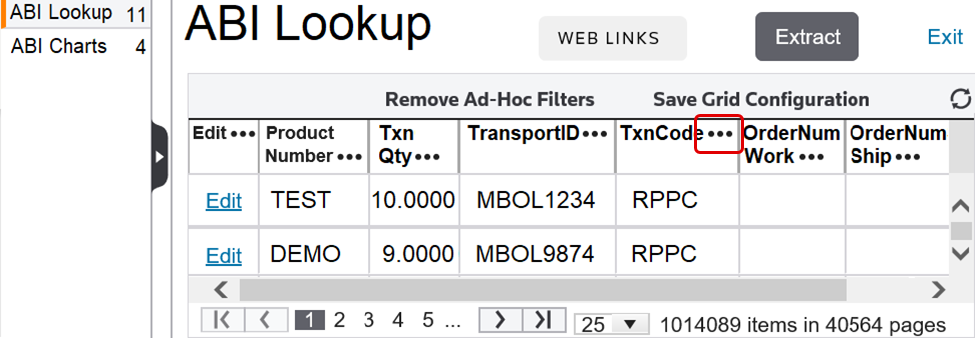
Clicking the advanced filter icon will open a list of filtering options. Each of these options is explained in more detail in the sections below.
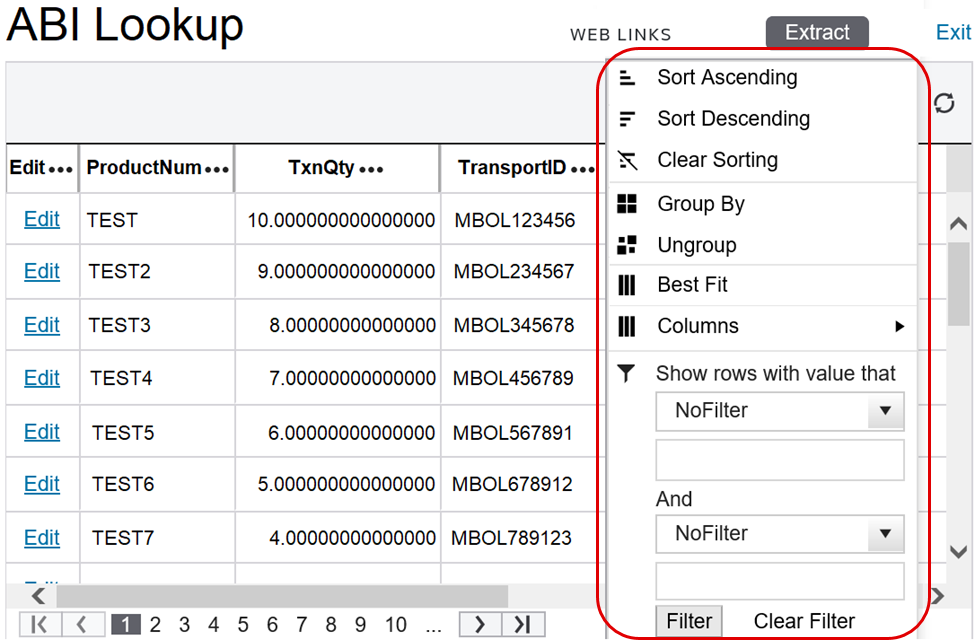
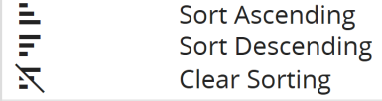
Sorting
Columns can be sorted in ascending (A-Z) or descending (Z-A) order. You also have the ability to clear sorting to return the column to its original order.
Grouping
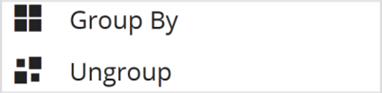
Clicking
Group By
will cause the grid to refresh. All records sharing the same value for the selected column will be grouped together and can be expanded/collapsed by clicking the arrow button on the far left.In the example below, the grid is grouped by
TxnCode
. As a result, all products with a TxnCode
value of RPPC
were grouped together.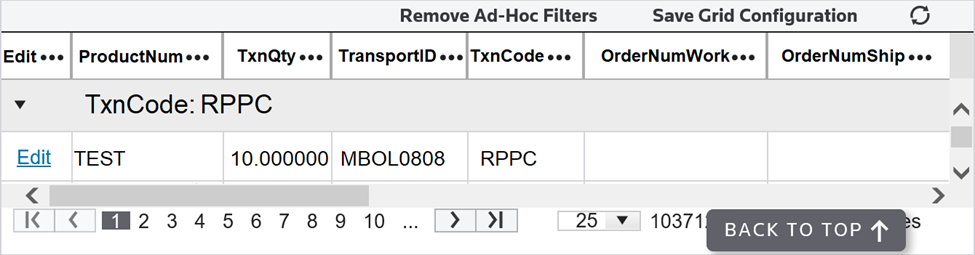
Clicking
Ungroup
will return the grid to its original state.Best Fit
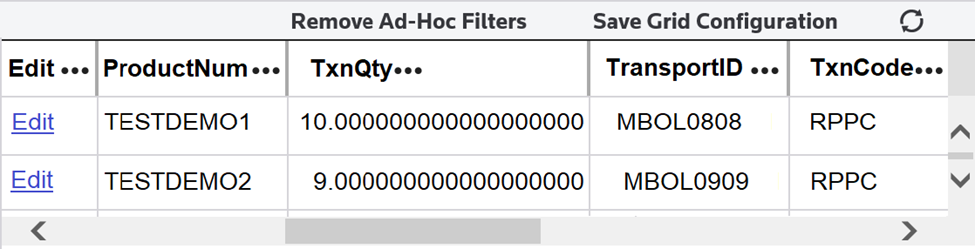
Some docks may have columns that take up more space than is needed.

The
Best Fit
filtering option shrinks the column width to the best fit for the screen’s parameters.
Column Configuration
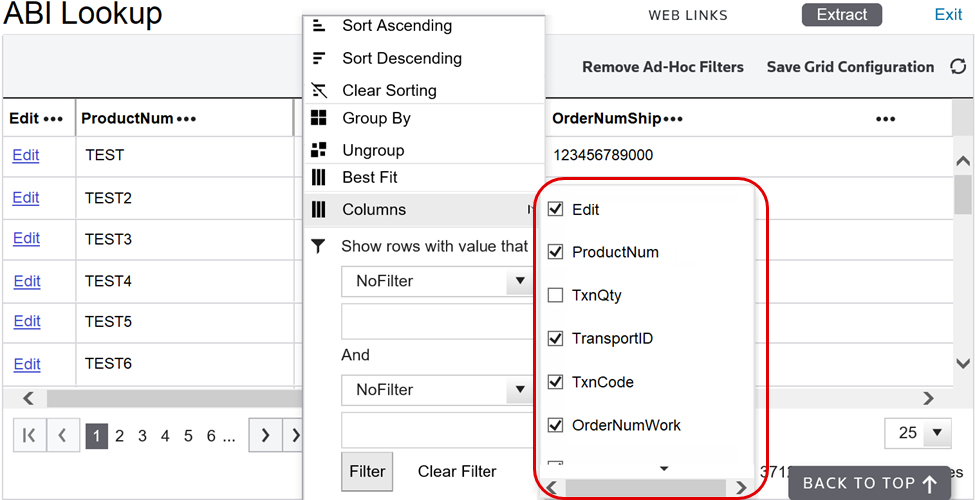
The
Columns
filtering option makes it possible to show/hide only the columns the useryou needs to view.
Column headers with a checked box will remain visible. Column headers with an unchecked box will be hidden.
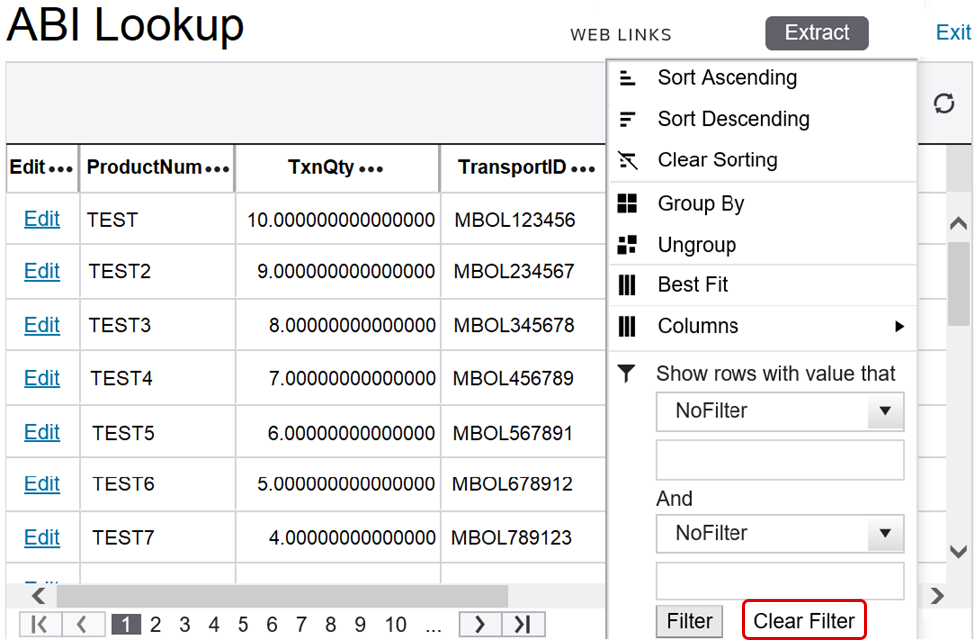
Filtering
Columns can be filtered to show only rows with values that meet specific parameters. Choose a column to search by and enter a value to search by. Choose a filter option from the provided list. A series of filter options (for example,
Contains
, DoesNotContain
) will appear. These options may vary depending on the type of column (Alphanumeric, Numeric, Date, etc.). Once the parameters are set, click Filter
.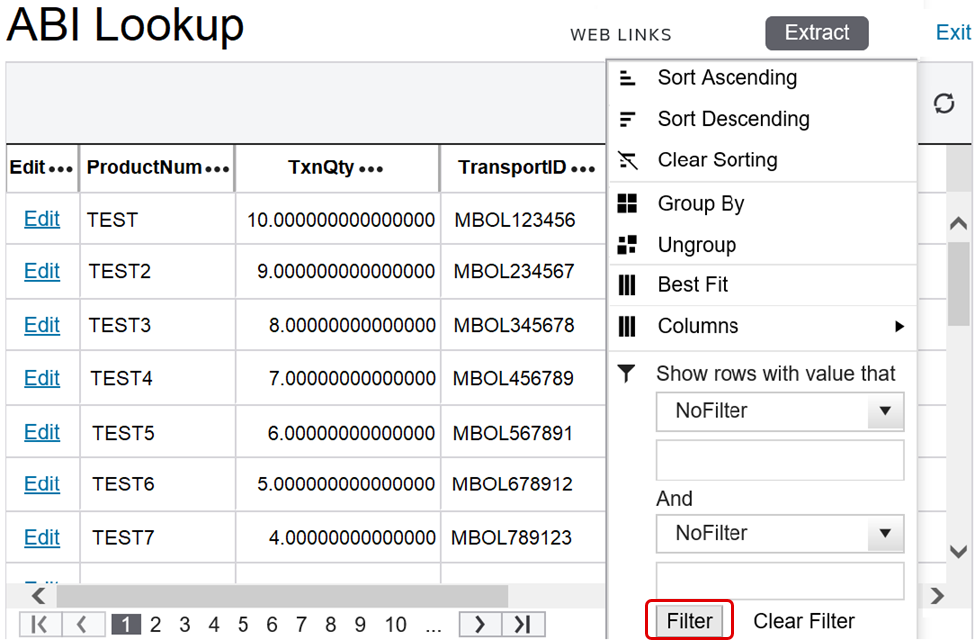
The grid will refresh to show only rows with values that match the specified filtering criteria. To clear all filters from a specific column, click
Clear Filter
.
Grid Configuration
To save the grid’s current configuration, click
Save Grid Configuration
. The next time the grid is opened, it will load with all saved parameters (filtering, fitting, column configuration, etc.) already applied.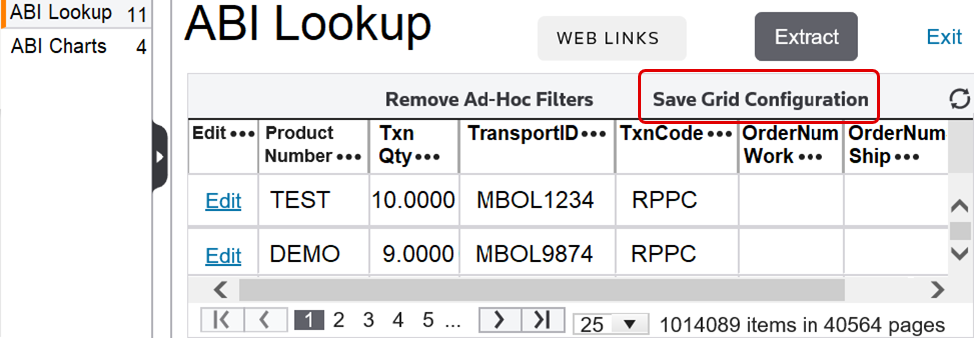
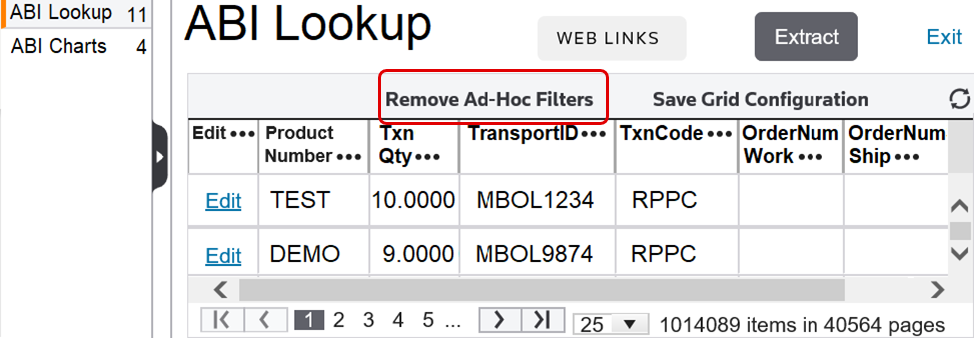
To restore the grid to its original configuration, click
Remove Ad-Hoc Filters
.
Related Content
-
Automated Broker Interface (ABI)
Format: Article