
Move files into the Documents area from another document management system
Follow these guidelines when you move files from another document management system.
note
If you're migrating files from FileCabinet CS to Onvio, refer to Migrate FileCabinet CS data to Onvio Documents.
Set up a folder template
We recommend that you use a folder template to maintain organization when moving files into Onvio.
If you haven't done so already, set up a template for the files you're moving.
Structure the template using one of the following hierarchies.
- [Document category as top-level folder] > [Prior tax years as sub-folders]ExampleWorkpapers > 2016; 2015; 2014
- [Prior tax year folder as top-level folder] > [Document category folders]Example2016 > Workpapers; Notices; Balance Sheets; Tax Returns
Move files into Onvio
- Open the client in Onvio.
- SelectAdd Folderand enter a name for the top-level folder.
- Optional:Select a template.
- SelectSave.
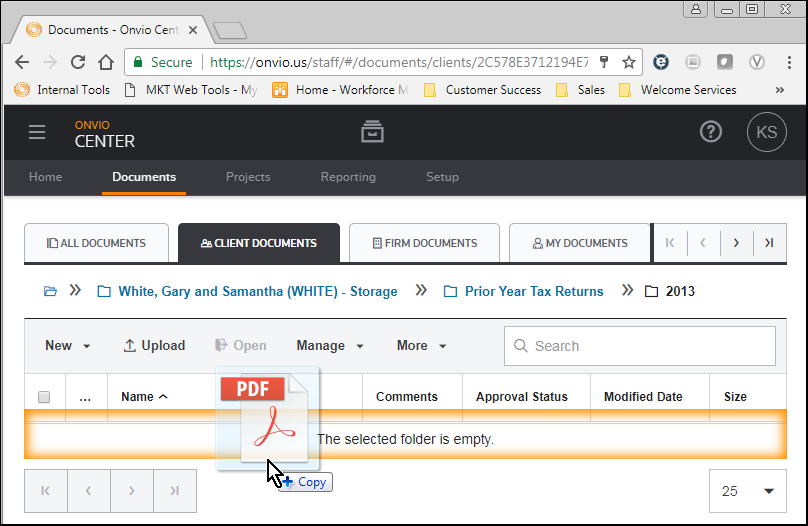
- Drag and drop folders or single files into the folder.
You can also move your files into Onvio using the following methods.
- SelectUploadin the toolbar.
- Add files directly from Dropbox, Google Drive, or Box by selecting theCloudmenu in the toolbar.
- Scan documents into the Documents area.
- Add files from your desktop through the Print command using the Onvio print driver.
note
- You can add several file types to Onvio.
- You can drag and drop folders into Onvio only when the application is open in Google Chrome or Firefox.
- The maximum size for file uploads to Onvio is 500MB.
- Larger files may take several minutes to upload. You can continue to work in Onvio during the upload process.