
Step 7 - Tax Exempt Income
The
Tax Exempt Income
wizard lets you identify and mark tax-exempt income as state-taxable/state non-taxable. In this Review wizard step, the tax-exempt interest income is divided into state-taxable and state non-taxable so that it gets correctly exported into the tax application.You won’t have to manually calculate and enter it in the tax application.

The security descriptions that are not matched in the Verification step are shown in the
Tax-Exempt Interest/Dividend
step along with the respective amount in the field of 1099 Earnings
.
All the percentages entered in the Verification wizard will be converted into amounts and displayed in the
Exempt % or Amount
column in this wizard.
It shows the state non-taxable amount, determined with the help of the predefined descriptions, the resident state, and the default option selected by the client instead of State Taxable as in the Tax Exempt wizard.
If you want to report the interest income as state-taxable, go to the last column, select the checkbox to mark the
1099 Earnings
as state-taxable.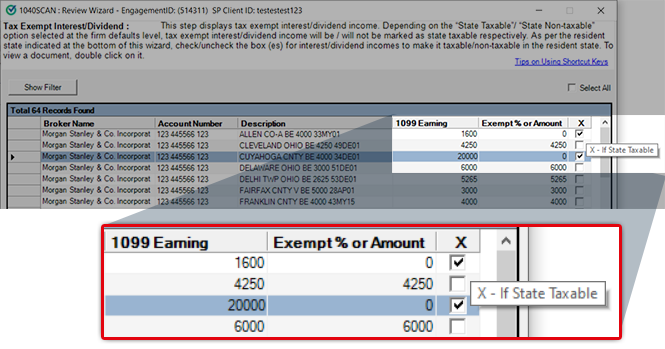
Selecting the checkbox changes the
Exempt % or Amount
amount to 0.In the case of numerous consolidated statements, you can use the filter functionality to view the data for a particular consolidated statement. To filter data, select
Show Filter
.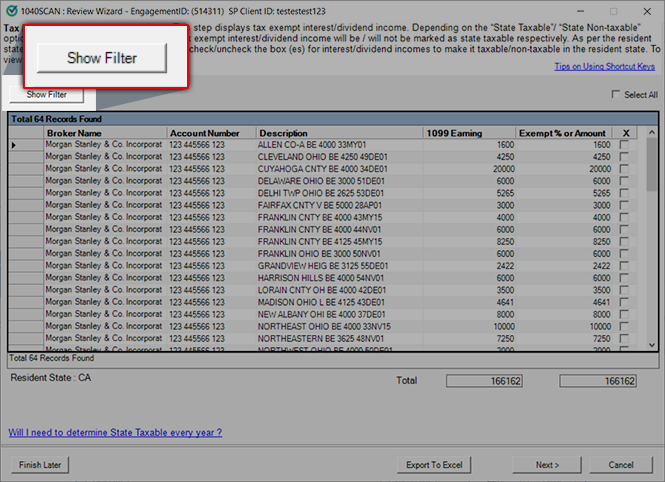
Blank fields appear over each of the column headings. Type the field description in the blank fields to filter the records in that column.
To clear the filters, select
Clear Filter
.
note
The security descriptions which are not handled either in the Verification wizard or even in the Tax-Exempt Interest wizard will be treated as per the option selected from the dropdown for unmatched descriptions in Other Domain Settings Tax-Exempt Interest Income Default Options:

The resident state of the return will be displayed at the bottom left of the Tax Exempt Interest Wizard.

To view the source document, double-click on it or press
F1
. To close the source document viewing window, select Close
or press Esc
. Multiple documents can be opened simultaneously.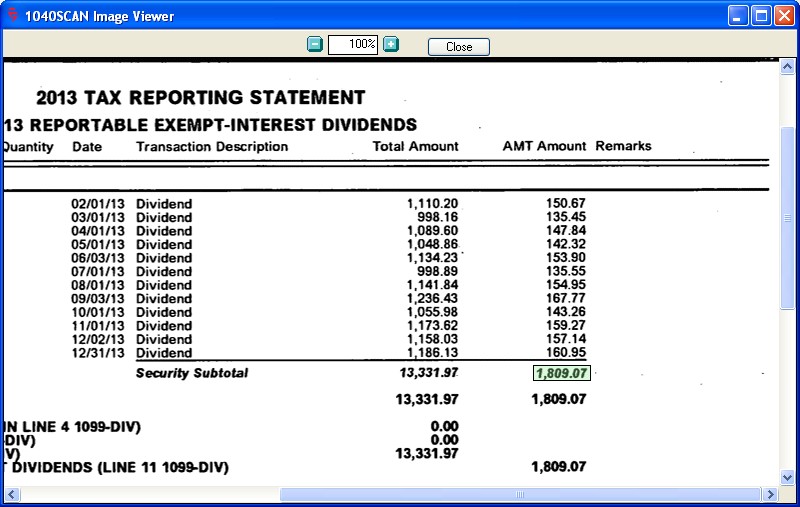
To view the Shortcut keys for this Review wizard step, select the
Tips on Using Shortcut Keys
link.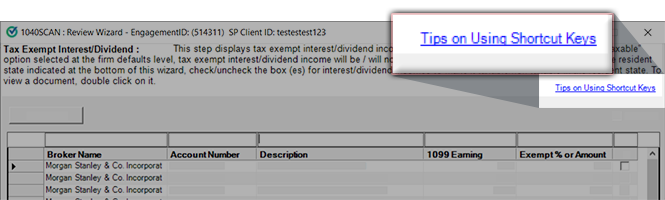
Checking the
Show All
checkbox will let you view all the matched as well as unmatched security descriptions from the predefined security descriptions list and the resident state.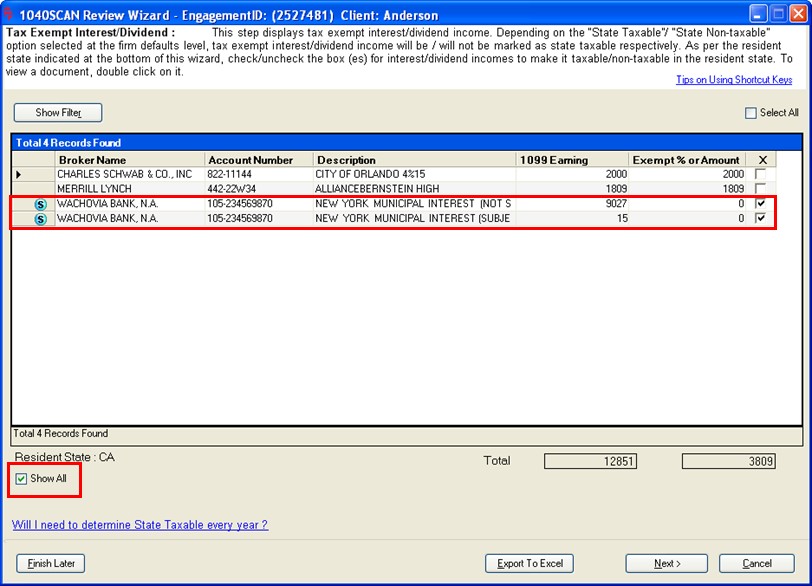
To export all data in the Excel spreadsheet, select
Export to Excel
at the bottom of the window.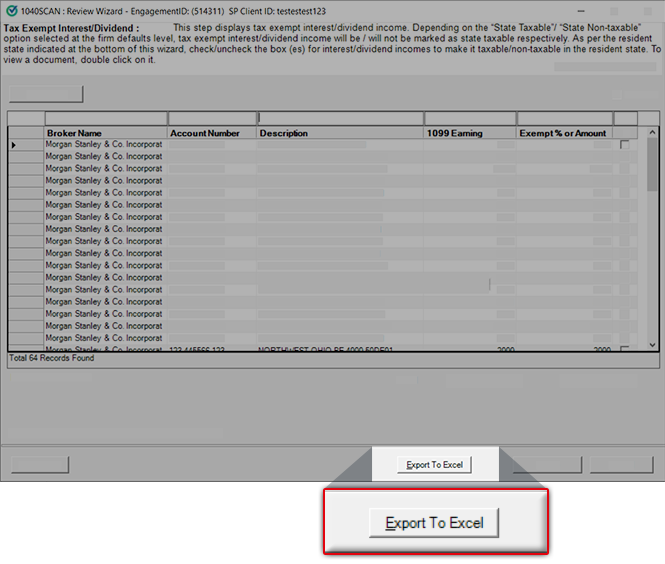
This will open the
Save As
window wherein you can save the file to the destination. Choose the path and select the Save
button.
To view the exported details open the Excel file from the saved destination.
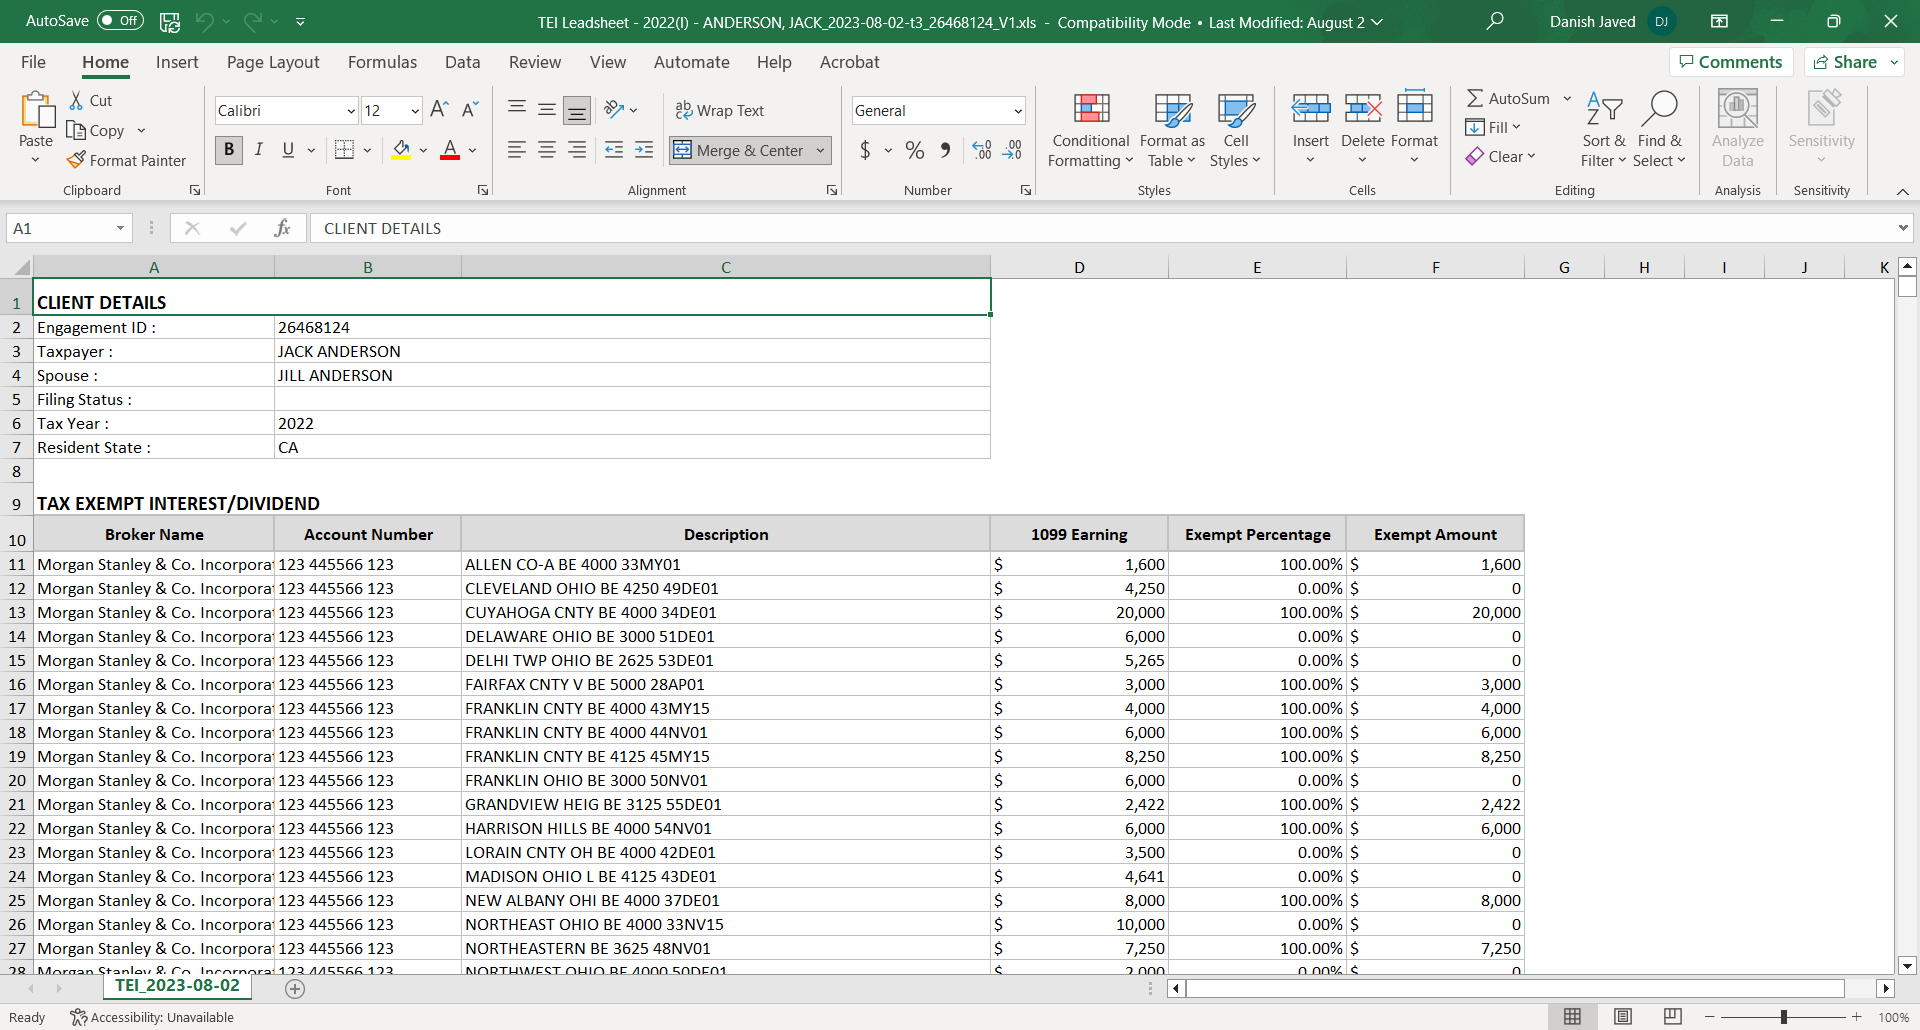
Select
Cancel
or press Alt
+ C
to close the Review wizard without saving any of the work performed.Select
Finish Later
or press Alt
+ F
to close the Review wizard after saving all of the work performed.Select
Next
to continue or press Alt
+ N
.Related Content
-
Review Wizard overview
Format: Article

