Bulk Document Processing
The
Bulk Document Processing
lets you upload and view the Bulk Document Processing details by tax year. note
This feature is for Expat practices only. Do not upload information without coordinating with Sales representative.
Reach out to your Thomson Reuters contact to inquire about the availability of this feature for your firm in the current tax year.
View Bulk Document Processing
Follow these steps to view Bulk Document Processing:
Go to
FileRoom
, Admin
, then Enterprise Features
.
Select
Bulk Document Processing
if it's not already selected.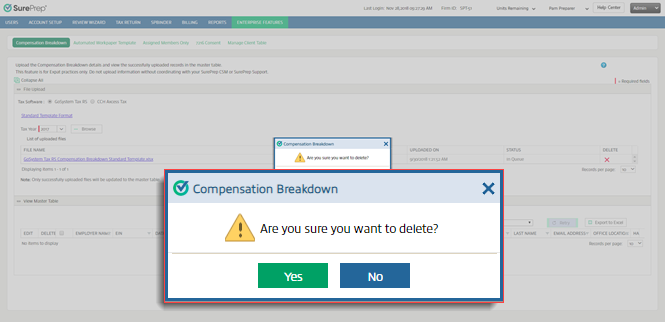
This is only enabled for the
Firm System Administrator
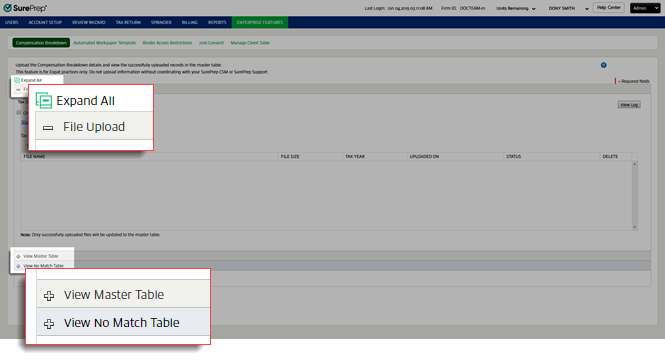
user group by default.The
Bulk Document Processing
tab displays the following options:- File Upload
- View Master Table
- View No Match Table
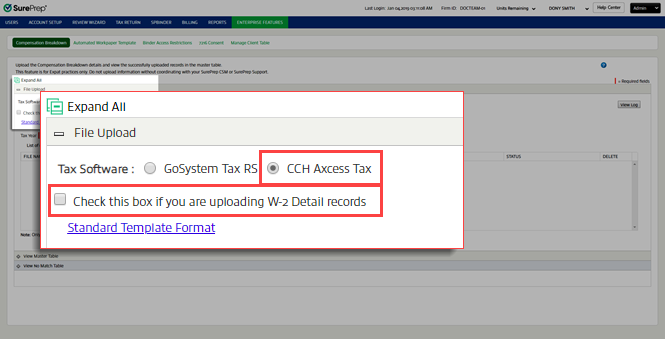
File Upload
File Upload lets you to search and upload multiple templates. You can upload and view Bulk Document Processing for
GoSystem Tax RS
and CCH Axcess Tax
.Select the required tax software to proceed.
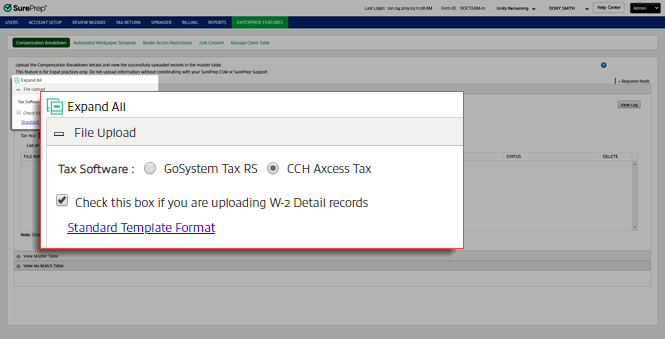
You will only see the
Check this box if you are uploading W-2 Detail records
checkbox if you selected CCH Axcess Tax
as the Tax Software
. 
Selected:
Check this field if you are uploading W-2 Detail records. Select the checkbox if you are uploading W-2 details records, then select
Bulk Document Processing Template
to download the template.
If you selected the check box, you will see
Meta Data
and Upload PDF
tabs.
Cleared (not selected):
Check this field if you are uploading W-2 Detail records. 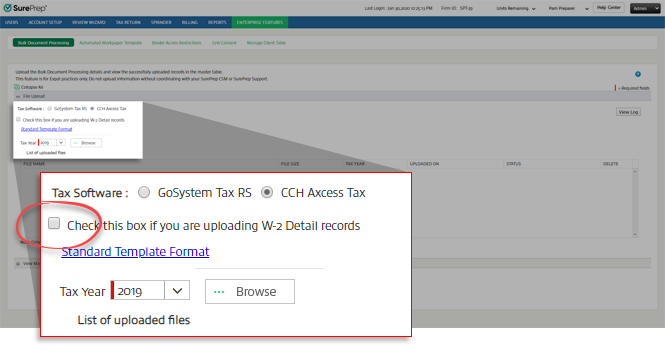
Follow these steps if you didn’t select the
Check this box if you are uploading W-2 Detail records
checkbox:Select
Tax Year
from the dropdown, then select Browse
to upload your completed Bulk Document Processing template file.
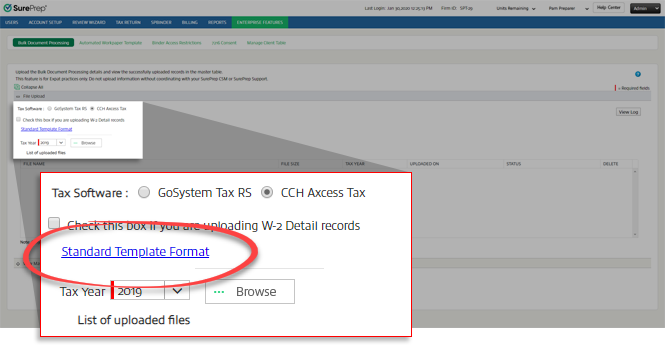
Download and fill out the
Standard Template Form
.
Once you search and select the file; select
Open
. You can only upload one file at a time.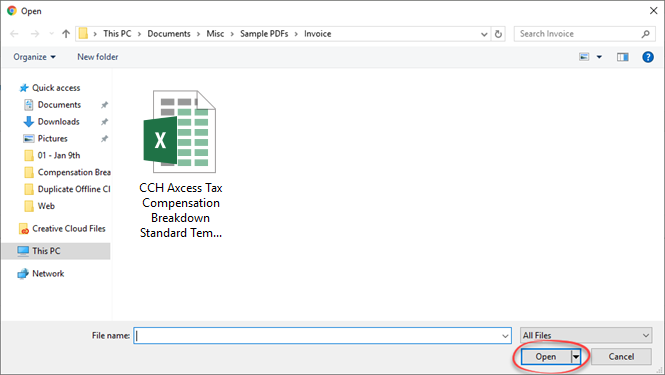
Once the file is successfully added, the template will be listed under
List of Uploaded files
section.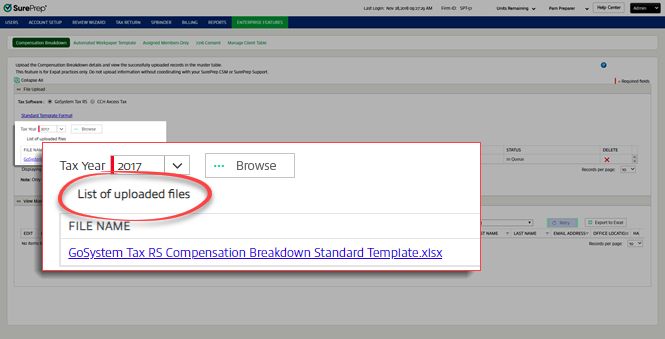
If the template has been uploaded in error, you can select the  to delete the file.
Delete
icon to delete the file.When the
ompensation Breakdown
window appears, select Yes
to delete, select No
to cancel the deletion.
You can repeat the process of browsing and uploading another file following the same steps.
The file and its details are updated in the
View Master Table
section.You will also be notified by email when the Update Master Table process is complete. The email address will be the one provided by the admin when the user sign in was created.
When you re-upload the file and if no new details are uploaded, then an email will be sent to notify you.
Notes
: The Bulk Document Processing file should only be in Excel format (.xls and .xlsx). If the file is not in the correct format the following error message will be displayed.

If you re-upload the same file a second time, only the new data will be added; no changes will be made for previously uploaded data.
If the tax year of the uploaded file doesn’t correspond with the tax year selected in the
Tax Year
menu list, then the following error message will be displayed.

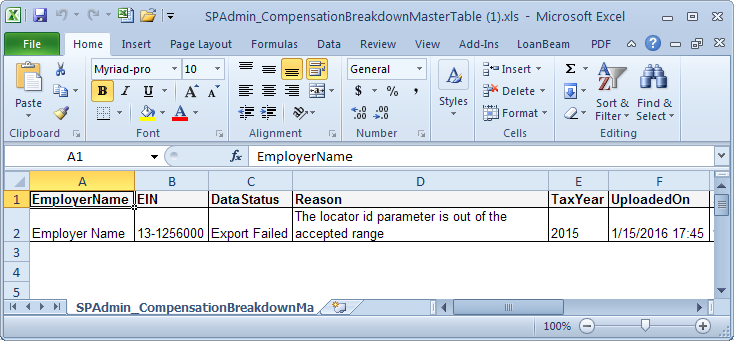
If the uploaded file is not in the standard format, then the following error message will be displayed.

To download the standard format of the template, select the
Standard Template Format
link. You can also select the template name under List of uploaded files
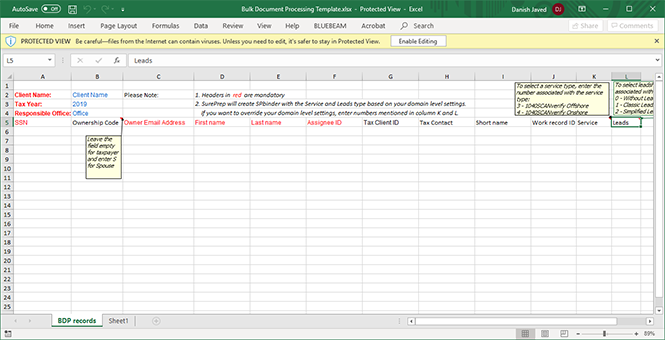
to download the uploaded template file.Once the download completes, open the downloaded file. Required fields will be in red color.
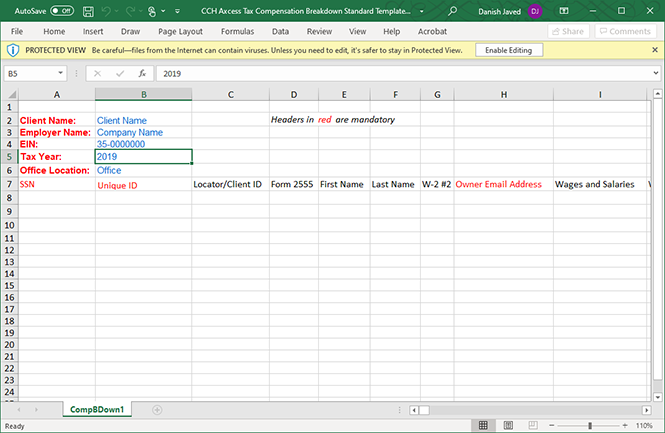
Standard Excel template screenshot.
This template would be in
Read-Only
format. To use the template, save a copy of the workbook or select Enable Editing
.View Master Table
The master table will be updated for the selected tax year, this will include all new data from all files displayed in the
List of Uploaded files
.The
Data Status
column will display Export in Process
.
note
Only one Bulk Document Processing file for one Tax Payer SSN number can be uploaded.
The Master Table contains a unique combination of
Employer Name
, EIN
, SSN
, and Unique Identifier
.If duplicate records are found on the SAME spreadsheet, the totals will be combined in all columns.
If duplicate records are found when uploading an additional spreadsheet, it won’t override any previously stored data.
Column name (View Master Table) | Description |
|---|---|
EMPLOYER NAME | Populated with the name of the employer provided on the top of each Bulk Document Processing files for all records, respectively. |
EIN | Populated with the EIN provided on top of each Bulk Document Processing file for all records respectively. All the other columns will be populated based on the corresponding columns in the uploaded Bulk Document Processing file. |
DATA STATUS | Populated with import status. When a return is opened containing the same SSN, it will pop up a message asking to import the Bulk Document Processing details. If you select 'yes', it will import all the details in your return and the Data Status column will display the status as 'Imported'. |
UNIQUE IDENTIFIER | Populated with the Unique ID entered in the Bulk Document Processing file. |
You can select the
Edit
or Delete
icon to edit or delete the master table records.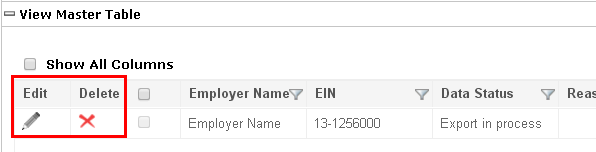
You can also export the master table details in the excel sheet, by selecting the 'Export to Excel' button.
You can select the  to visit the help page.
Help
icon to visit the help page.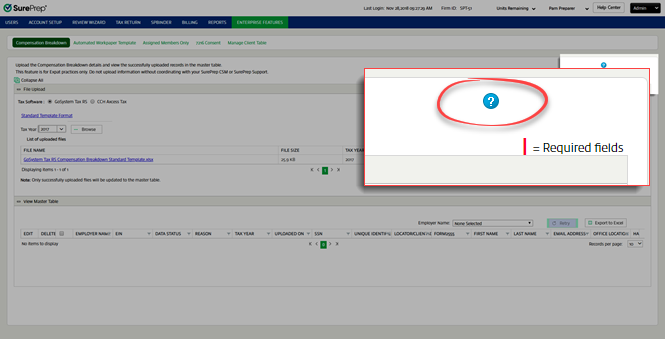
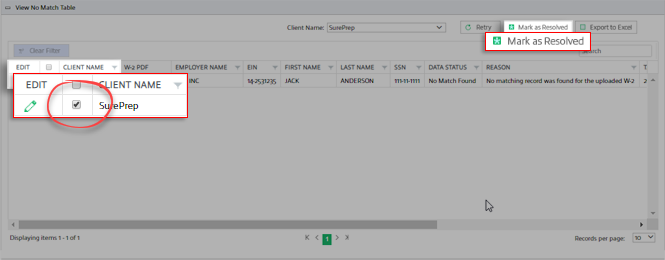
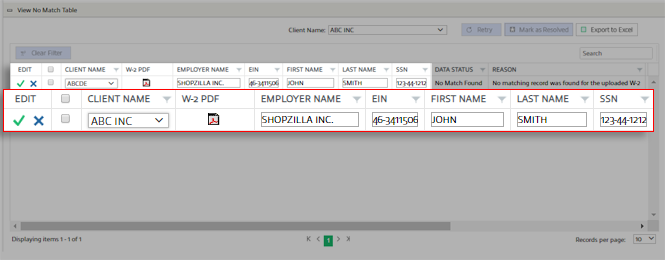
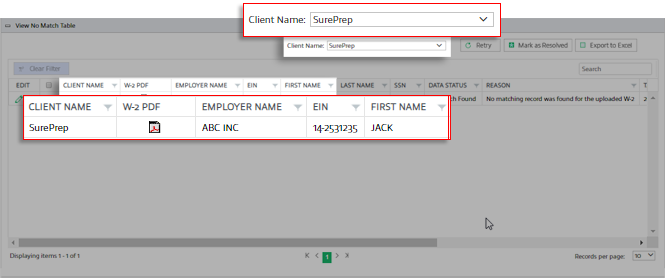
View No Match Table
View No Match Table
displays Excel file information (uploaded to the Meta Data
tab) that doesn’t match the W-2 details in the PDF. note
Meta Data
information that matches the W-2 details will appear in the View Master Table
section. Select
Client Name
from the dropdown menu.
Client details can be seen on the
DATA STATUS
and REASON
columns.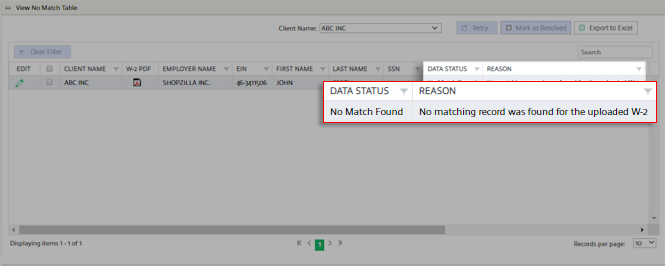
To edit a record, select the  icon.
icon.
Edit
icon. 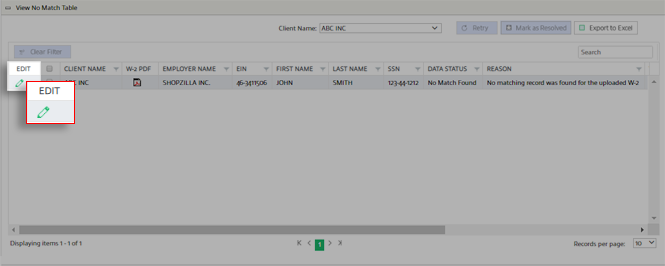
To view the PDF, select the
PDF
icon under the W-2 PDF
column.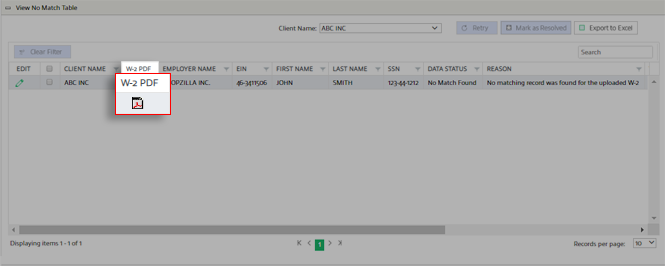
If you erroneously uploaded a PDF to the wrong client came, select the correct client from the
Client Name
dropdown menu.
On the
Update Client Name
window, select your options then select Yes
.
Select the  to save the changes.
Save
icon to save the changes.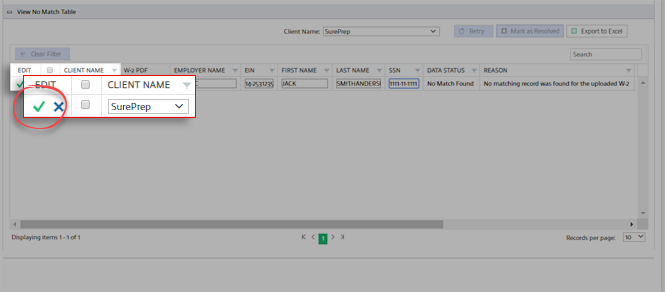
Select the checkbox then select
Retry
.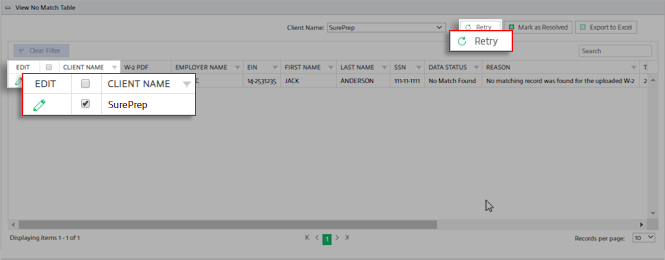
If the modified details match the client's metadata, then it will be displayed in the
View Master Table
.
To select a record as resolved, select the record then select
Mark as Resolved
. The records that are marked as 'Resolved' won’t be available for matching.