
![]()
Triva isn't available right now.
Check out the support page for our phone number and hours
![]()
Specification | Details |
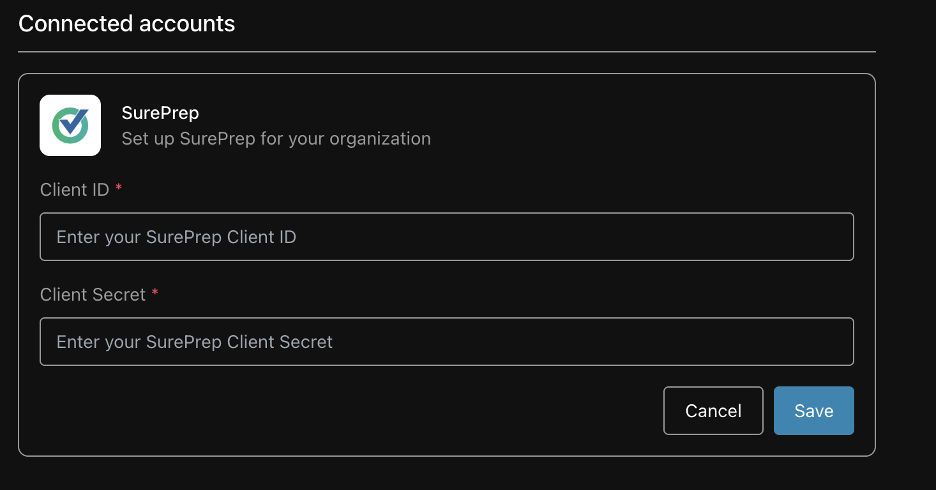
API | Must be enabled at Account Admin, Account Setup, and enable API. |
Tax Year | 2024 tax year onwards |
Services | Additive account and service purchased SurePrep: Any of the following SurePrep services
|
Leadsheet |
|
Binder Type |
|
Tax application |
|
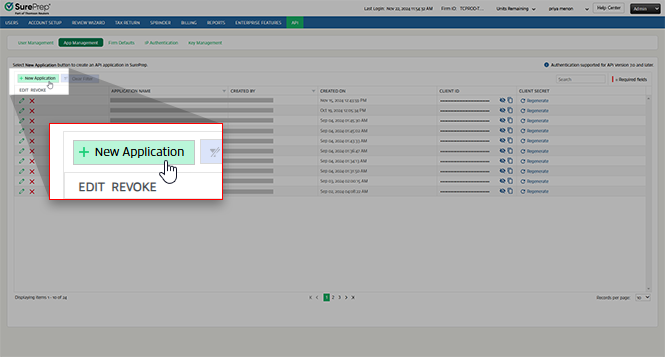
Applications |
|
 Article
Article
Article