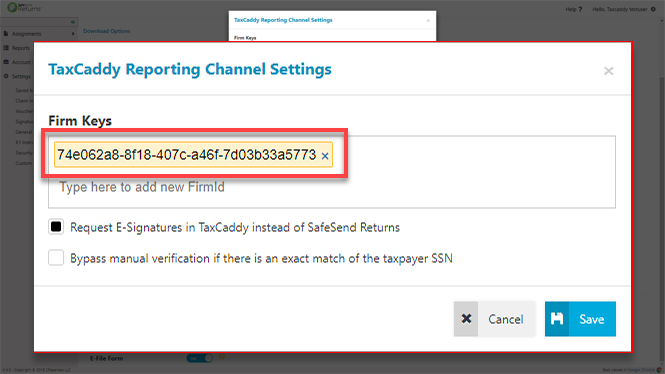
In the TaxCaddy Reporting Channel Settings window, under
Firm Keys
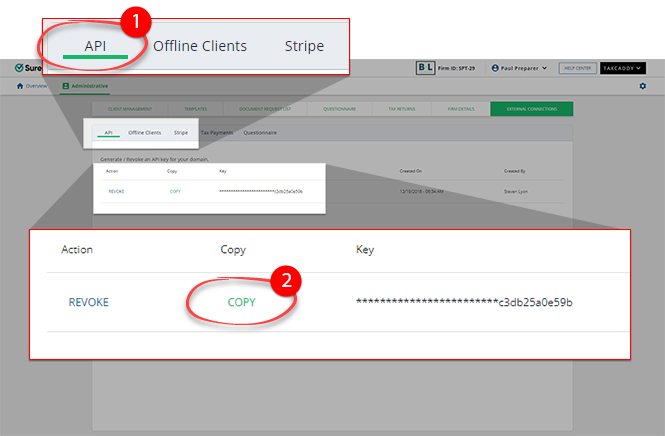
paste the API key you copied earlier from TaxCaddy (see step 3). Select
Ctrl
+
V
then
Enter
.
If your firm has multiple TaxCaddy domains, you can add each domain's API key separately.
If you want to streamline the entire eSign process directly through TaxCaddy, select
Request E-Signatures in TaxCaddy instead of SafeSend Returns
. If this option is enabled, your clients can eSign documents directly from a single platform via TaxCaddy.
TaxCaddy will charge a Deliver unit once for the selected tax year/tax return if a client is sent a request to sign with Knowledge-Based Authentication in TaxCaddy (that is, e-file Authorization).
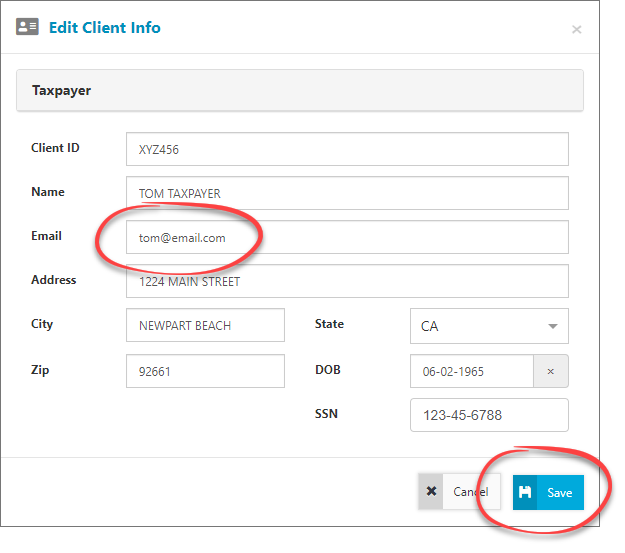
If you want to delete an API key, select
X
at the end of the API key to delete it, then select
Save
.


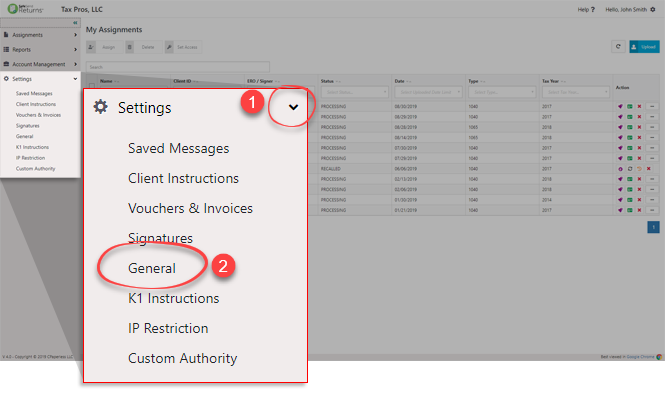


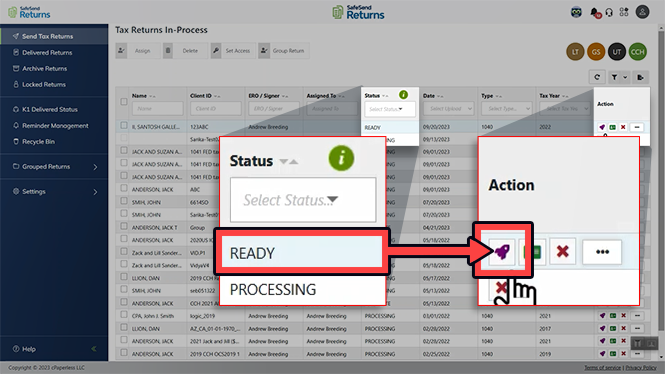


 then select