
Step 1 - Pre-Verification
When using 1040SCAN, the OCR may be uncertain of the source document it's been provided. Despite trying its best to accurately capture the data displayed in the document, we still want to ensure that all data collected from the source document is entirely accurate. When this happens, any potentially inaccurate scan that the OCR has captured will be displayed in the Review Wizard for you to verify.
This uncertain data can be from 1099 Brokerage Statements, Grantor Letters, Schedule K-1s, 1095-C. In the pre-verification step, you can verify uncertain identifier fields associated with the payer's names, account numbers, statement dates, and names of such brokerage statements.

Engagement information
Review Wizard will display the name and engagement ID of the client you're currently viewing. Users can click
VIEW ENGAGEMENT INFO
to open the Engagement Information
window to view the full information for this client including Client Number
, Filing Status
, PROCESSING OPTIONS
, etc.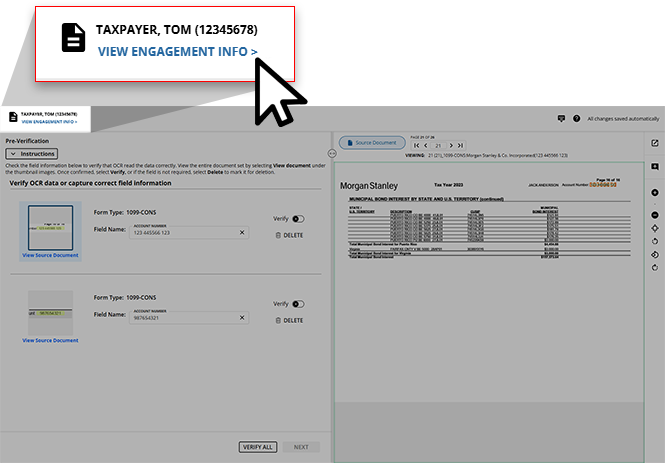
Pre-Verification screen overview
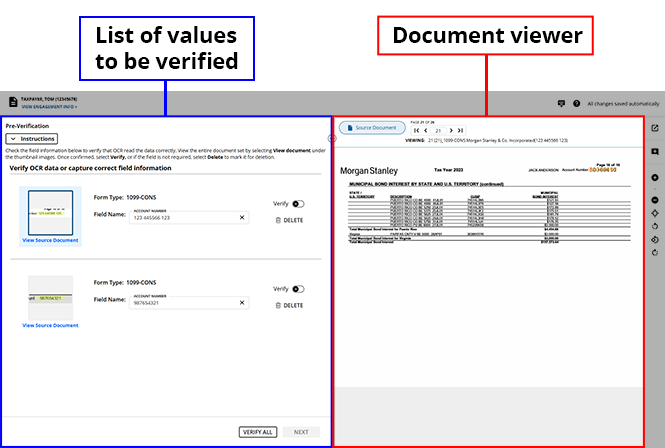
- Upon opening, the Review Wizard will display a list of values that we recommend you verify for accuracy based on the results of the OCR. When selected, each listed value will appear to the left of the Document Viewer displaying the page of the source document that the listed value was captured from.
 noteYou can review the brief instructions found belowPre-Verificationbefore starting the pre-verification process. SelectInstructionsto collapse/expand these instructions when necessary.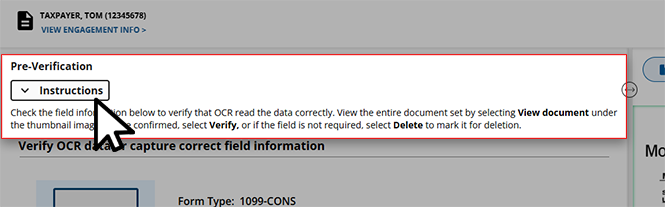
- Values that the OCR has flagged as needing verification will be listed following thePre-Verificationinstructions. Each listed item will consist of:
- AThumbnailtaken from the source document
- TheForm Typethat this value was extracted from
- TheField Nameand value field that require your attention
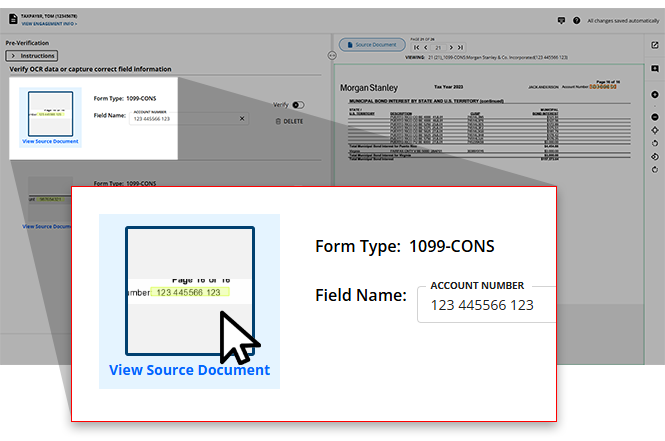
- Once aThumbnailis selected, the source document from which the image was captured will appear in the Document Viewer.
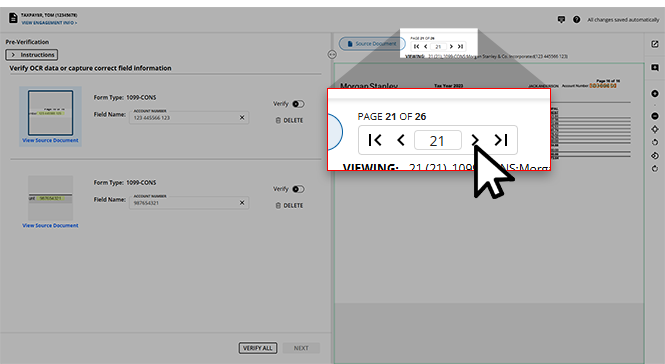
- The page number corresponding to theField Nameof the selected item will appear at the top of the document.If you would like additional context for the listed value, you can use the navigation bar to select to a different page or enter the page number into the
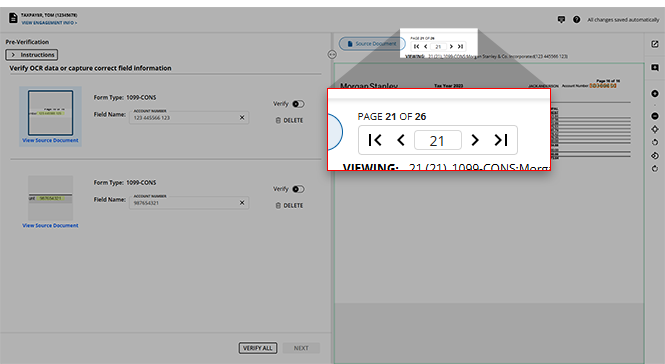 GO TOfield to instantly jump to that page.You can use the Document Viewer Toolbar to adjust the zoom and orientation of the Document Viewer to best suit your needs.
 If necessary, select the View Source Document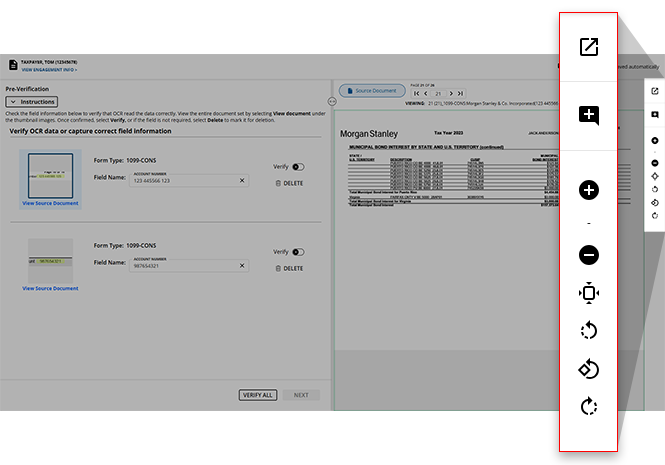
 icon or press the CTRL+SHIFT+1keys on your keyboard to open the source document in a new window.When using the
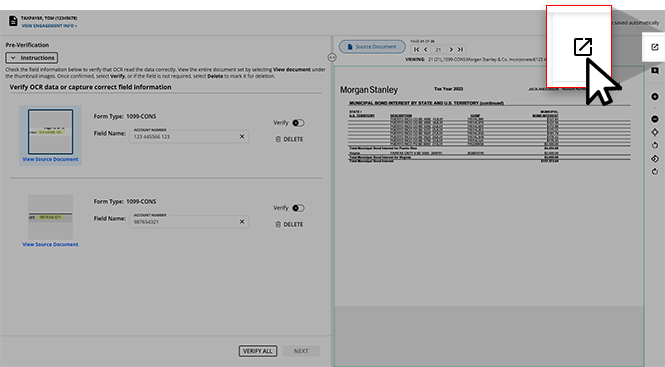 CTRL+SHIFT+1keys to view your source document, make sure you don’t have a Field Name selected to the left. This will avoid adding an unwanted V to the selected field.
Completing the Pre-Verification process
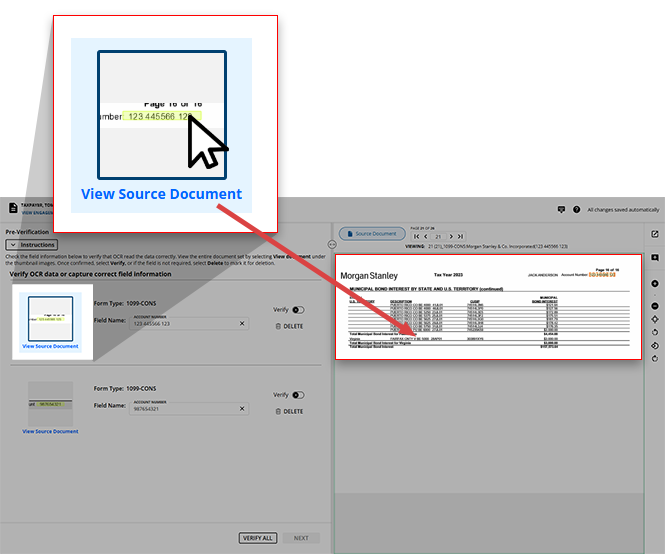
- To begin the verification process, select a value listed to the left to open it in the Document Viewer. By default, the top-listed value will be selected, however, you can select any listed value that you choose to review first.noteYou can place your mouse over a thumbnail of an entry and the Review Wizard will display a zoomed-in view.
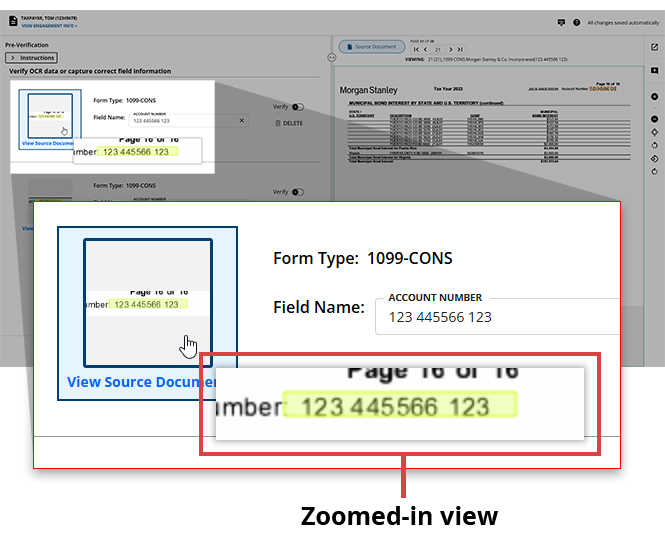
- Once the original page of the source document opens in the Document Viewer, you will see a highlight on the value that was flagged by the OCR.

- Verify that the value displayed in theField Namefield matches the value present in the source document. If the value found inField Nameis correct, you can selectVERIFYto indicate that you've verified that the value was read correctly by the OCR.
 noteYou can press theEnterkey on your keyboard to verify the selected field and automatically go to the next entry requiring your verification. Learn more aboutKeyboard Shortcutsin the Review Wizard.
 - There may be times when the OCR incorrectly scans a value from the source document.If the value found in
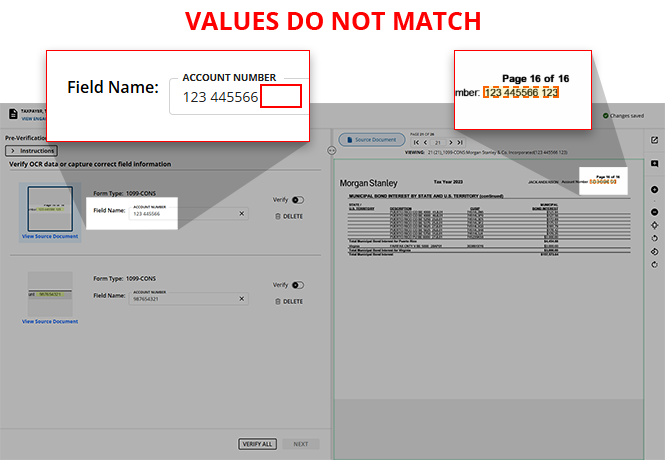 Field Nameis incorrect, you can select into the field and edit the value.Once the correct value is provided, select
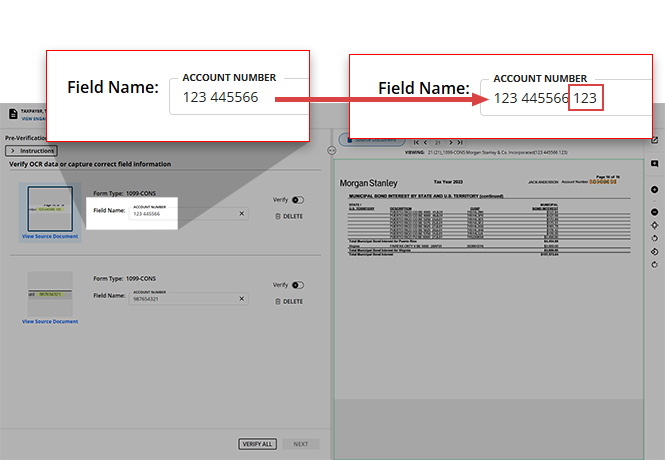 VERIFYto indicate that you've provided the correct value.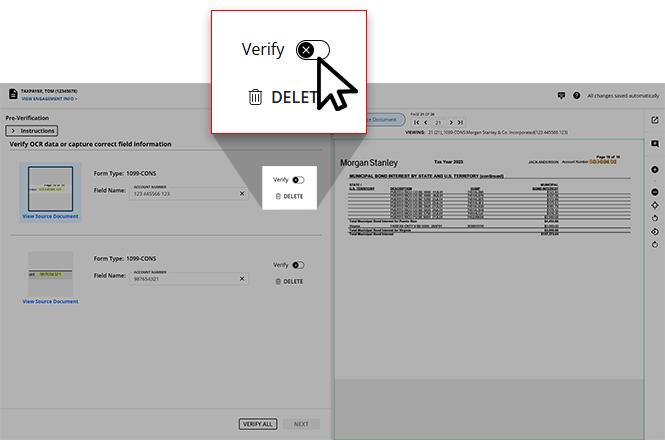
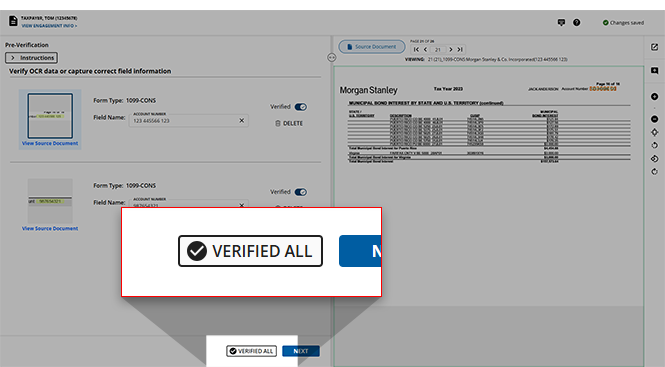
- If you prefer to verify multiple values at once, or if you trust the OCR to scan the values of the source document correctly, you can use theVERIFY ALLfeature to instantly mark all of the listed values as
 (VERIFIED).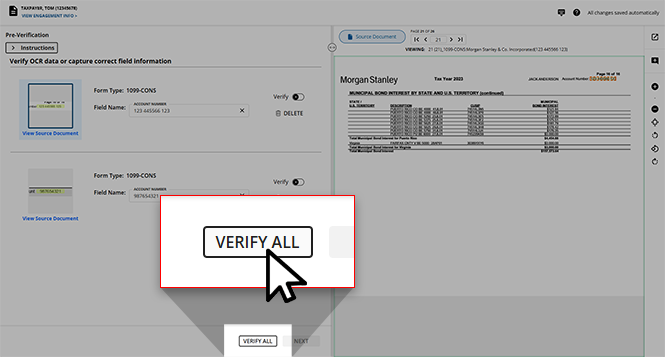
- If the value captured by the OCR is not relevant to the client's tax return, you can selectDELETEfor the listed entry.The
 Marking for Deletionwindow will appear asking you to confirm your choice to delete this value. SelectOKto confirm your decision to delete, or selectCANCELto close this window without deleting this entry.
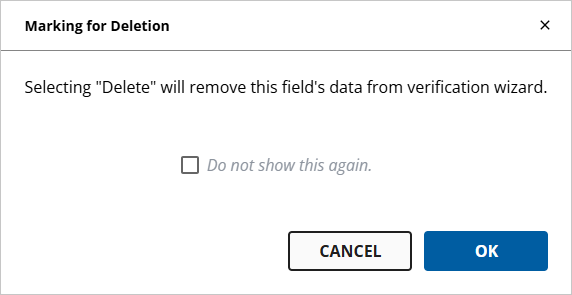 noteYou can select theDo not show this again.checkbox before making your decision if you don’t want to see this window in the future.
 - Deleted entries will remain listed, but there will be a badge indicating that it isMARKED FOR DELETIONand the ability to edit the value will not be available.If a value was erroneously marked for deletion, you can select
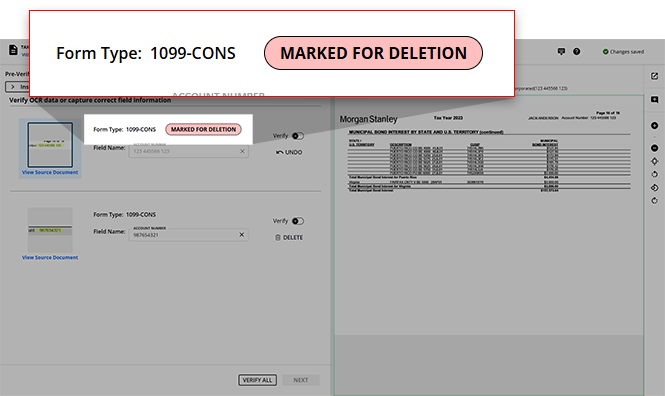 UNDOto restore this value in the list.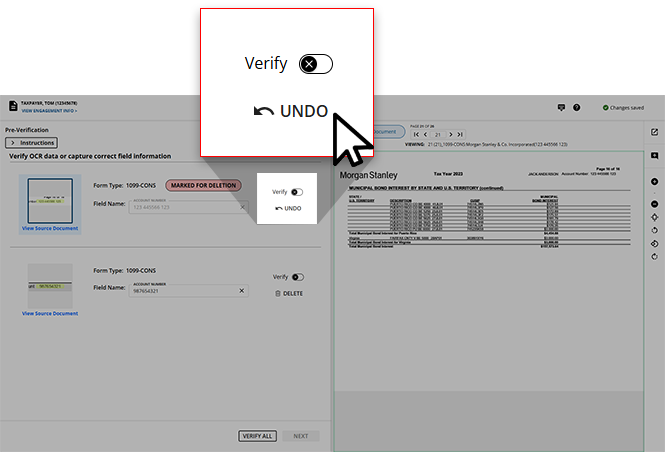
- Once all of the listed values have been marked asVerified, the VERIFY ALLfeature will update toVERIFIED ALL.
What's next?
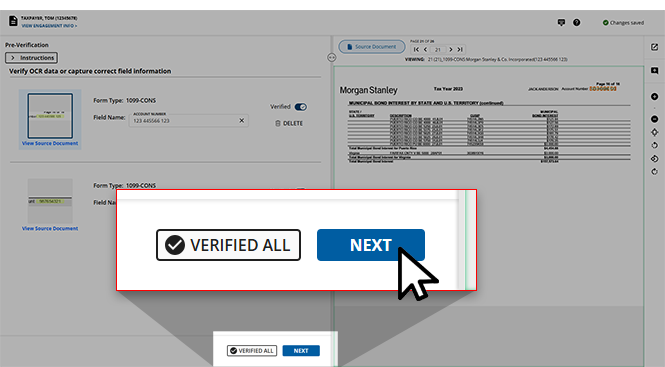
You can select
NEXT
to proceed to Step 2 Verification
. Learn more about Step 2 Verification
.
Related Content
-
Review Wizard on Web is here!
Format: Article

