
Step 5 - Duplicate Data
The
Duplicate Data
step displays potentially duplicate data between organizer pages and source documents, letting you confirm duplicate data identified by the system or mark data that you identify as duplicate. The amount marked as a duplicate won’t be exported to the tax application.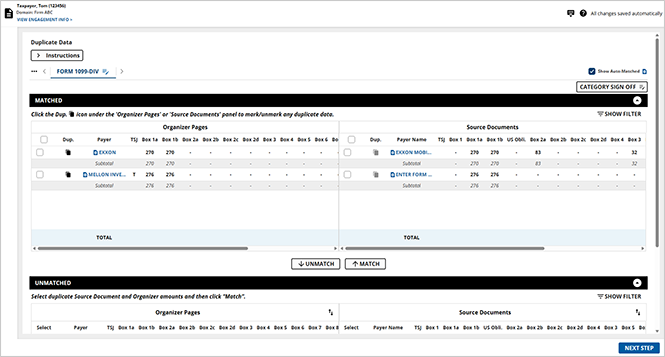
1040SCAN will automatically mark the organizer pages as duplicates in the following 2 cases:
- If the payer and ownership codes match, the organizer items are marked as duplicates regardless of whether the amounts match or not.
- If the amounts match exactly (with a difference of $1 being allowed), the organizer items are marked as duplicate even if the payer and ownership codes don’t match.
You can manually mark data as duplicate by grouping organizer pages and source documents together and then selecting documents to be excluded from export. For instance, consider an example in which the organizer page of Schedule C has gross receipts of $19,700 and 1099-Misc forms have a total of $19,660. If you want to consider the higher amount of $19,700 from the organizer, you group the documents and then mark the amounts on the 1099-Misc forms as duplicates. This ensures the data from the 1099-Misc documents don't export to the tax application.
Duplicate Document wizard
Upon loading the
Duplicate Document
wizard, your screen will be segmented into 2 parts: the top half being the MATCHED
panel and the bottom half being the UNMATCHED
panel.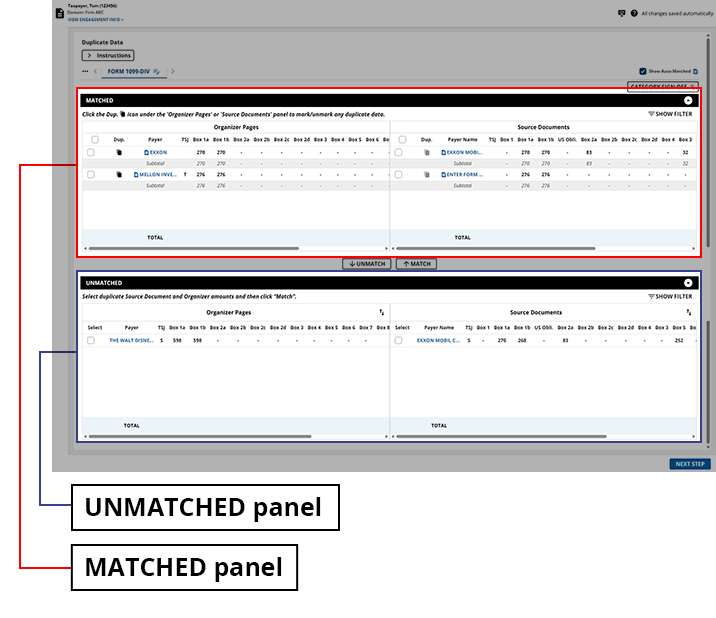
Within both the
MATCHED
and UNMATCHED
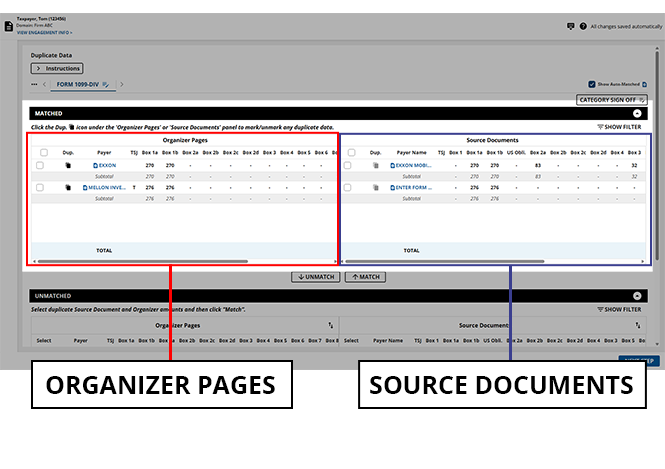
panels, the documents listed will be separated into either Organizer Pages
or Source Documents
.
The categories that have triggered the
Duplicate Data
wizard will on your screen. From here, you can select from the forms listed to find and review their content to ensure that any duplicate data is handled appropriately.
A summarized version of the instructions will appear in the
Duplicate Data
panel. You can review these instructions, then select Instructions
to collapse or expand these instructions and make space for more pages.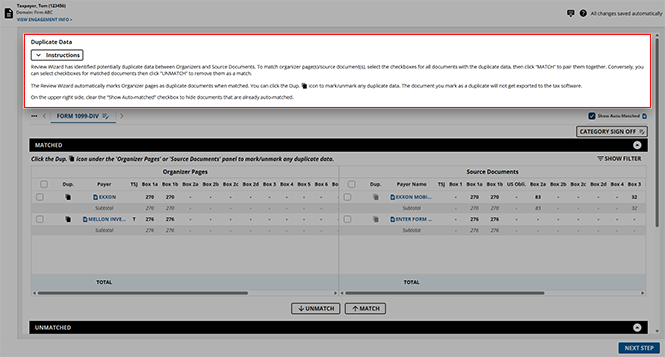
Marking data as duplicate
To mark data as duplicate, the source documents must first be matched to the organizer pages. Once they've been matched and appear in the  icon for the corresponding data you would like to mark as duplicate.
MATCHED
panel, you can select the Dup.
icon for the corresponding data you would like to mark as duplicate.Matching documents
- Once you've selected a category from theCategorypanel, theMATCHEDandUNMATCHEDpanels will update to display the corresponding data.
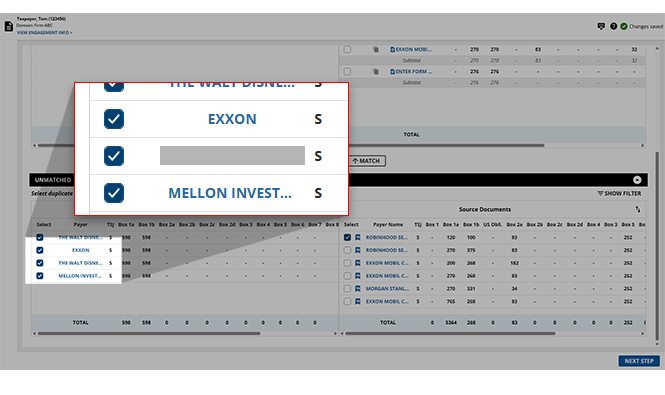
- You can begin matching documents by scrolling to theUNMATCHEDpanel. Select the checkbox of theSource Documentthat you would like to match together. You can select multiple checkboxes to group your selections.noteIf you'd like to view a document before marking it as duplicate, you can double-click the document title to open it in theReview Wizard Image Viewer.The
 TOTALwill update with each document selected.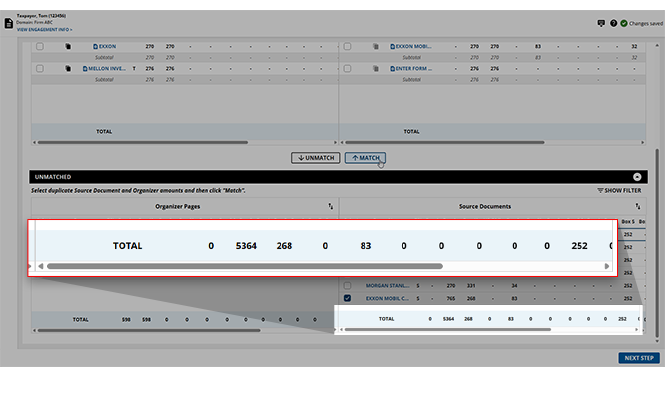
- Once your source documents are selected, select theOrganizer Pagefrom either theMATCHEDorUNMATCHEDpanel that you would like to group with the selected source documents. This will typically be a single organizer page. However, you can select as many as necessary.
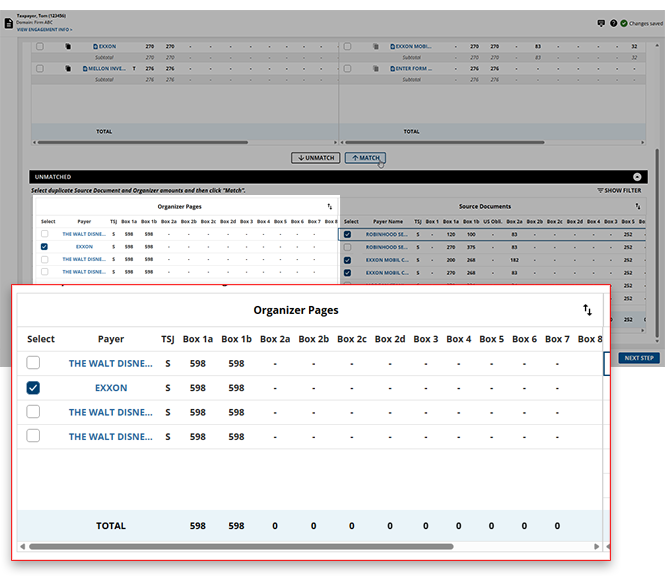
- Once the organizer page and source documents are selected, theMATCHfeature will be enabled, letting you match your selections and move them to theMATCHEDpanel. SelectMATCHto begin matching.
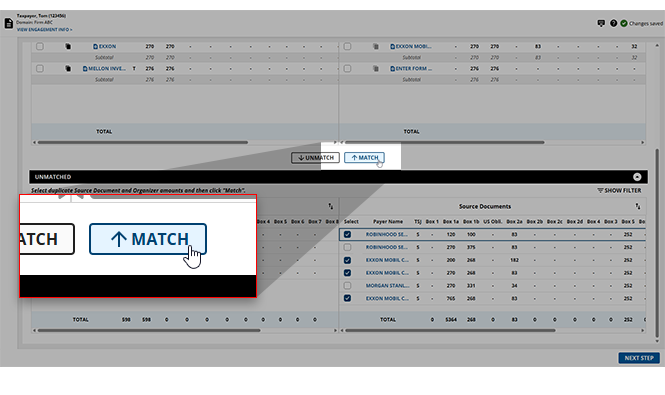
- Your selected source documents and organizer pages will now be grouped together in theMATCHEDpanel, and the subtotal for this group will be displayed beneath the list.
Mark matches as duplicate
Once you've finished matching your source documents with their organizer pages (or if these were automatically matched by the system), you can begin marking the necessary documents as duplicates.
- To mark a document as a duplicate, select theDup. icon for the corresponding document. The documents you select as duplicates won’t export information to the tax application.
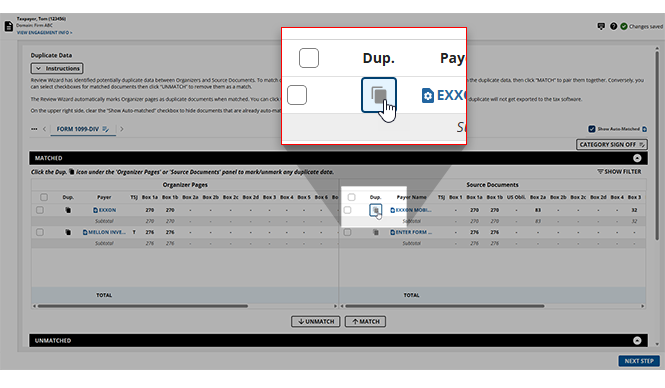 noteIf you select both the organizer page and the source documents as duplicates, none of the data in either will be exported to the tax application.
 - Documents accidentally marked as duplicates can be unmarked as duplicates by selecting theDupicon again.
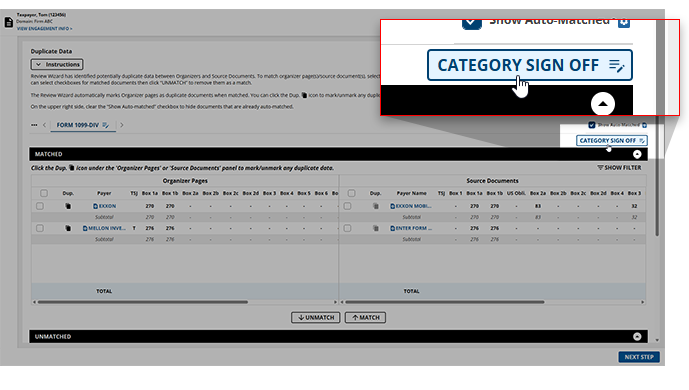
- Once all of the necessary documents in the current category have been marked as duplicate, selectCATEGORY SIGN OFFto acknowledge that all marking has been completed.
- Proceed to the next category in theCategorypanel until all necessary documents have been matched and marked as duplicates.

Unmatching data
If documents have been erroneously matched together, users can select the matchings and use the
UNMATCH
feature to move the data back to the UNMATCHED
panel.- Select the checkbox of theOrganizer PageorSource Documentyou would like to unmatch.noteSelecting a source document will only unmatch the selected document, however, selecting an organizer page will unmatch all of the documents within it.
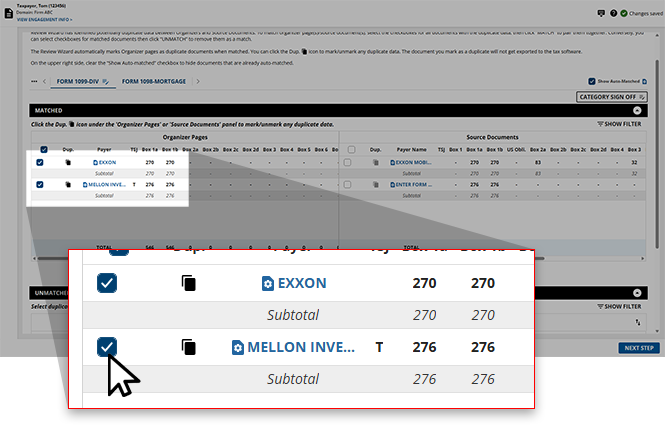
- SelectUNMATCHto unmatch your selections.

- These documents will now appear in theUNMATCHEDsection, ready to be rematched, if necessary.
Verifying data is automatically marked as a duplicate
Some data may have been automatically marked as duplicate by the system. When this happens, users can verify the data marked as duplicate and make any adjustments necessary.
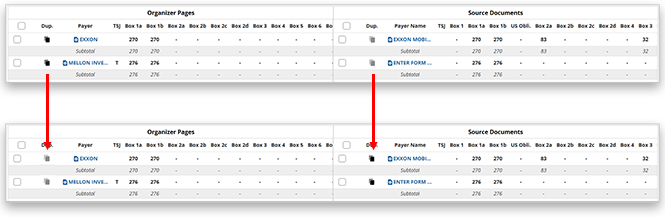
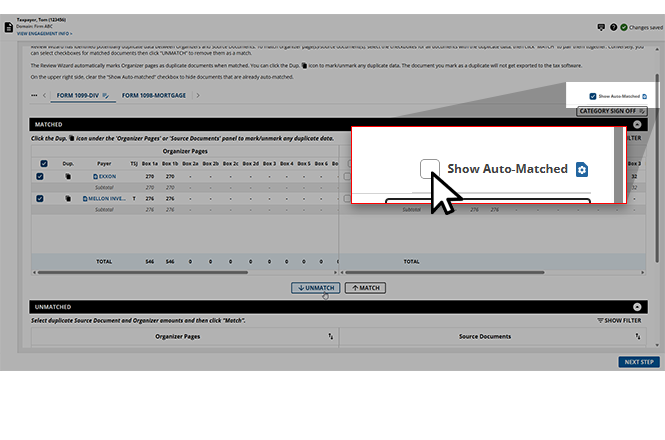
- Select theShow Auto-Matchedcheckbox and the items that were automatically marked as duplicates will appear in their respective category. If data was identified as duplicate, the organizer pages and source documents will be matched, and the organizer pages will be checked as duplicate.

- If you want to change the duplicate from theOrganizer Pageto theSource Document, manually deselect theDup.icon in theOrganizer Pagessection and instead select it in theSource Documentssection.
- You can clear theShow Auto-Matchcheckbox to hide the duplicate data that was identified automatically.
Filtering data
In cases where there are too many values in a client's binder to efficiently scroll through looking for a specific document or page, users can utilize the
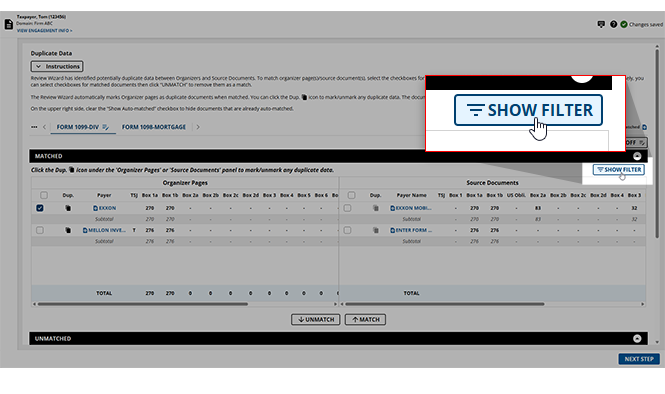
SHOW FILTER
feature to show values of a specific value.- SelectSHOW FILTER.
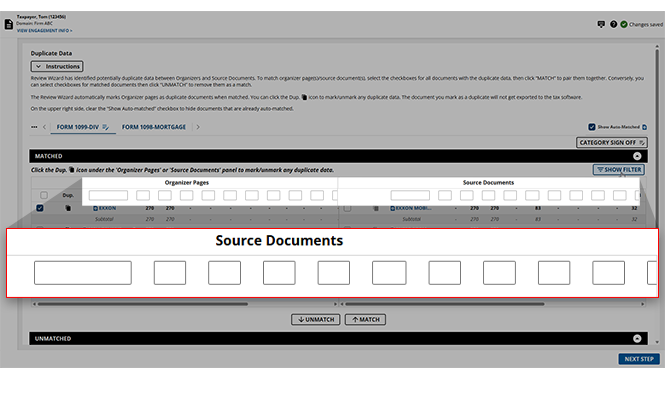
- A field will appear on each column title.
- Provide values in the fields to filter the records, only displaying data that contains what you typed in that field.
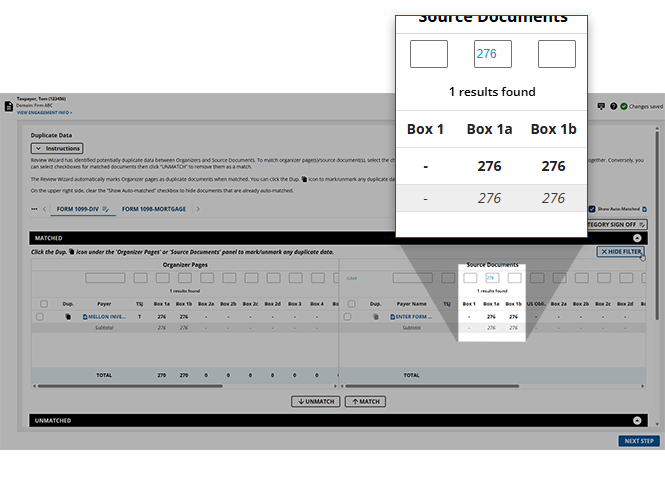
- If you no longer need the filter, you can selectHIDE FILTERto remove the filter.
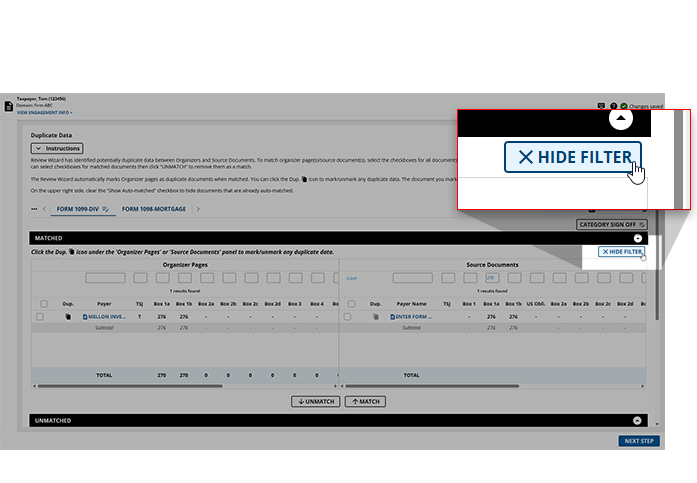
Update field value
If you erroneously made a verification error in the
Step 2 Verication
wizard, then you now have the ability to correct the field or value in post-verification wizards like Superseded Documents, CFA (Child Form Association), duplicate data, and NFR (New Form Review).- To update the field in post-verification wizards, open the document you'd like to update in the document viewer panel.
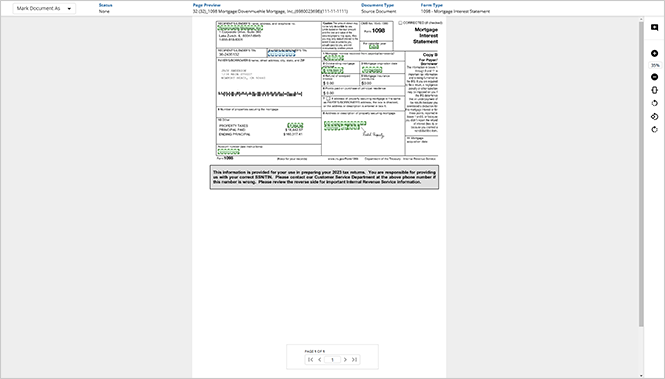
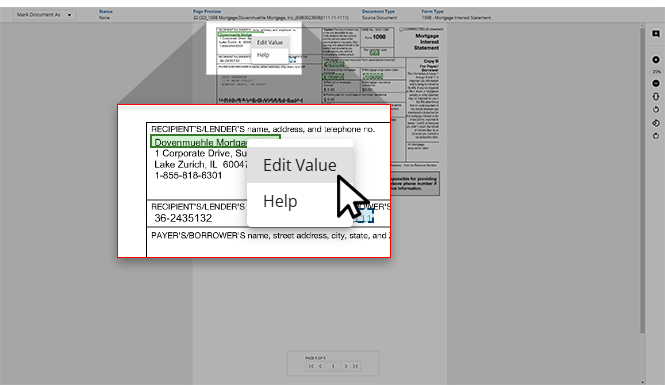
- Right-click the field that you want to update, then selectEdit Value.
- TheEdit Valuewindow will appear. Here, you can review theFORM,FORM NAME, andFIELDfor further context.
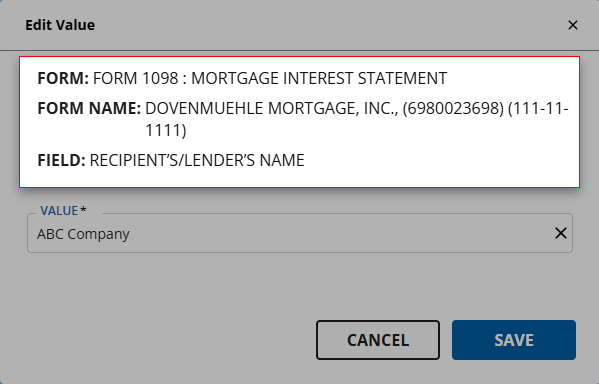
- Select the correct value from the options listed in theVALUEdropdown menu. If the correct value is not listed, you can type the correct value instead.
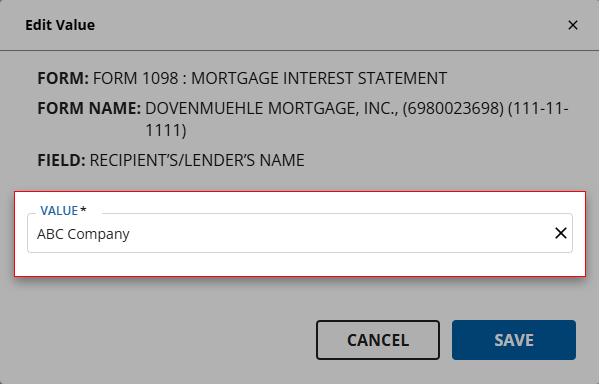
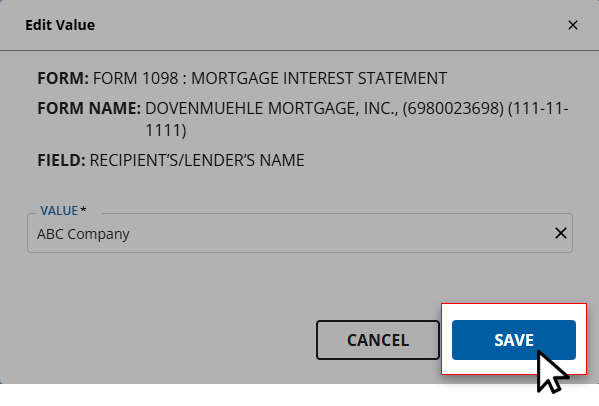
- Once the correct value is provided to theVALUEfield, selectSAVEto save your changes and return to the wizard.
Mark document as Prior Year
If you erroneously forgot to mark the page as a prior year document in the
Step 2 Verification
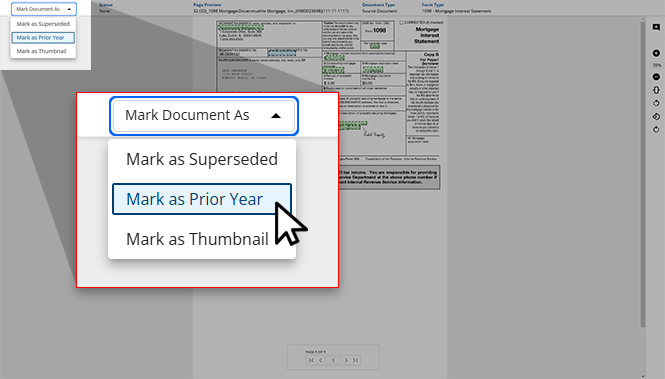
wizard then you have the opportunity to mark the documents as a prior year document in post verification wizards like CFA (Child Form Association), and NFR (New Form Review).- Open the document you'd like to mark as a prior year document in the document viewer panel.
- SelectMark as Prior Yearfrom theMark Document Asdropdown menu.
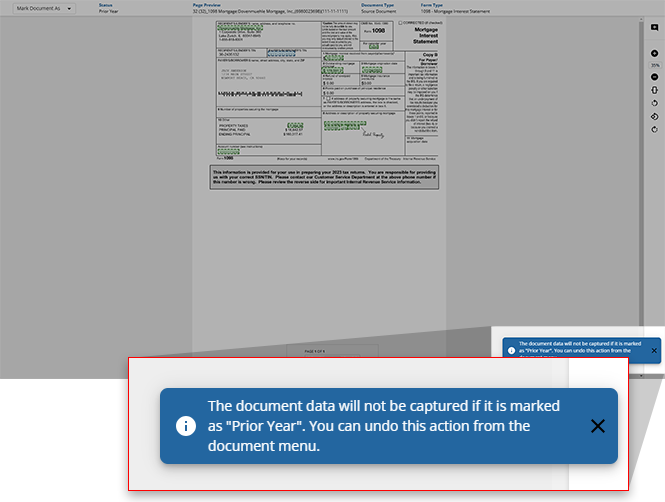
- A toast notification will appear indicating that this document has been marked as aPrior Yeardocument.
How will duplicates appear in the binder?
- Duplicate data won’t be exported to the tax return.
- Documents marked as a duplicate will have aDuplicatestamp next to the amount in the SPbinder.
- The items are displayed in the following sequence:
- Automatically marked as Duplicates & manually match as duplicates:
- Anything that was automatically marked as duplicate by SurePrep will appear on top, then amounts that a user manually marked as Duplicates.
- Remaining organizer/source documents that weren't matched.
- For In-house verification, select to refer to the matrix that will guide you on handling the documents appearing in this wizard.
What's next?
Once all of the categories have been signed off, this binder is ready for the next step,
New Form
review. Users can select NEXT STEP
at the bottom of the screen to move this engagement to the next wizard.note
Once a binder advances to the next step, it can't return to the duplicate data wizard so confirm that you are ready to proceed.
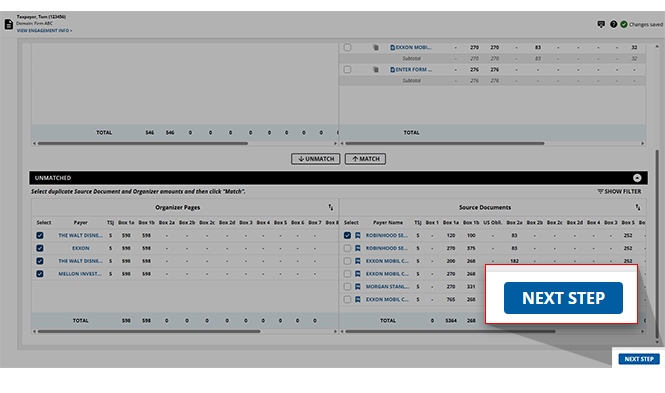
When the Duplicate Data window appears asking to confirm your decision to proceed, select
CONTINUE
to proceed to the next step or select CANCEL
to return to the Duplicate Data wizard.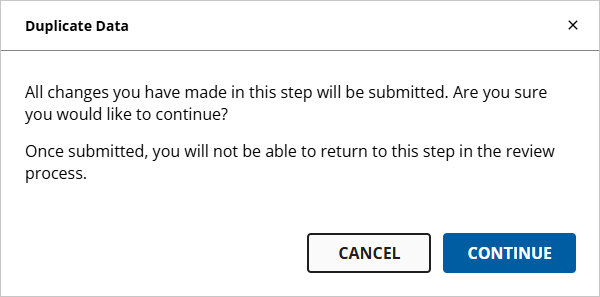
Related Content
-
Review Wizard on Web is here!
Format: Article

