
Step 6 - New Form Review (NFR)
New Form Review
(NFR) wizard enables source documents to be associated with a Proforma Form. When you see that an unmatched document matches a proforma form, you can match these 2 in this step.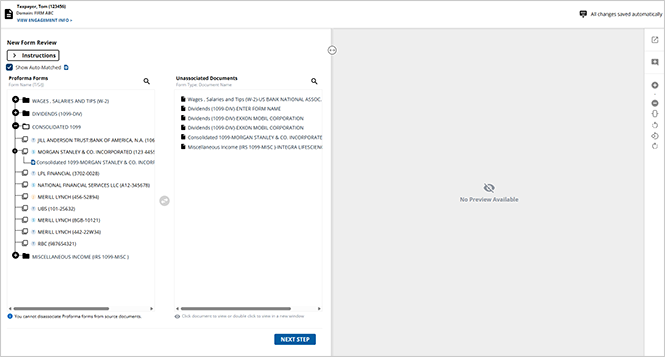
New Form Review (NFR)
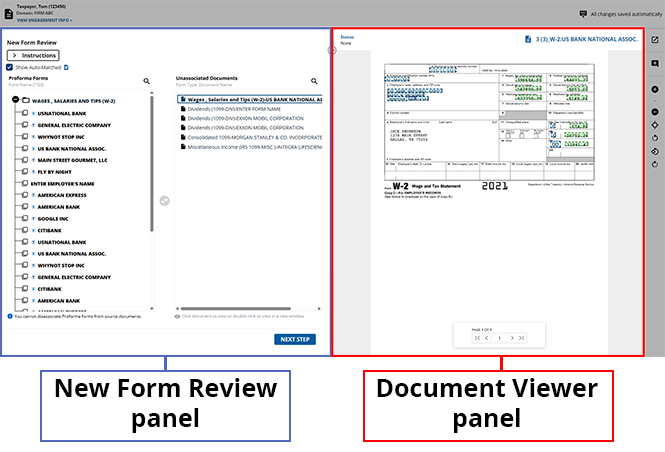
Upon loading the NFR wizard, your screen will be segmented into 2 parts:
- TheNew Form Reviewpanel: This panel will additionally be separated into theProforma Formssection listing all proforma'd forms and theUnassociated Documentssection listing all pages of the source documents that haven’t yet been matched.
- The document viewer panel to review the contents of the unmatched source document of your choice before matching it to a proforma form.
Source documents appear in the
Unassociated Documents
section only if the form category for that source document has proforma forms that appear in the Proforma Forms
section.note
To view the shortcut keys for this review wizard step, select the
Keyboard Shortcut
icon.Associating Unassociated Documents to a Proforma Form
Users can select a document from the  icon to add this form to the selected Proforma Form.
Unassociated Documents
section and the corresponding Proforma Form
you intend to associate it with, then select the middle Arrow
note
When an unmatched document is selected, its potential proforma forms will expand and be bolded in the
Proforma Form
section.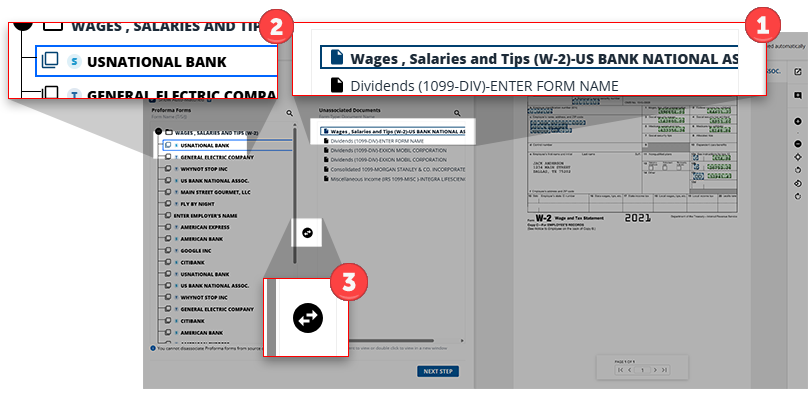
Users will see a notification if the attempted association can't be completed due to incompatibility. When this happens, select a new proforma form to associate this document to.

Alternatively, users can undo a matching they performed erroneously by selecting the source document from the
Proforma Form
section, and then selecting the middle Arrow
icon to remove the selected page to the Unassociated Documents
section.
Update a form name
If the proforma form name is not the same as the source document name, you can change the name of the proforma form after associating the respective source document to it.
Right-click the proforma form, then select
Edit
to begin changing its name.
The
Edit Form
window will appear.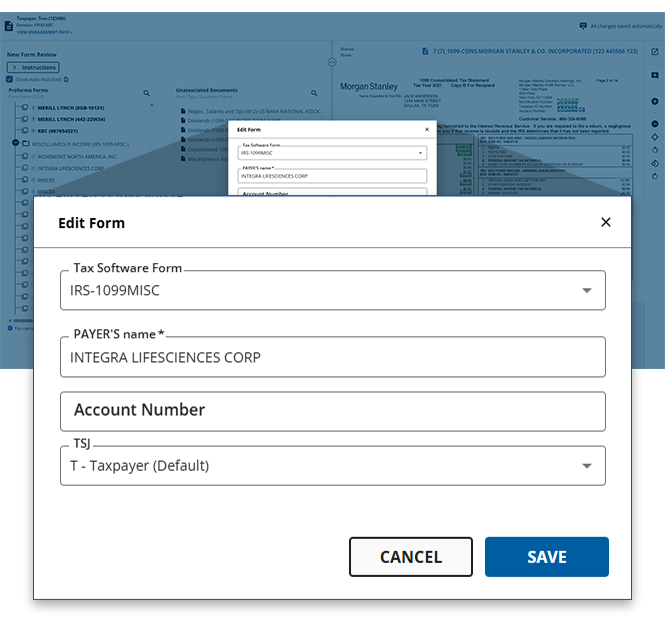
Edit the name of this form in the
PAYER'S Name
field, then select SAVE
to save your changes. The change in the proforma form name will now be reflected in the New Form Review
panel.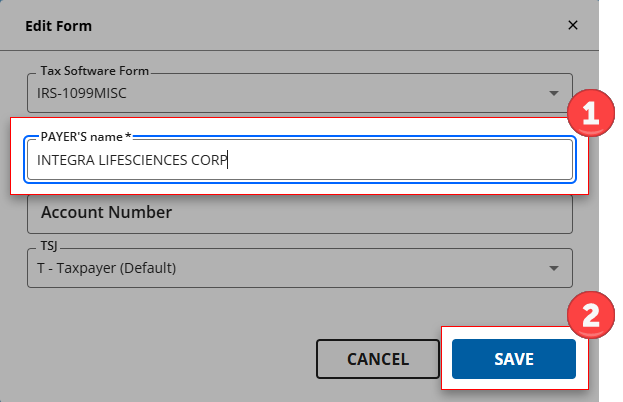
If you've resubmitted the document with additional documents, then on a subsequent submission you can view the prior submission pages in the New Form Review wizard. Select the  icon next to them.
Show Auto-Matched
checkbox. The prior submitted pages will appear with the PS
You can't disassociate prior submission pages from the
Proforma Forms
panel. When you try, you will see a toast notification appear at the bottom of your screen indicating so.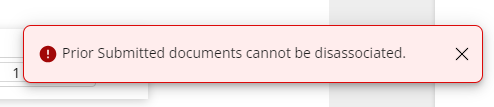
Will I need to assign these forms every year?
You don’t have to match these documents to proforma’d forms every year. Instead, they’ll get associated automatically if the document comes with the same description as the current year.
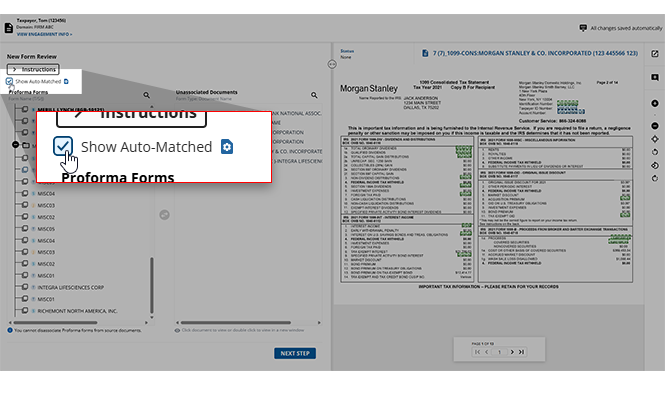
In the New Form Review wizard, source documents may automatically get associated with a proforma Input Form.
Select the
Show Auto-Matched
checkbox to expand the Proforma Forms
section.note
This checkbox will be selected by default if all source documents have been automatically matched to their proforma forms by the system and no additional documents need to be matched manually in this step (that is, no source documents appear in the Unassociated Documents section).
When does the NFR wizard appear?
When does the new form Review wizard appear?
Situation | Manual matching required? | NFR outcome | SPBinder and tax return |
|---|---|---|---|
Documents are 100% matched to proforma based on a few parameters (like TSJ, Account number, EIN, etc.) | No | 1040SCANverify & 1040SCAN PRO: NFR won’t appear. | Documents have been correctly matched to the proforma form and the data exports to the correct line in the tax return. |
New tax return file with no proforma forms. | No | Documents will be created as new lines in the Index Tree and the tax return since nothing in proforma. | N/A |
Documents couldn’t be fully matched automatically using the applied parameters (like TSJ, Account number, EIN) | Yes | 1040SCANverify & 1040SCAN PRO: A firm verifier must review the attempted matching and complete the matching if necessary. | 1040SCANverify: If the attempted matching is not reviewed/completed by a firm verifier, the user must make changes in the binder and/or tax return. |
The documents couldn’t be matched | Yes | 1040SCANverify: Matchings must be completed by a firm verifier. | 1040SCANverify: If matching is not completed by a firm verifier, changes must be made in the binder and/or tax return. |
Update field value
If you erroneously made a verification error in the
Step 2 Verification
wizard, you can correct the field or value in post-verification wizards like Superseded Documents, CFA (Child Form Association), duplicate data, and NFR (New Form Review).- To update the field in post-verification wizards, open the document you'd like to update in the document viewer panel.
- Right-click the field that you want to update, then selectEdit Value.
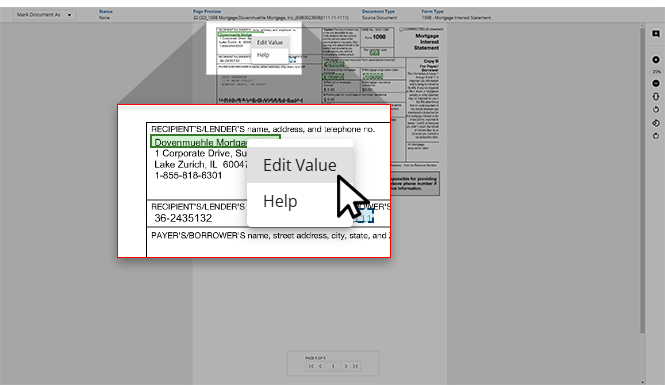
- TheEdit Valuewindow will appear. Here, you can review theFORM,FORM NAME, andFIELDfor further context.
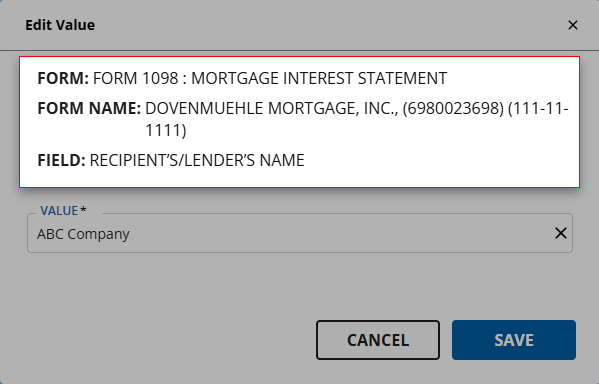
- Select the correct value from the options listed in theVALUEdropdown menu. If the correct value is not listed, you can type the correct value instead.

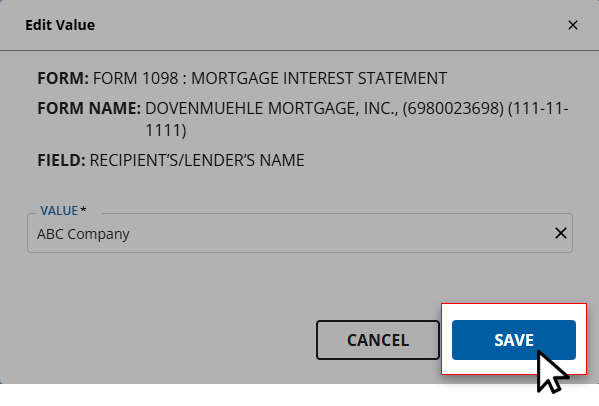
- Once the correct value is provided to theVALUEfield, selectSAVEto save your changes and return to the wizard.
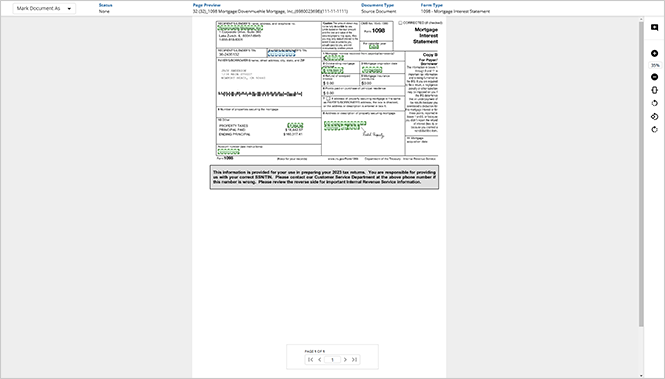
Mark document as Superseded
If you erroneously forgot to mark the page a superseded document in the
Step 2 Verification
wizard, then you have the opportunity to mark the documents as a superseded document in post verification wizards like CFA (Child Form Association), and NFR (New Form Review).- Open the document you'd like to mark as superseded in the document viewer panel.
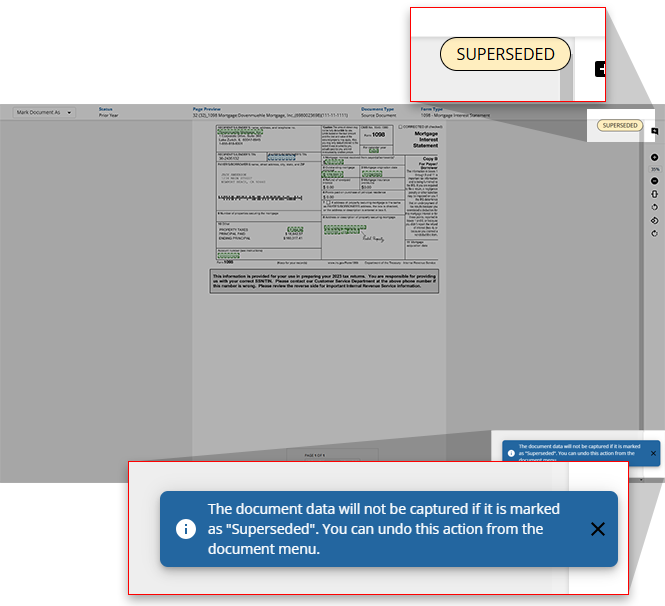
- SelectMark as Supersededfrom the options listed.
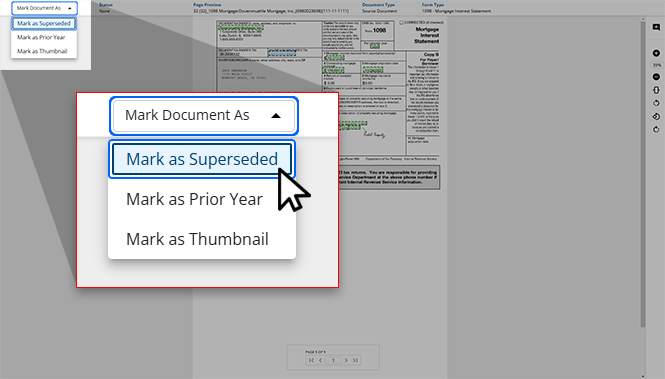
- TheSUPERSEDEDstamp will appear on the document, and a toast notification will appear indicating that this document has been marked as superseded.
Mark document as Prior Year
If you erroneously forgot to mark the page as a prior year document in the
Step 2 Verification
wizard then you have the opportunity to mark the documents as a prior year document in post verification wizards like CFA (Child Form Association), and NFR (New Form Review).- Open the document you'd like to mark as a prior year document in the document viewer panel.
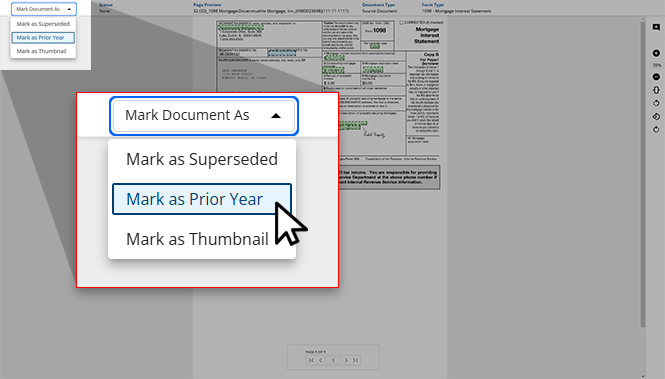
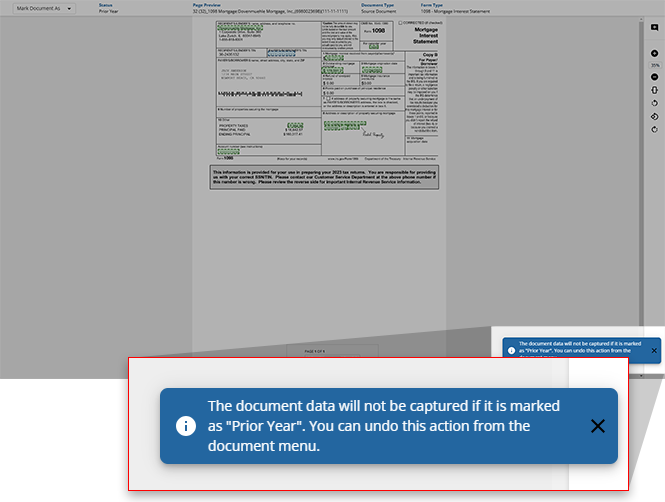
- SelectMark as Prior Yearfrom theMark Document Asdropdown menu.
- A toast notification will appear indicating that this document has been marked as aPrior Yeardocument.
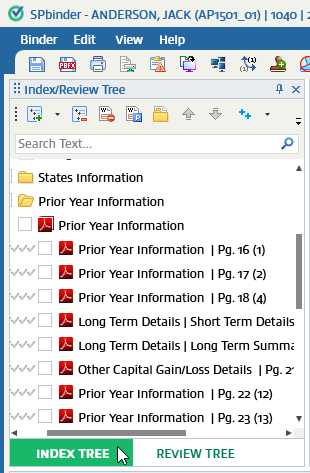
Prior Year Information in SPbinder
In SPbinder, documents marked as a prior year document will appear in
INDEX TREE
, Prior Year Information
.
Merge Form
During the verification process, some multi-page documents may have been separated into multiple document sets due to the identifier fields (SSN, Payer's Name, EIN, Ownership code, Account Number) being mismatched from 1 page to another. In the NFR step, you can merge split documents back into a single document form.
To select documents from anywhere in the list, hold the
Ctrl
key and select the documents you want to highlight. Release the Ctrl
key after you have selected all the documents.
note
Only documents of the same Form Type can be merged.
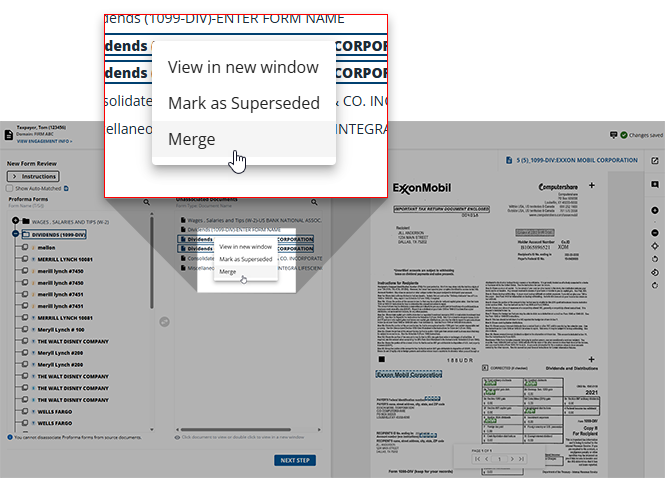
Right-click one of the highlighted documents, and select
Merge
.
The
Merge Documents
window will appear asking the user to select the parent document that the other documents should be merged with. All selected documents will adopt the identifier fields(SSN, EIN, Payer's Name, Account Number) of the parent document.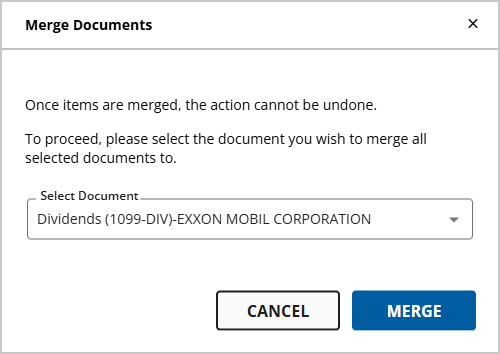
A warning message will appear in the
Merge Documents
window if any of the selected documents contains mismatching identifier fields. Overriding these identifier fields is permanent and can't be undone.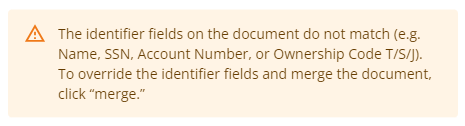
Select the document from the
SELECT DOCUMENT
dropdown menu to allocate one of the selected documents as the parent document.Select
MERGE
to confirm the merging of the documents you selected. If you'd like to cancel the merge, select CANCEL
to return to the wizard. asdf check where they return to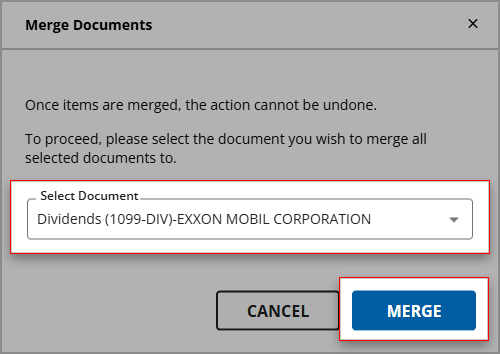
What's next?
Once all of the values have been verified for accuracy, this binder is ready for the next step - Finalization. Users can select
NEXT STEP
at the bottom of the screen to move this engagement to the next wizard.note
Once a binder advances to the next step, it can't return to the New Form Review wizard so confirm that you are ready to proceed.

Related Content
-
Review Wizard on Web is here!
Format: Article