
Canon DR-M260 with Capture Perfect 3.1
Use Capture Perfect 3.1 to create PDF files, which will be uploaded to 1040SCAN. After installing Capture Perfect 3.1, follow these steps.
- Open Capture Perfect 3.1 by selecting .

- SelectScanthenSelect Scanner.

- A window appears listing theScanner Name. SelectCanon DR-M200thenOK.

- SelectScanthenScanner Setting.

- When theCanon DR-M200 Series on STI-0002window appears, adjust the settings:Color mode:Active ThresholdDots per inch:300 dpiPage Size:Match original sizeScanning Side:Skip blank page.

- Select theBrightnesstab, then theGammabutton.Brightness: 100Contrast: 129

- TheGamma Settingswindow appears. Adjust the settings to the following and thenOK.Custom:Uncheck the box to disable the Gamma setting then selectOK.
- Select theImage processingtab and adjust the settings to the following:Color drop-out:NoneCharacter Emphasis:LowRemove Shadow:Check the box

- Select theImage controltab and adjust the settings to the following:Edge emphasis:NoneMoire Reduction:NoneErase Dot:Check the boxErase Notch: Check the boxColor unevenness reduction:Check the box

- Select theFeedingtab and adjust the settings to the following:Document type:Plain paperFeeding Option:Standard Feeding

- Select theError Detectiontab and adjust the settings to the following:Detect by Ultrasonic:Check the boxSkew Detection:Check the boxPaper Feed error detection:Check the box
- Select theOtherstab and adjust the settings to the following:Documentation Orientation:0 degreesBatch Separation:None

- Once the above settings are done, selectSave.

- TheSave User Preferencewindow appears. EnterSurePrepand selectOK.

- SelectOKat the bottom of the screen to save these settings for your SurePrep profile.

- SelectScanthenScan Batch to file.

- Save the file by selecting the location of your choice as shown:

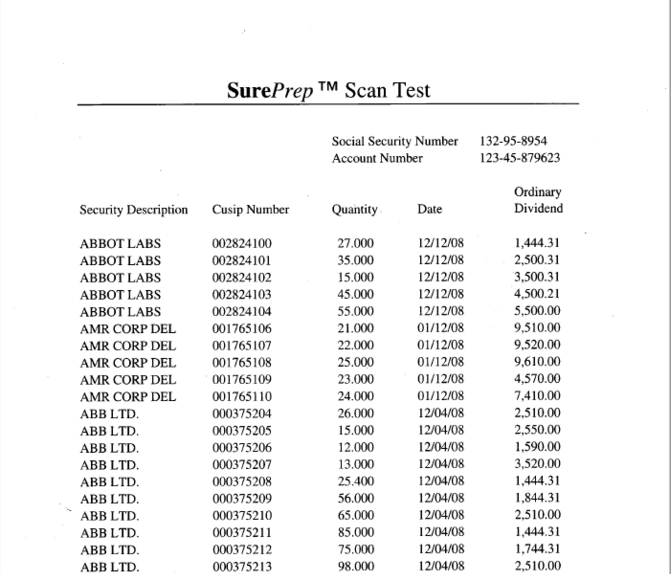
- The saved PDF (Test Scan Pages) will appear as shown below:

Related Content
-
Canon scanner setup
Format: Article

