Triva isn't available right now.
Move faster and accomplish more with a professional-grade, generative AI assistant that transforms the way you work. Thomson Reuters CoCounsel is with you every step of the way, backed by authoritative content and industry-leading expertise.
Conduct legal research efficiently and confidently using trusted content, proprietary editorial enhancements, and advanced technology.
Accelerate how you find answers with powerful generative AI capabilities and the expertise of 650+ attorney editors. With Practical Law, access thousands of expertly maintained how-to guides, templates, checklists, and more across all major practice areas.
Move faster and accomplish more with a professional-grade, generative AI assistant that transforms the way you work. Thomson Reuters CoCounsel is with you every step of the way, backed by authoritative content and industry-leading expertise.
Provides a full line of federal, state, and local programs. Save time with tax planning, preparation, and compliance.
Automate work paper preparation and eliminate data entry
Software that keeps supply chain data in one central location. Optimize operations, connect with external partners, create reports and keep inventory accurate.
Automate sales and use tax, GST, and VAT compliance. Consolidate multiple country-specific spreadsheets into a single, customizable solution and improve tax filing and return accuracy.
Search volumes of data with intuitive navigation and simple filtering parameters. Prevent, detect, and investigate crime.
Identify patterns of potentially fraudulent behavior with actionable analytics and protect resources and program integrity.
Analyze data to detect, prevent, and mitigate fraud. Focus investigation resources on the highest risks and protect programs by reducing improper payments.
Around the globe, with unmatched speed and scale, Reuters Connect gives you the power to serve your audiences in a whole new way.
Reuters Plus, the commercial content studio at the heart of Reuters, builds campaign content that helps you to connect with your audiences in meaningful and hyper-targeted ways.
Reuters.com provides readers with a rich, immersive multimedia experience when accessing the latest fast-moving global news and in-depth reporting.
Shop our latest titles
ProView Quickfinder favorite libraries


 icon.
icon. 


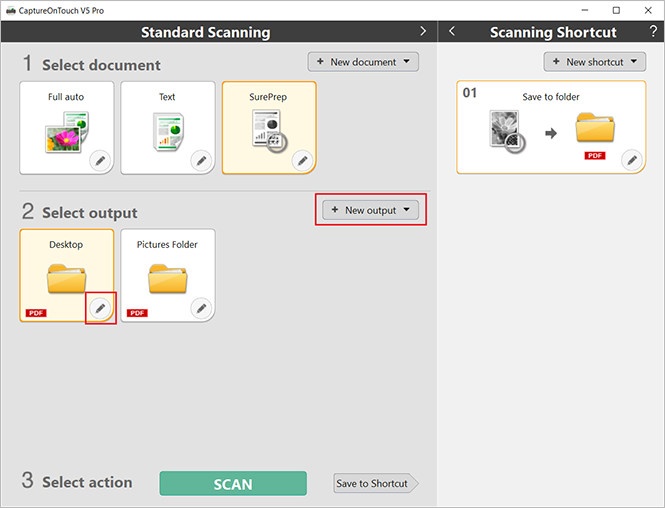
 icon to edit an existing option.


