![]()
Triva isn't available right now.
Check out the support page for our phone number and hours
![]()
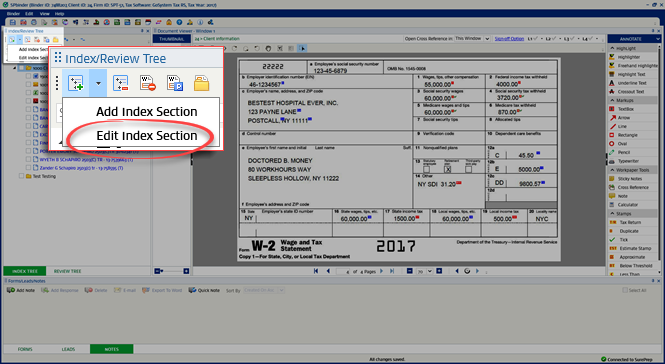
 , and then select

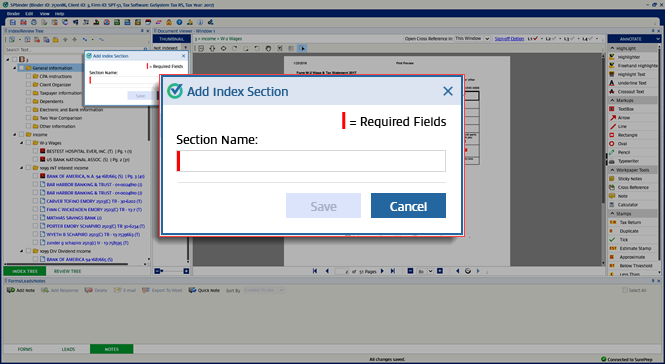
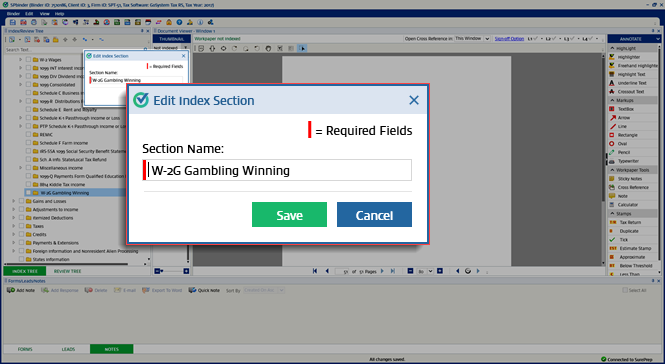
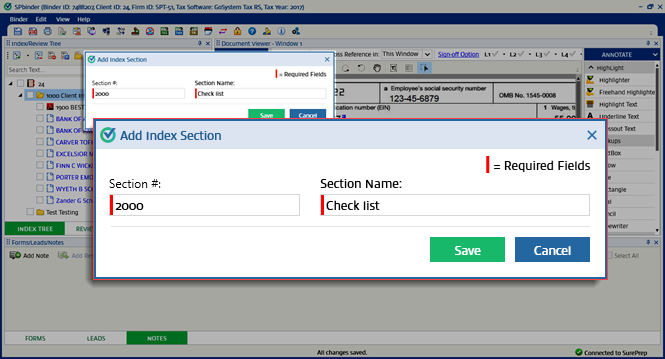
 . You can point to the fields to view the tool-tip. The Save button will be disabled unless the mandatory fields are filled in.
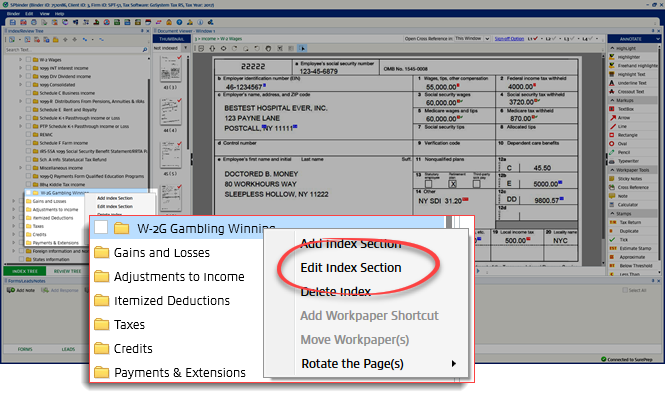
 , and then select