Review Fields
To select a field as reviewed, select to select the cell which needs to be reviewed and press
Ctrl
+
left-click
. This will place a check mark (

) on the cell indicating that the field is reviewed.
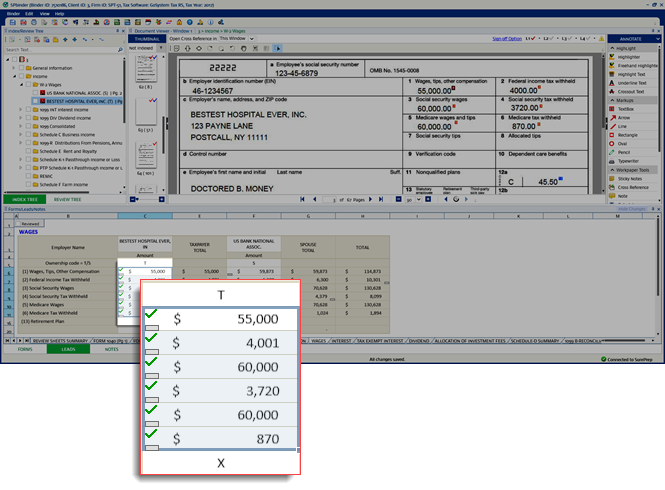
To review multiple cells at once, select and drag to select multiple cells at once, and then press
Ctrl
+ left-click
.
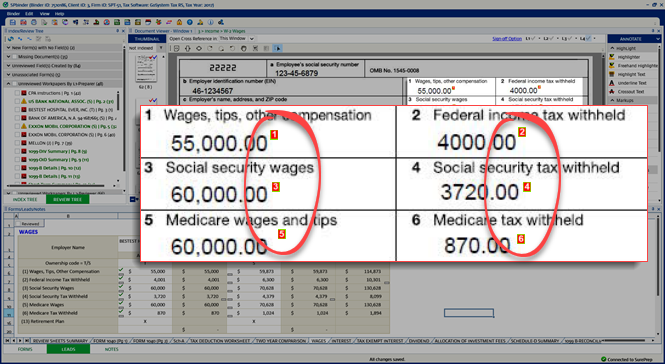
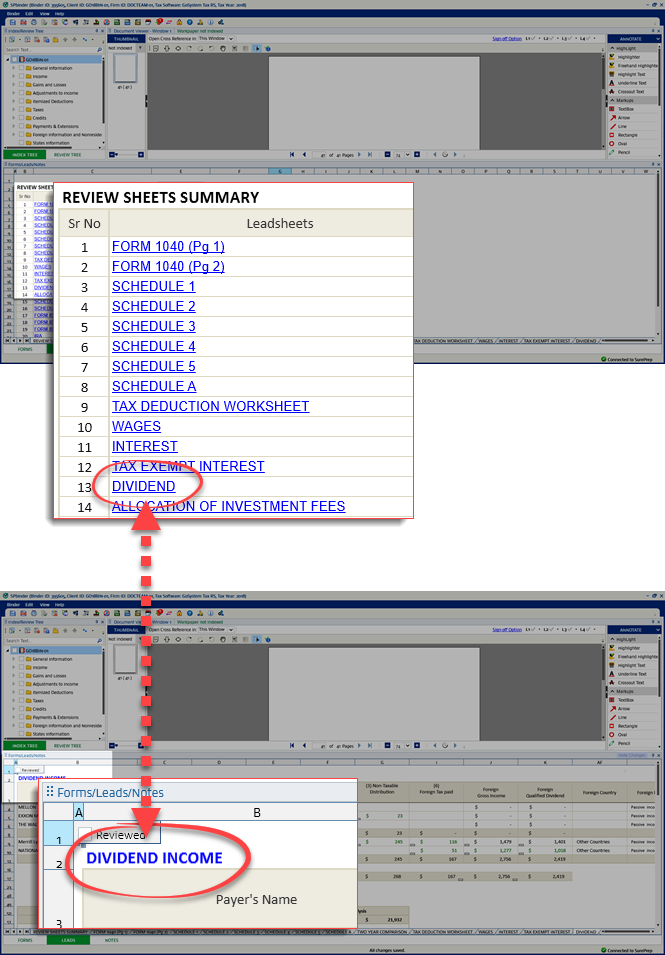
The linked reference on the document image area, the field in the input form area and the form in the
Review Tree
will automatically get reviewed when you select a field as reviewed in a leadsheets and vice-versa.
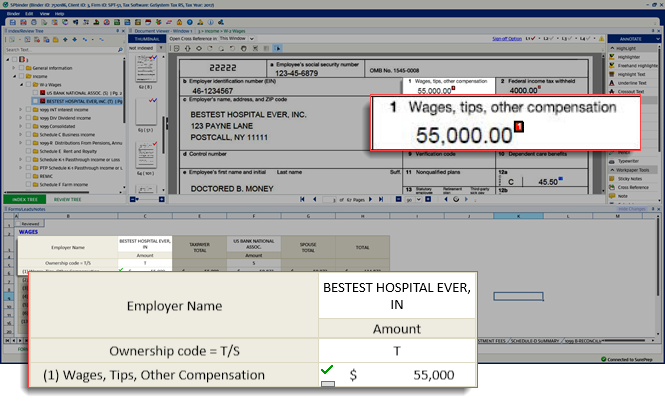
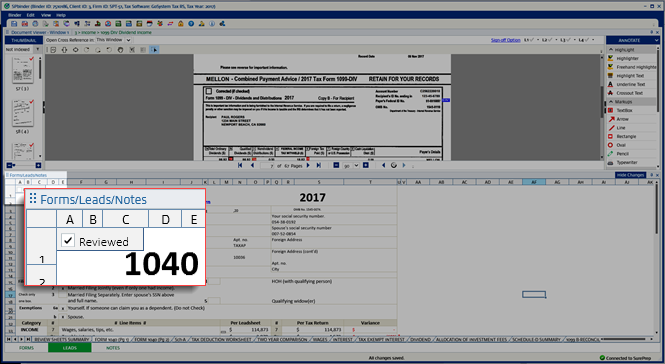
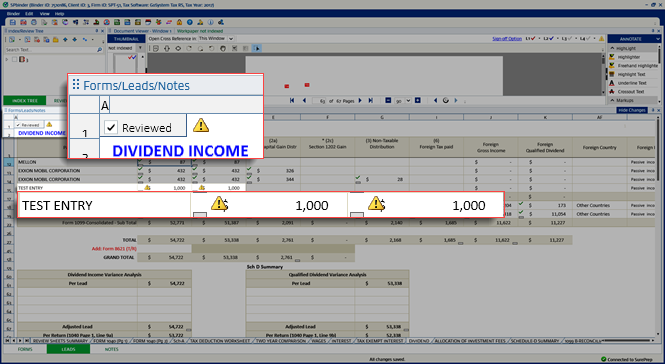
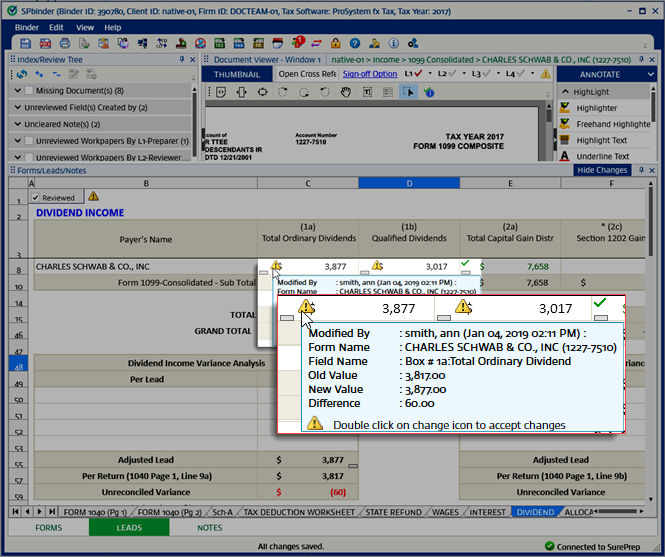
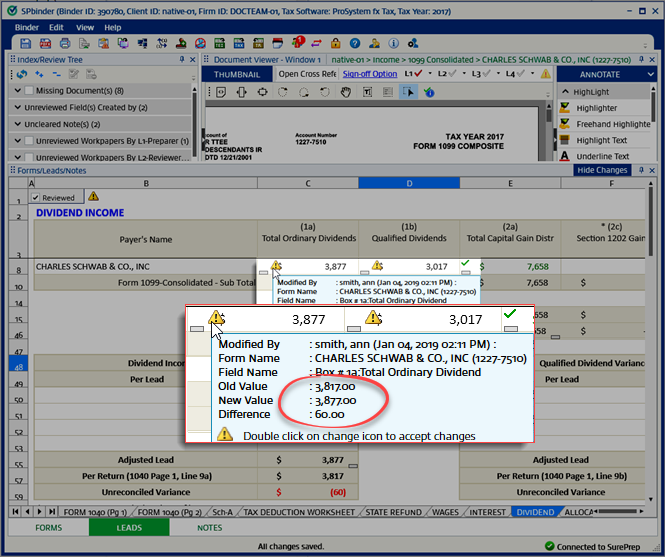
As soon as a field is marked as reviewed in a leadsheet:
A checkmark (
) appears at the top left of the cell indicating that the field is reviewed.
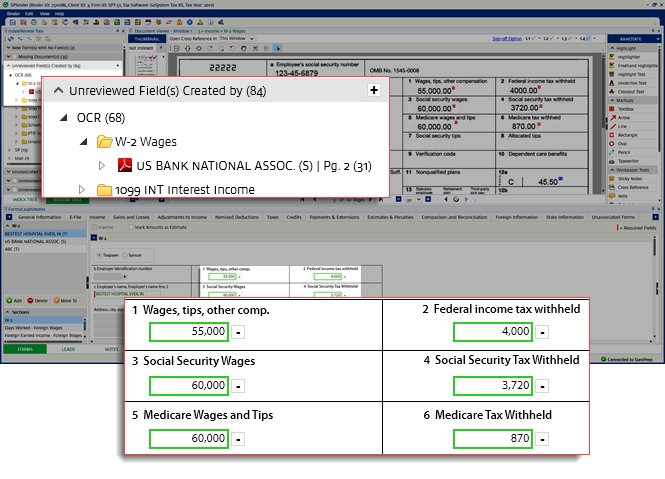
The border of the reference checkbox linked to that reviewed field will change to green.
The field will be reviewed and disappear from the
Unreviewed Field(s) Created By
category in the
Review Tree
.
The border of the input field box color will change to green.
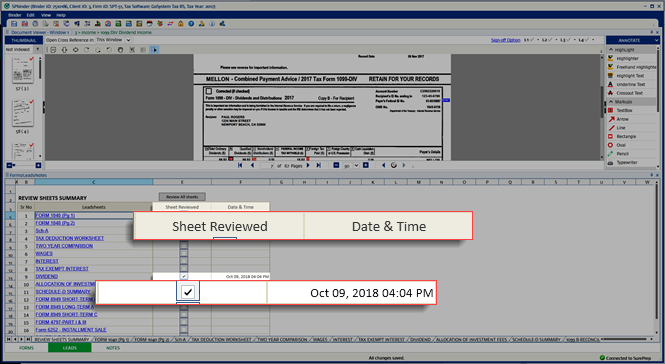
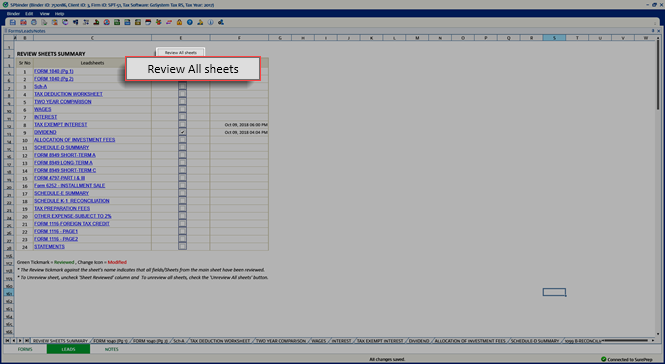
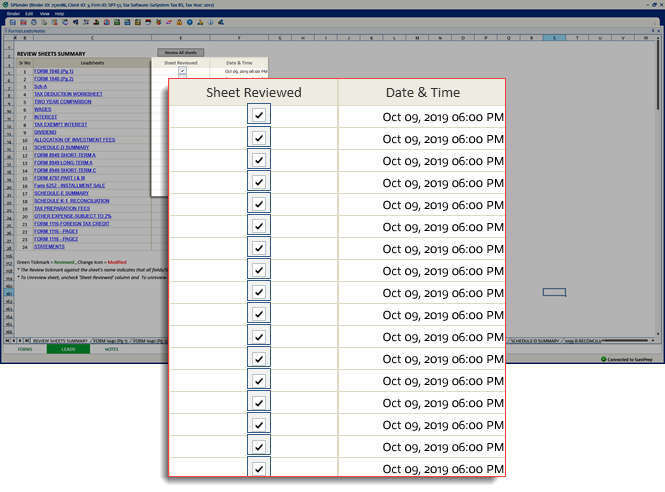
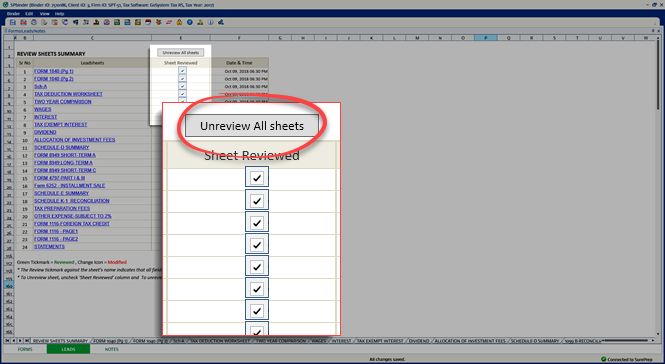
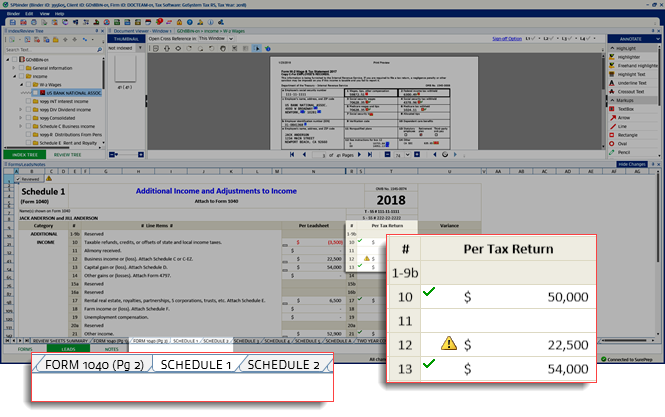
If all the fields on the Leadsheet have been reviewed then a check mark will appear in the
All Fields Reviewed
column in the
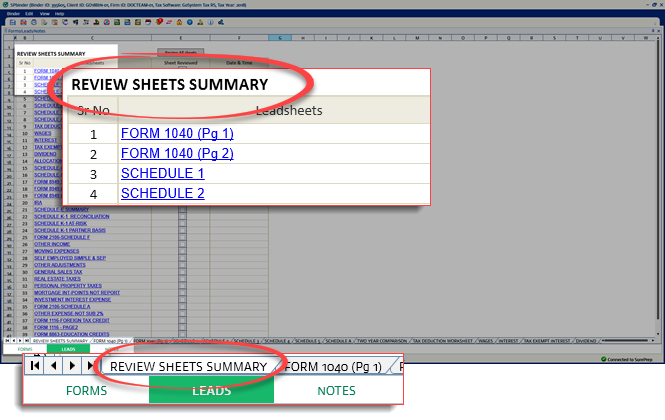
Review Sheets Summary
sheet.
View details on 'Review Sheets Summary
To select a field as unreviewed, select the cell which needs to be marked as unreviewed, and press/hold
Ctrl + left-click
in that cell. The reviewed check select (
) will get removed when the field has been marked unreviewed.
The linked reference on the document image area, the field in the input form area and the form in the Review Tree will automatically get unreviewed when you select the field as unreviewed in a leadsheet and vice-versa.
Additional check marks for reviewing
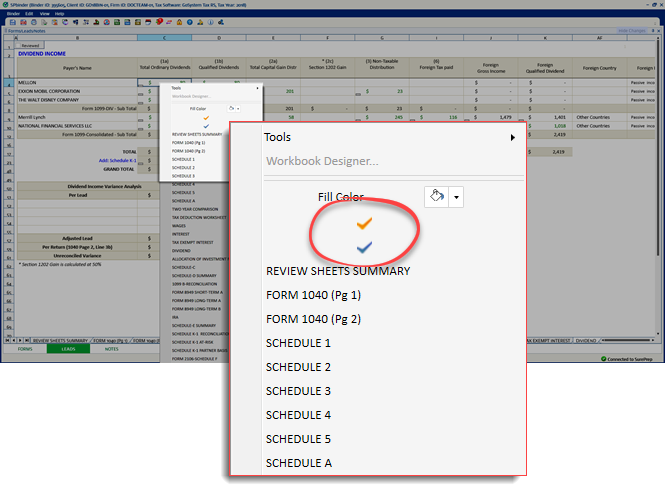
In addition to reviewing leadsheets with green check marks, you can also place orange and blue check marks in the cells. This lets users the flexibility to select cells in the Leadsheet as reviewed at multiple levels.
To place an orange or blue check select, right-click the cell and select the required checkmark.
If a field is already reviewed with a green checkmark, the selected check mark will be placed to the right of the green checkmark.
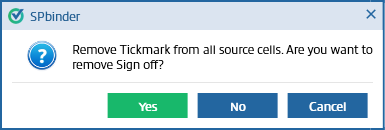
To remove the check mark, right-click the cell and select the same check mark again.
The check marks placed in the
Leads
won’t impact the workpapers or the
Review Tree
.
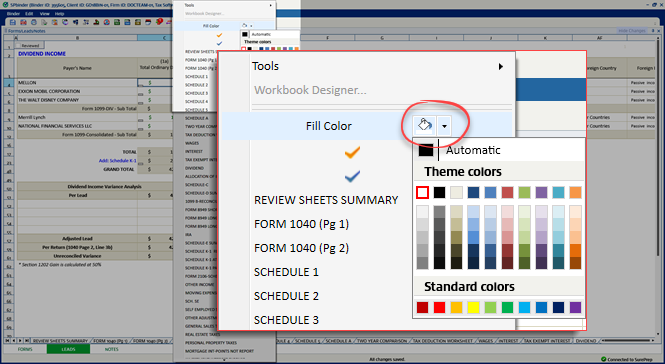
Fill color option in Leadsheets
The
Fill Color
option in the leadsheet lets you fill the cells with a preferred background color in order to make the review process easier.
To fill color, right-click the cell and select
Fill Color
on the shortcut menu.
If you want to select a different color, select the picklist icon

next to the paint icon

on the shortcut menu. When you view the color palette, select on a color to select it.
The selected color will be set as the new default. You can change the color again if required.
The fill color of the cell is reflected in the 2050 DreamWorkpapers.