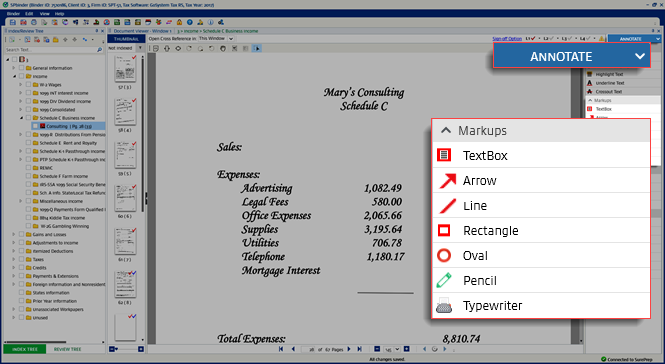
Typewriter
A typewriter helps eliminate errors caused by illegible or confusing handwritten markups.
Typewriter
can also be printed and viewed in DreamWorkpapers.
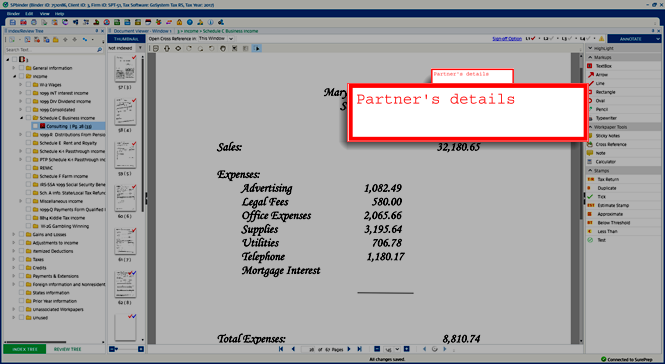
Select
Typewriter

under
Markups
, select on the workpapers to place the typewriter annotation on it, and then type the necessary information.
The spell check feature is automatically enabled. Any word spelled incorrectly will be underlined with a red wavy line. Right-click the underlined word to choose the proper word.
Change Case
lets you change the case of any word. Select the text, right-click the highlighted text, then select
Change Case
on the shortcut menu.
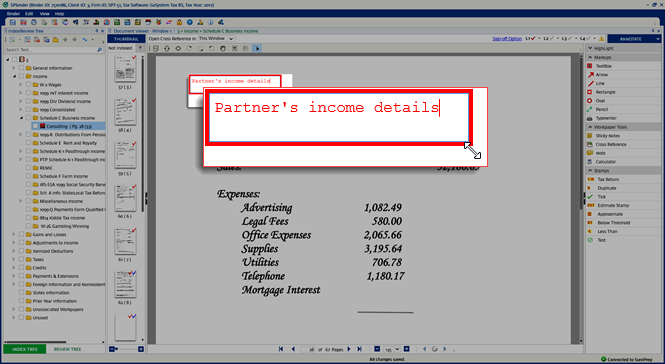
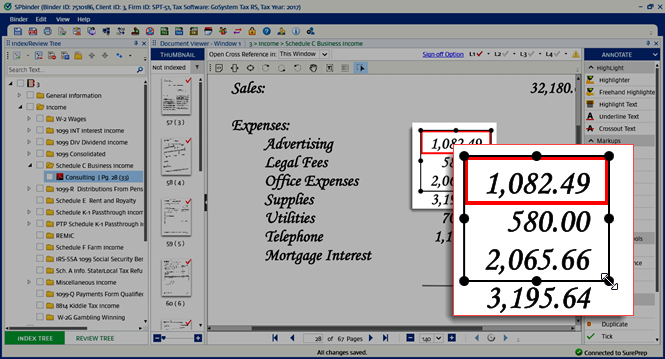
You can also move, edit, or resize the typewritten text by selecting it and dragging one of the handles.
To change the text appearance, right-click the
Typewriter box
then select
Properties
to open the
Typewriter properties
window.
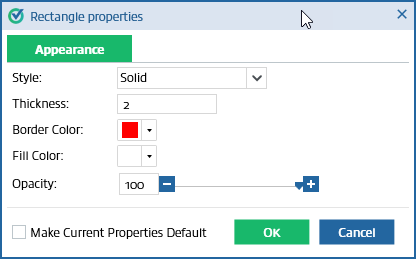
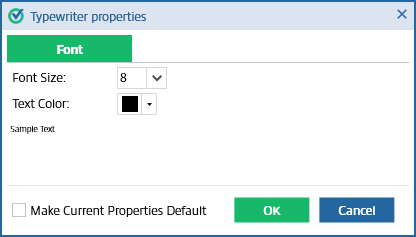
On the
Typewriter Properties
window, you can change the text appearance by changing the following attributes:
If you want to set your changes as default, you can select the checkbox for
Make Current Properties Default
.
Select
OK
to save the changes made. Select
Cancel
to close without saving changes.
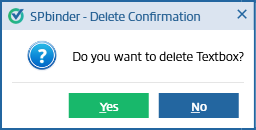
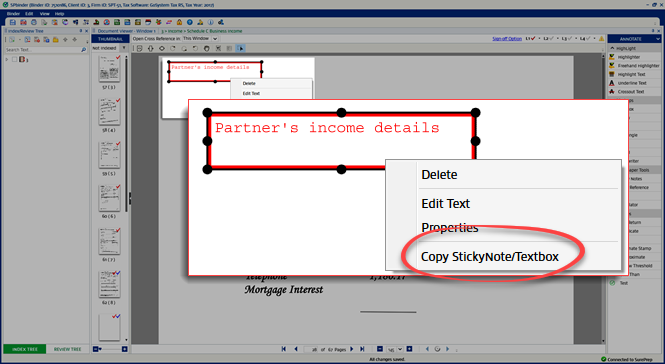
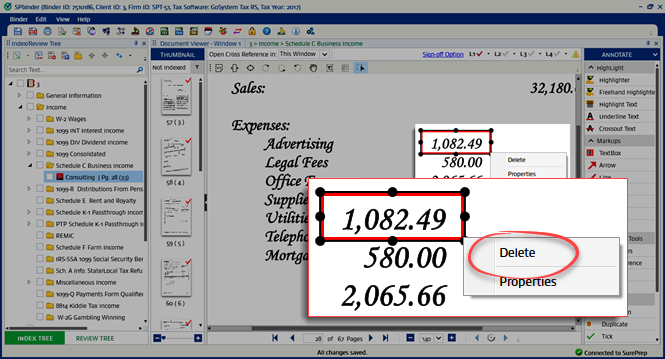
To delete the typewritten text, right-click the text, then select
Delete
on the shortcut menu. You can also use the
delete
key on your keyboard.
To edit the typewritten text, right-click the text and select Edit Text on the shortcut menu. You can also double-click the text to enable edit mode.
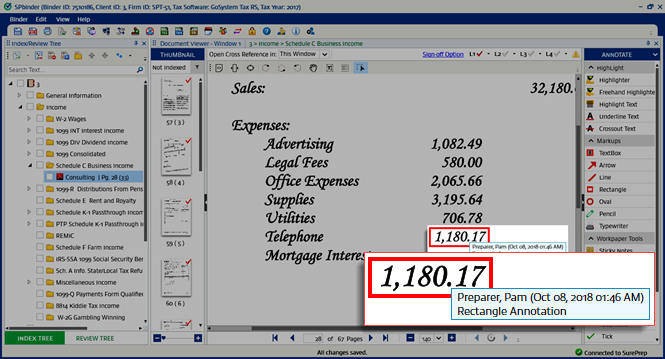
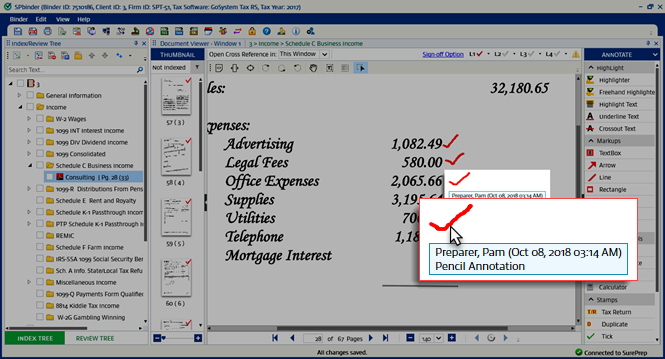
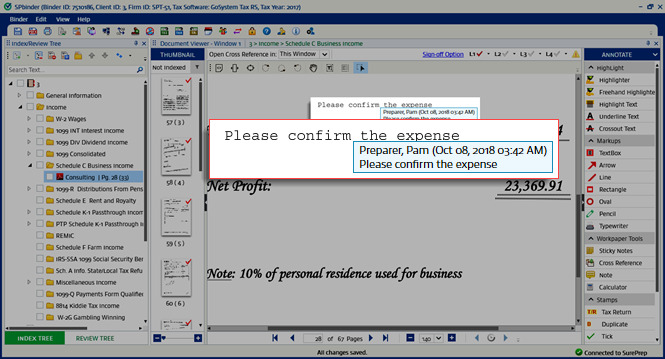
You can point to the typewritten text to see the user who placed it and when it was placed.

 under
under 


 under
under 


 Article