
Transfer documents to different client profiles
The transfer documents feature lets you copy documents from 1 client profile to another client profile. You can transfer documents to any offline, duplicate, or connected client. Transferring documents can be helpful when your offline client decides to create their own TaxCaddy account.
Once the client is connected, you can transfer documents from an offline client profile to a standard (connected) client. You can also transfer documents between similar types of client profiles (that is,
Offline to Offline
).Enable transfer documents permissions
Users must have the proper group permissions to use the transfer documents feature.
Go to , then assign the user group
Can Transfer Documents
permission. Users assigned to this user group will be able to transfer documents from 1 TaxCaddy client profile to another.
Transfer documents
Follow these steps to transfer documents from 1 client profile to another:
- Sign in to TaxCaddy.
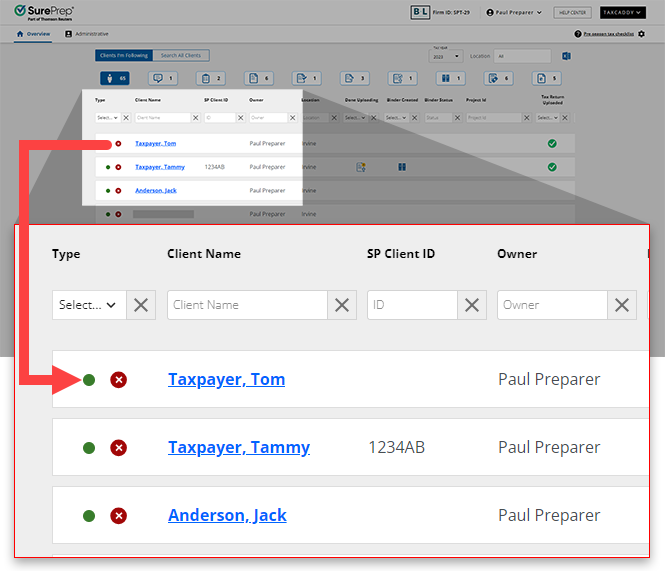
- On theOverviewscreen, locate the client you want to transfer documents from, then select the client tile to view the client profile.
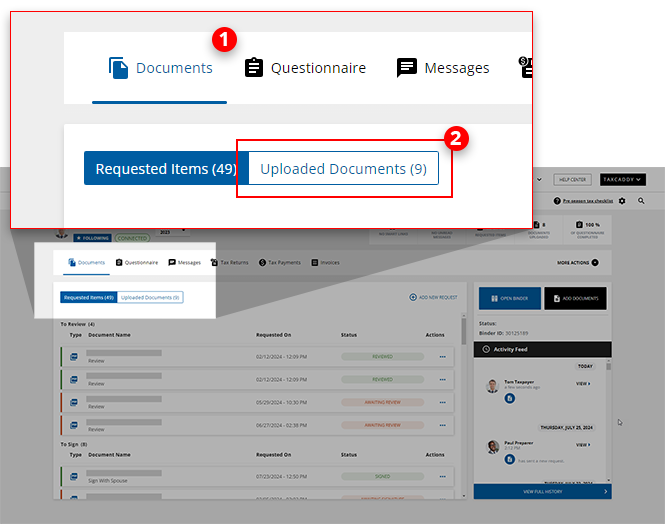
- SelectDocuments, then selectUploaded Documents.
- Select the checkbox for documents you want to transfer. You can only transfer a maximum of 50 documents at 1 time.
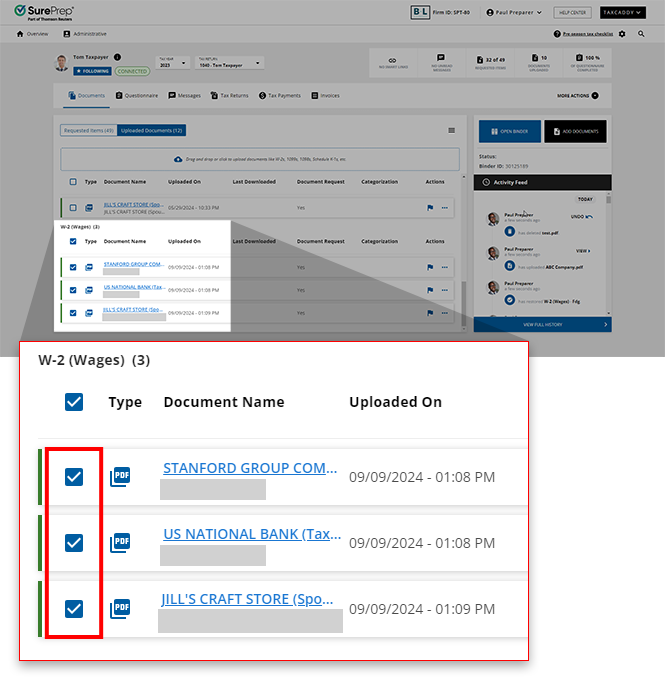 noteSelectSelect Allif you want to select all uploaded documents at once.
 - Select the multi-documentMenu
 icon, then select Transfer. Users without theCan Transfer Documentspermission won’t have theTransferoption.
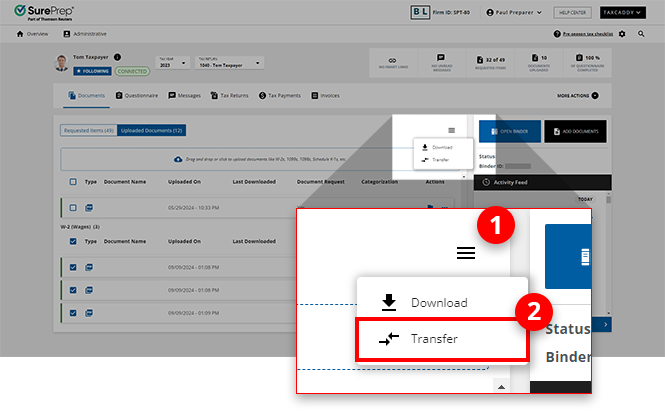 Alternatively, if you only want to transfer a single document, select theMenu
 icon on the document tile, then select Transfer.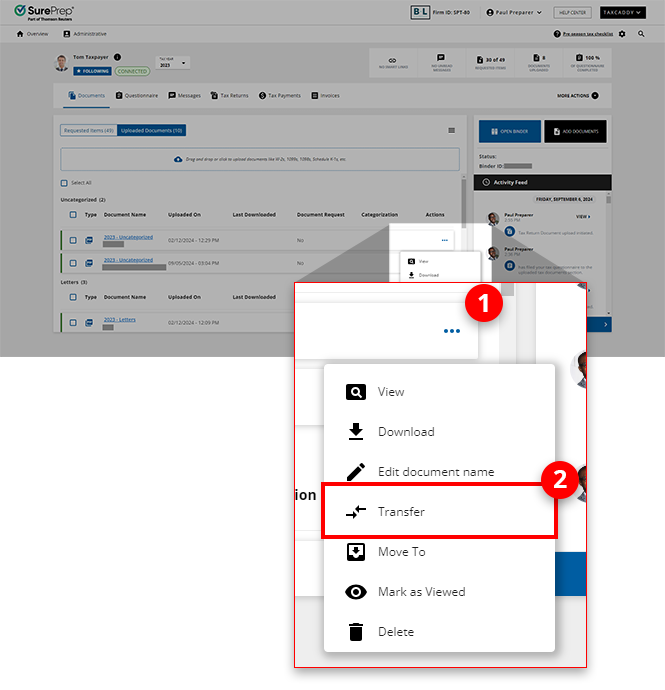
- On theTransfer Documentwindow, select your client.
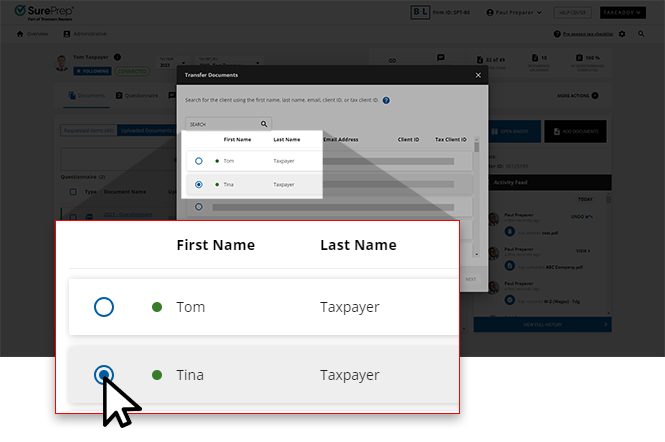 By default, theTransfer Documentwindow displays the clients you are following or assigned to. If you can't locate your client, then use theSEARCHfield to find your client. You can search for a client using theFirst Name,Last Name,Email,SP Client ID, orTax Client ID. Once you have located the client, select the option to select the client.
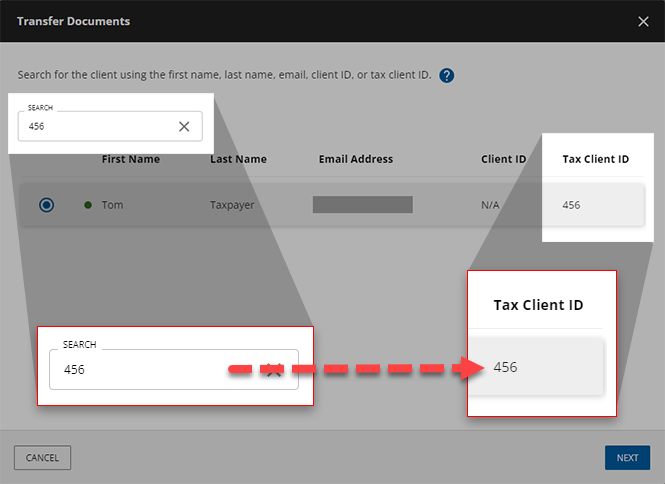 Users that have 7216 consent access restrictions will only see client profiles for clients that have granted 7216 consent.
 - SelectNEXT.

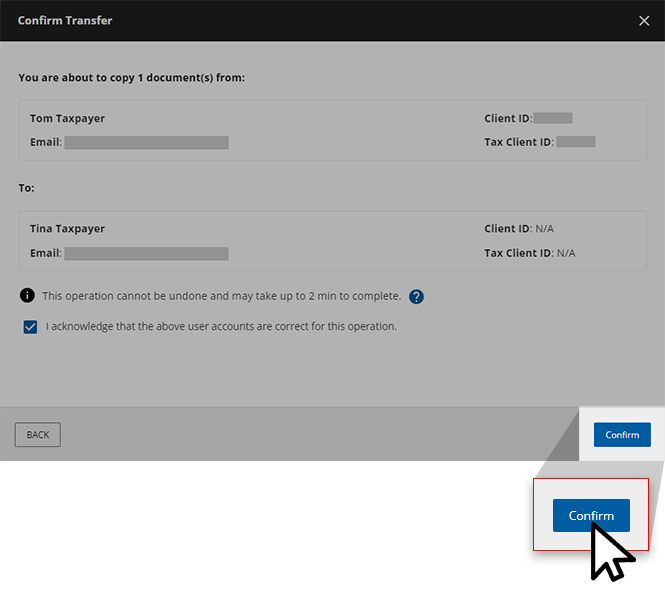
- Once you have verified the recipient client profile, selectI acknowledge that the above user accounts are correct for this operation.
 This operation may take up to 2 or more minutes depending on the number of documents currently in the queue.
 - SelectConfirmto begin transferring documents.
- On theTransfer Completewindow, selectOK.
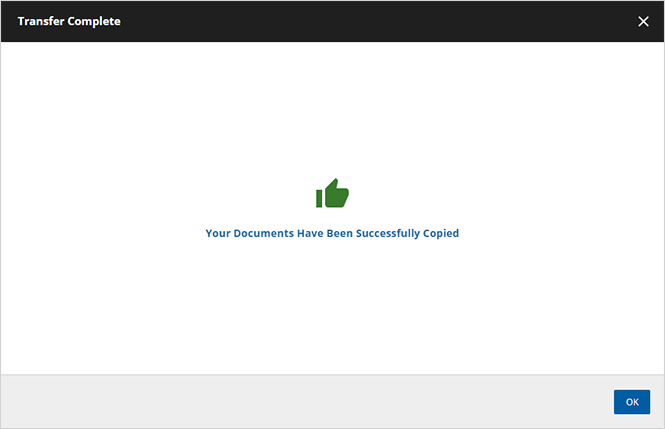 '
' - Go to the to find the transferred documents. Documents will appear in the same category they were uploaded in originally.
 noteDRL that has been addressed already will also be addressed as uploaded documents on the recipient client profile. DRL that hasn’t been addressed in the original account will be addressed as uploaded if the name, category, and subcategory match the DRL.
Requirements
Feature | Details |
|---|---|
Firm-Level Setting | This feature is enabled by default for all new firms. Firm domains created prior to 01-05-2022 can contact SurePrep to enable this feature if it is not already enabled for your firm. You can check if the feature is enabled by enabling the Can Transfer Documents permission. |
Permissions | Users must have the Can Transfer Documents permission enabled. |
Client Profile |
|
Document Limit | Maximum 50 documents per transfer |
Related Content
-
Move documents to another category or tax year
Format: Article

