![]()
Triva isn't available right now.
Check out the support page for our phone number and hours
![]()
Tax Software | Description |
|---|---|
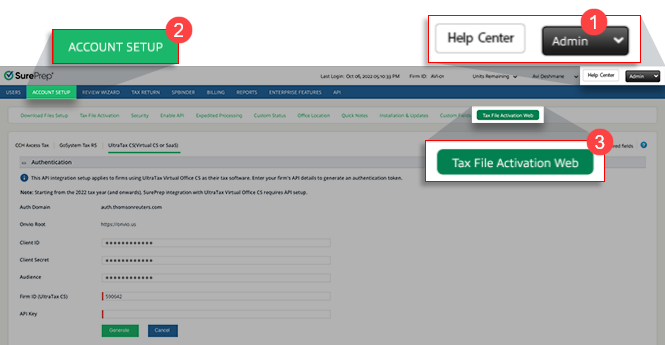
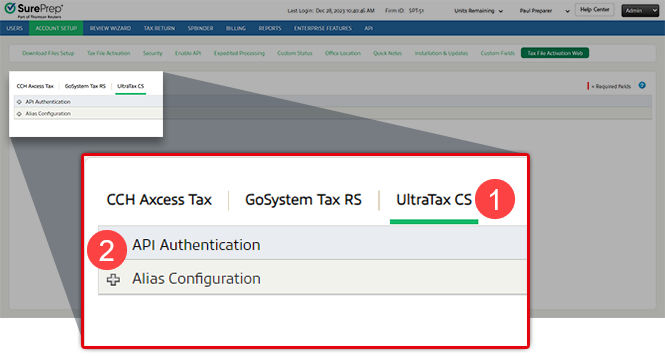
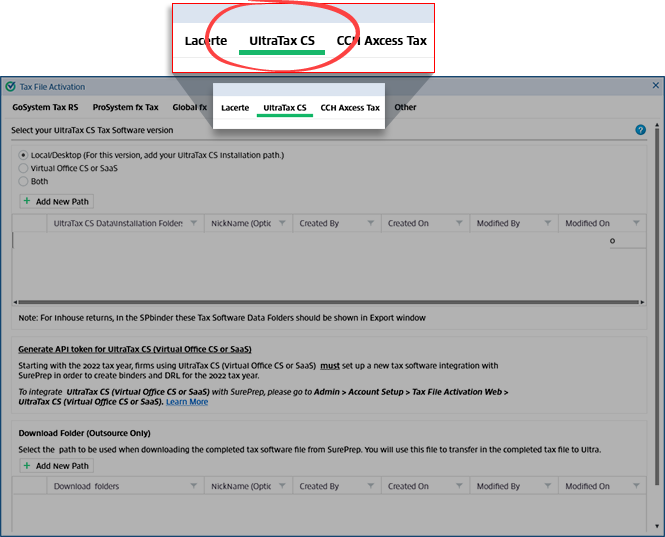
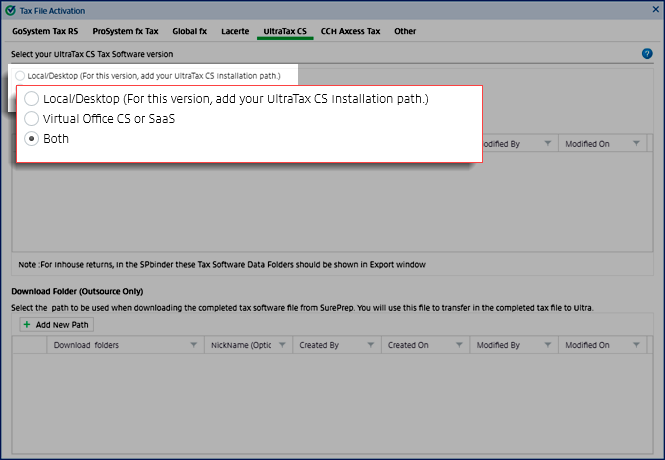
UltraTax CS (Virtual Office CS or SaaS) | Authenticating the tax software lets you integrate SurePrep services with your tax software. After the integration is complete, you will be able to create binders in FileRoom, Create Custom DRLs (Document Request List) in TaxCaddy, and fetch deliverables in Reviewer Dashboard (for example, tax returns, tax payments, and e-file authorizations). |
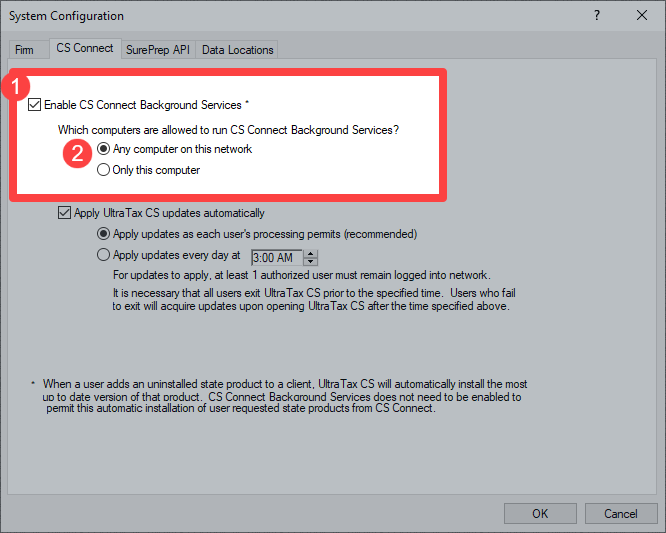
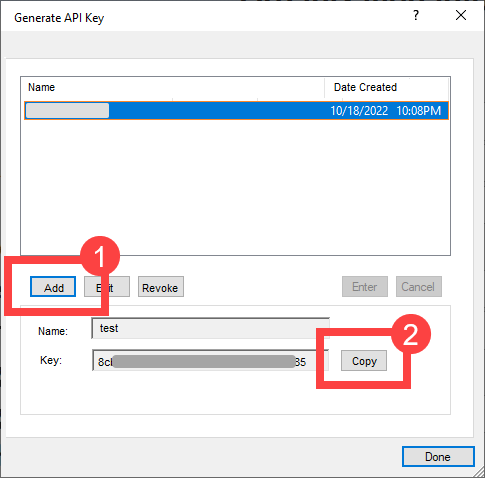
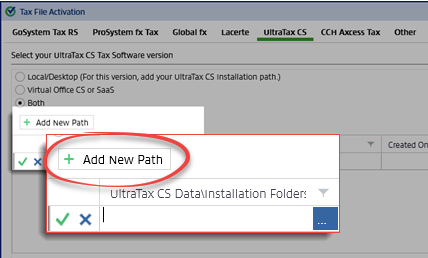
UltraTax CS (Local) | You'll need to set up SurePrep integration using a different method (that is, Tax File Activation window). After integrating UltraTax CS with SurePrep, set up a web authentication token to fetch deliverables like tax returns, tax payments, and e-file authorizations in the Reviewer Dashboard. Follow the instructions in this article to complete the setup. |

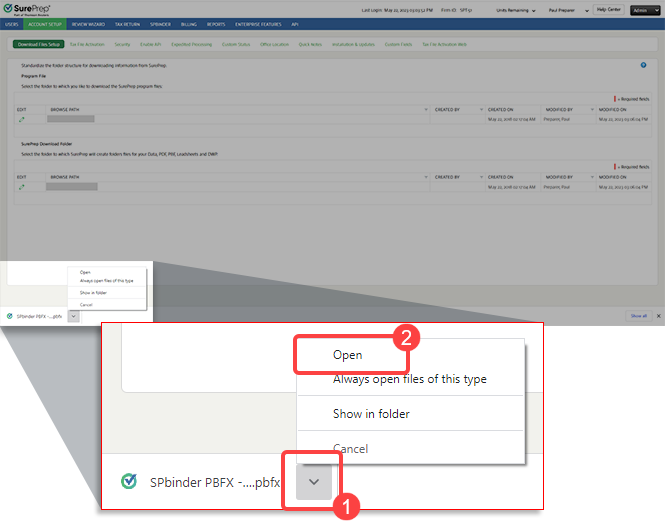
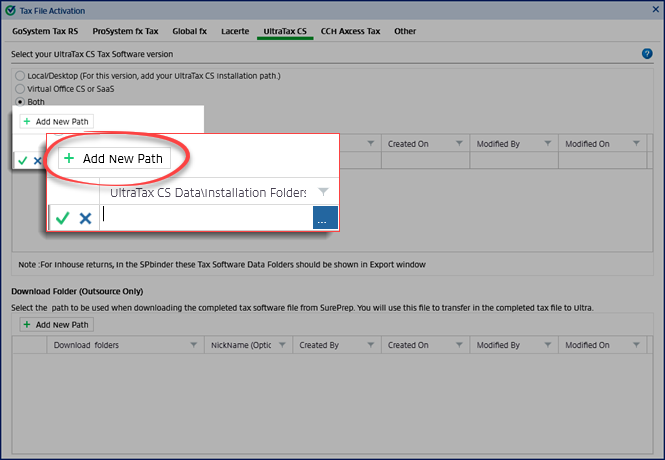

 icon to save the details or select the
  icon to close without saving any changes.
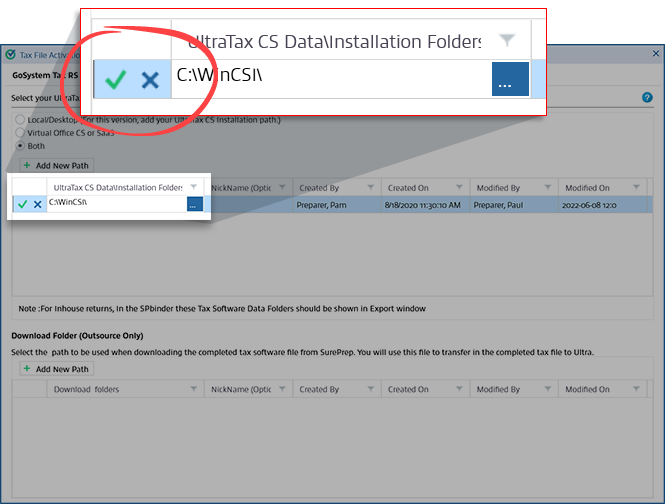
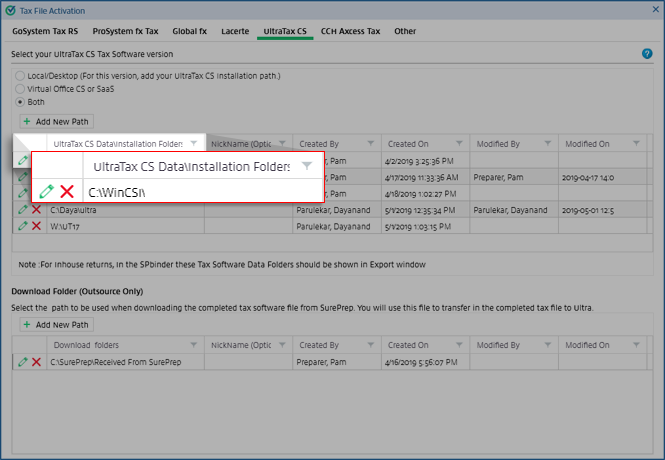
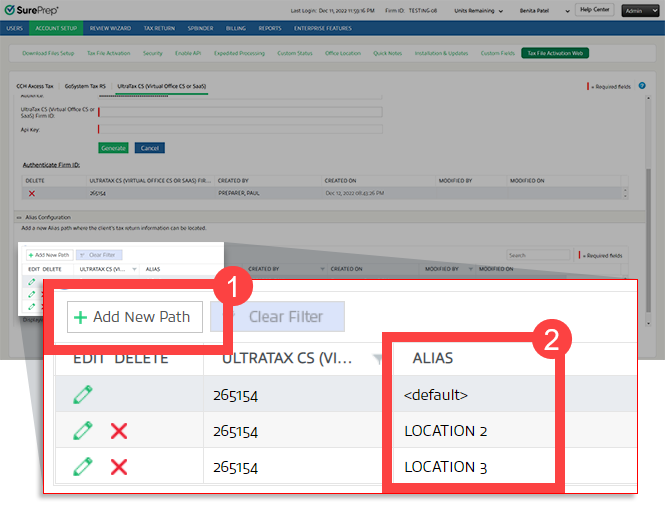
 icon. To delete the path, select the
  icon to delete the path.