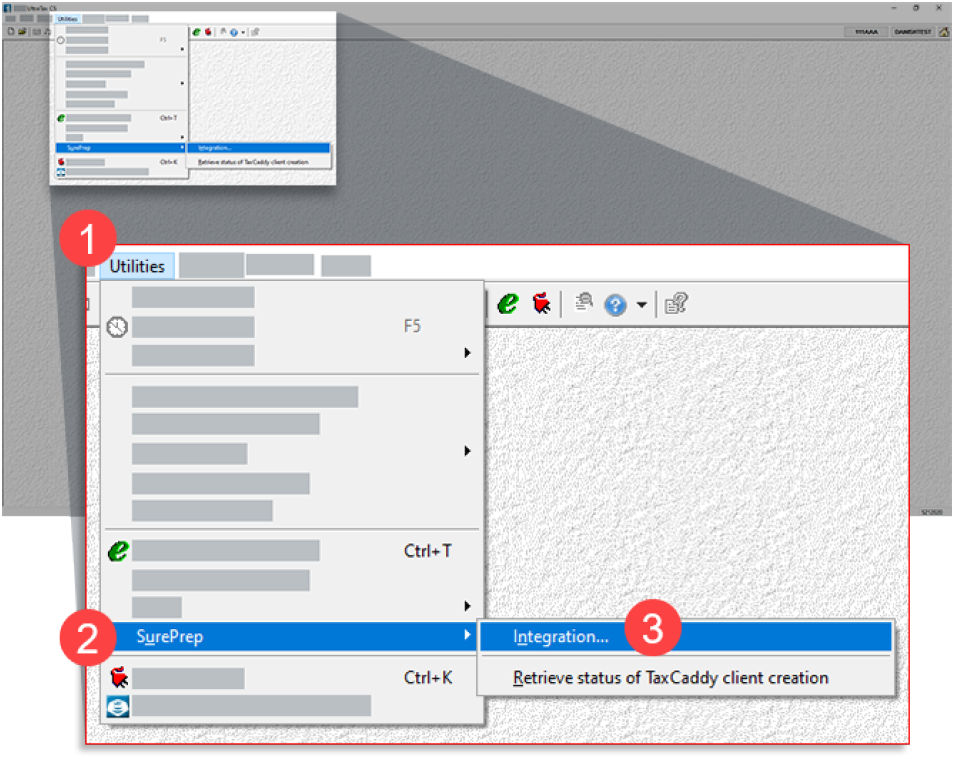
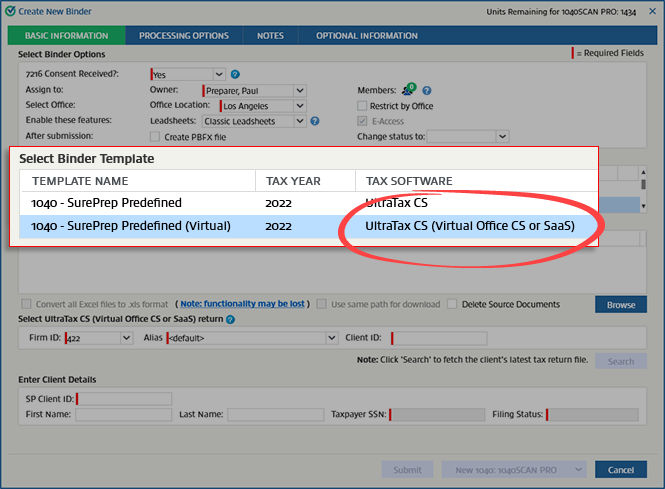
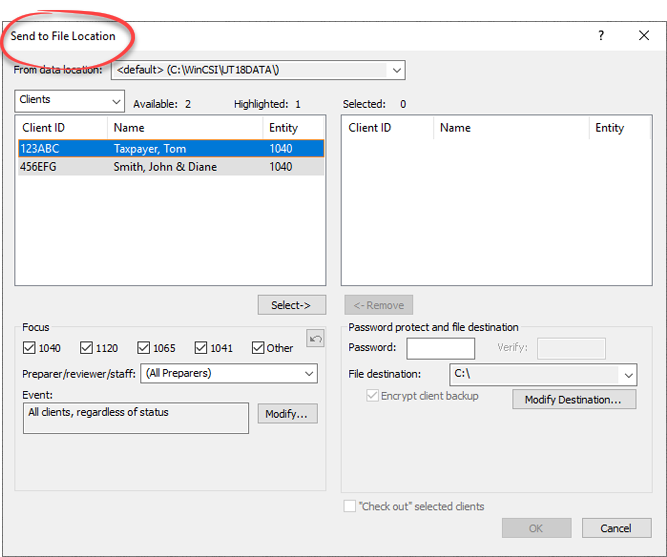
After the initial export is complete, for binders without leadsheets, exporting clients through
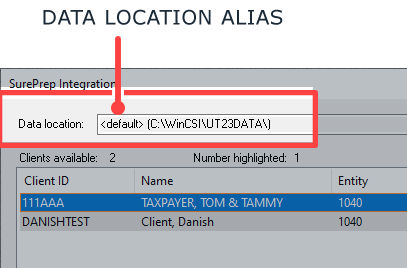
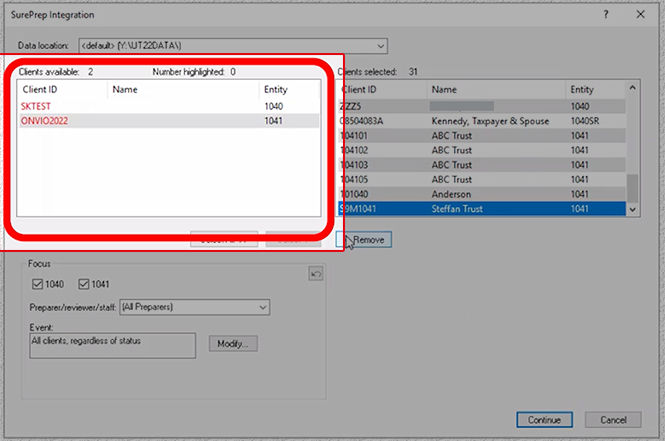
SurePrep Integration
(UltraTax Virtual Office CS) has to be repeated each time before adding additional documents to SPbinder. On the
SurePrep Integration
window, you only need to re-export clients whose binder you want to add additional documents to. Repeating the export ensures that the most current information is used to process additional documents.