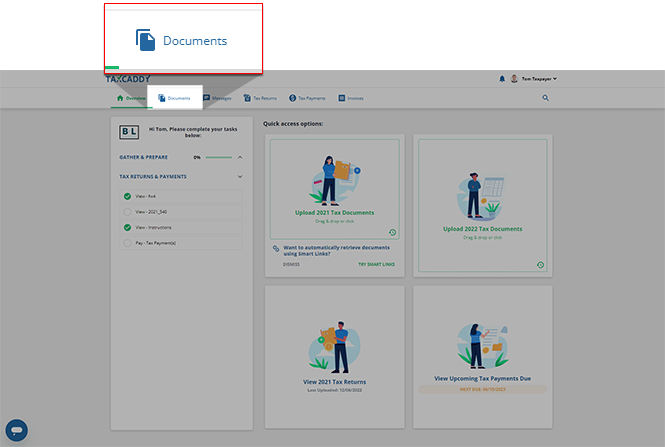
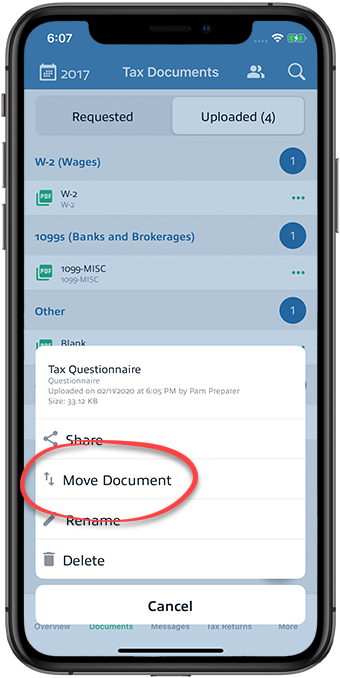
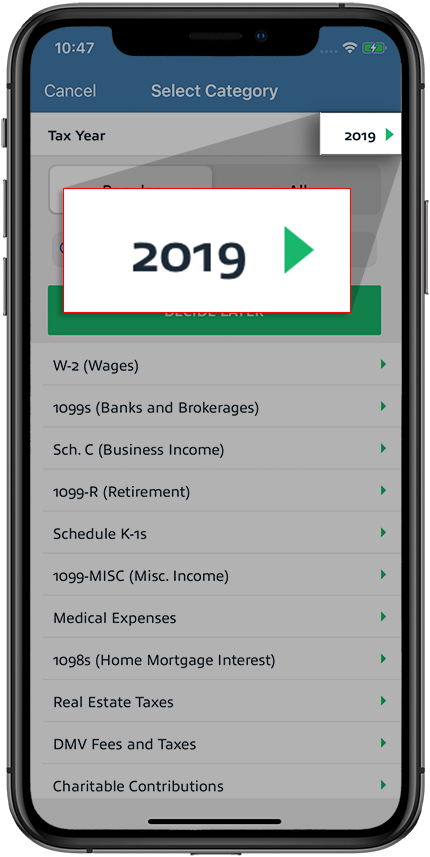
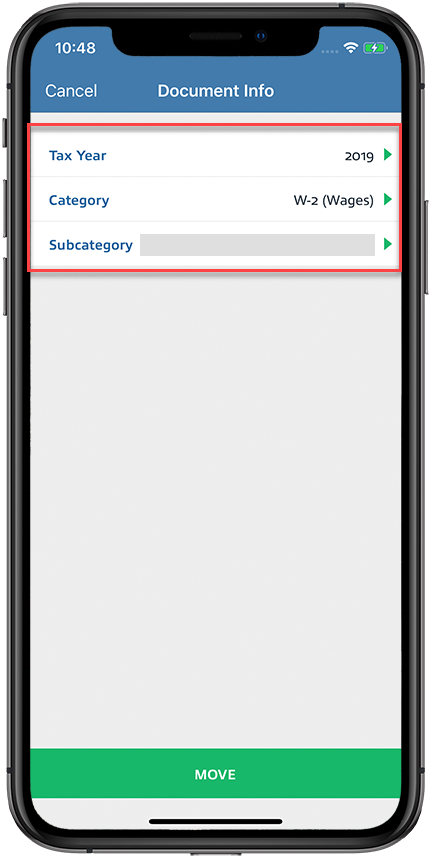
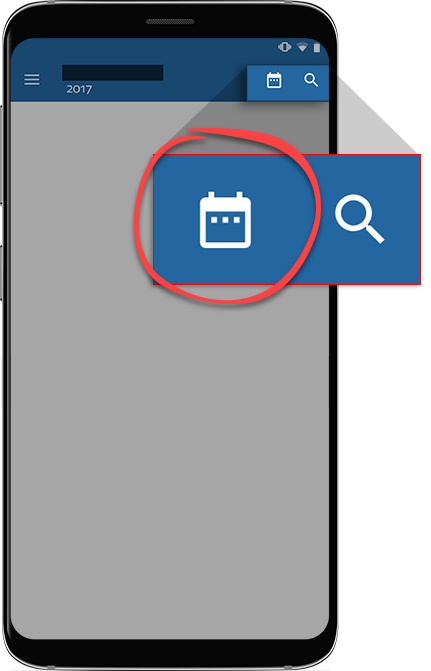
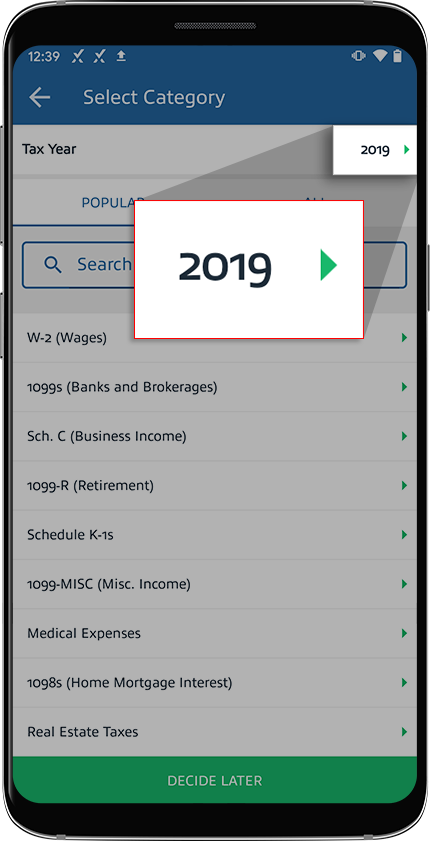
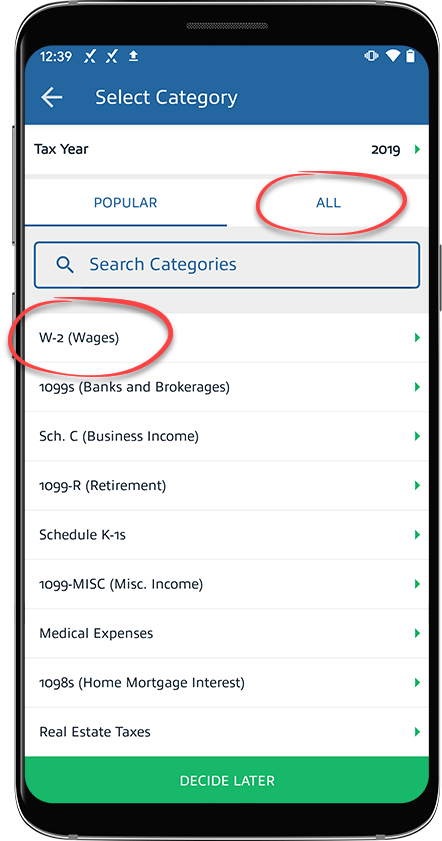
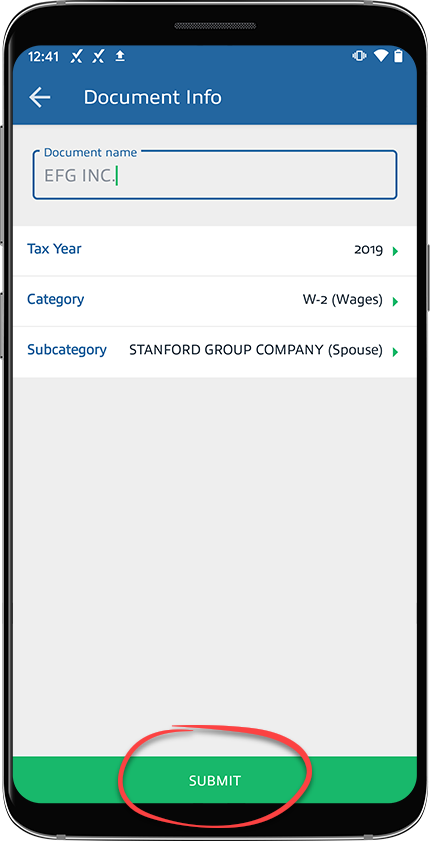
To move the document to another tax year, select the tax year.
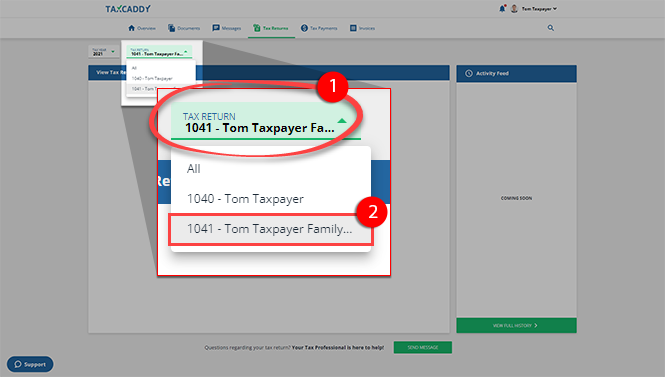
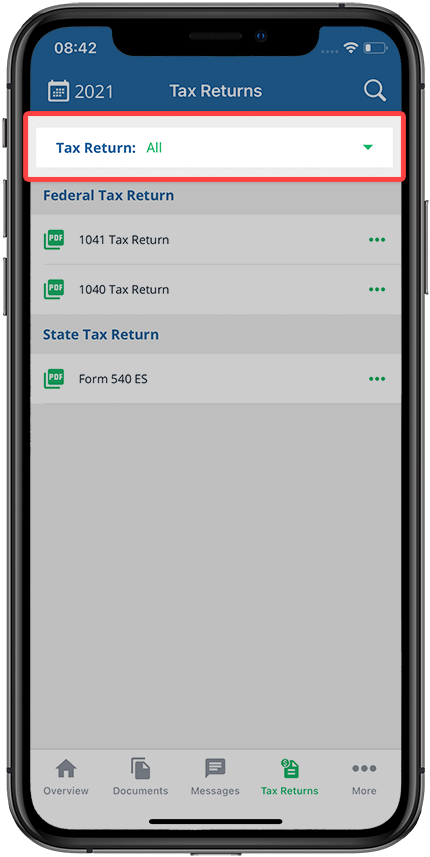
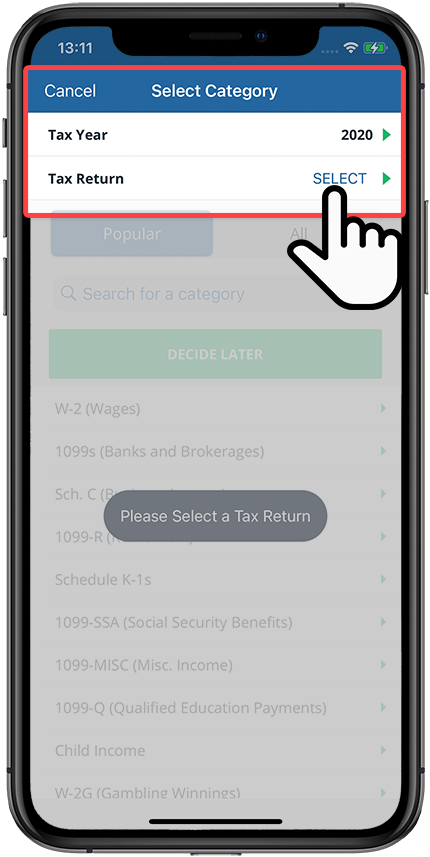
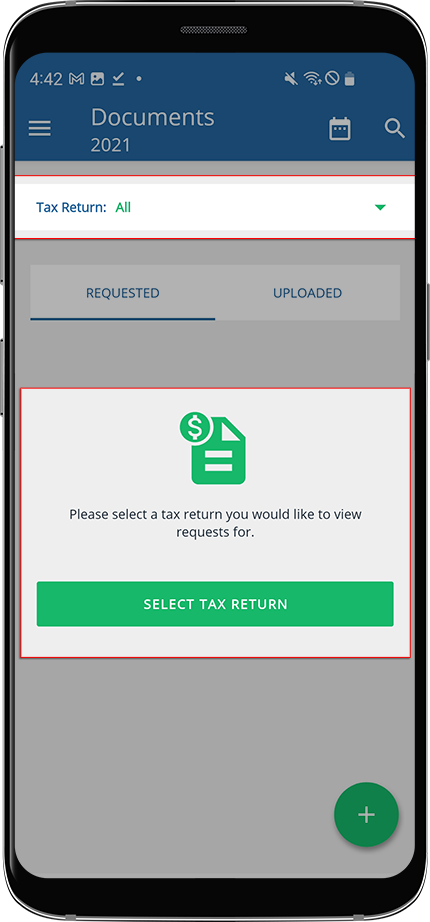
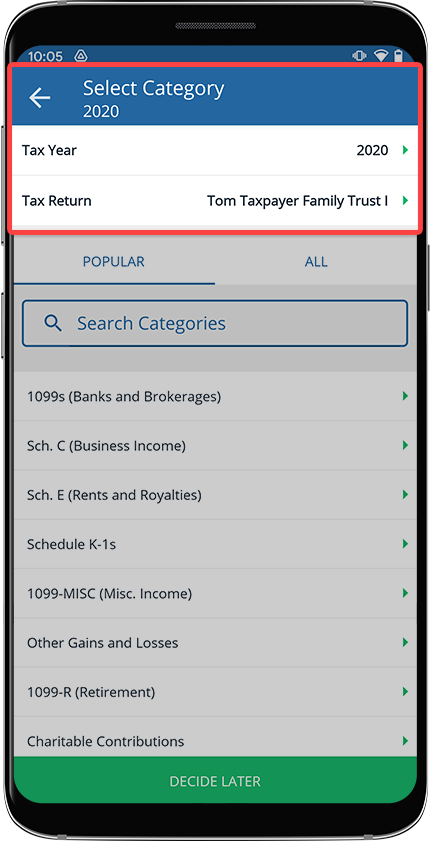
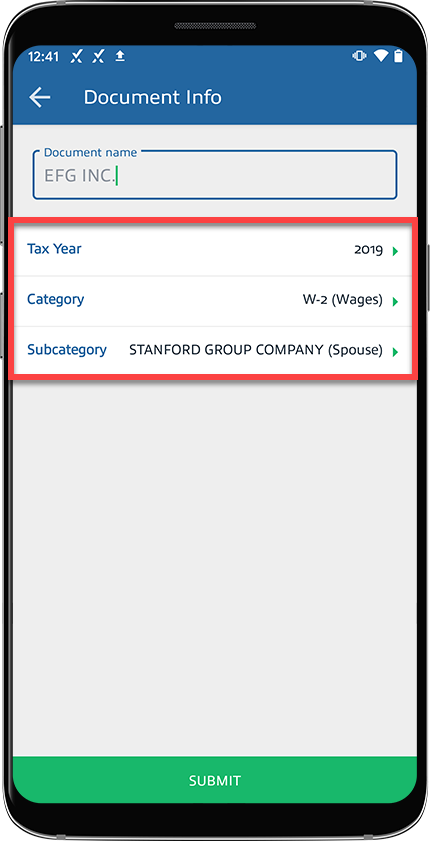
If your tax professional has enabled 1041 tax return profiles on your account, select the correct
Tax Return
in addition to the
Tax Year
before selecting the
Category
.
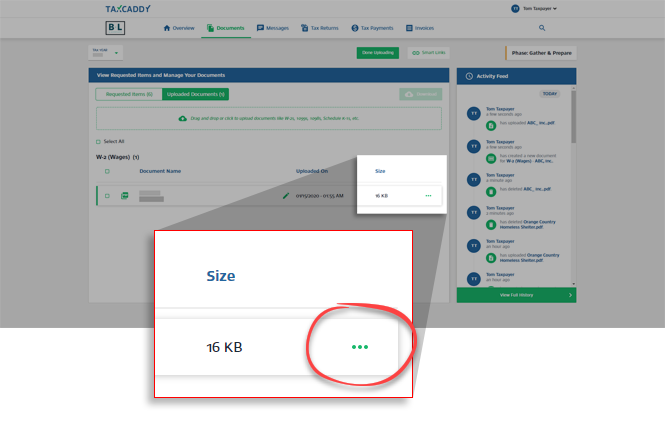
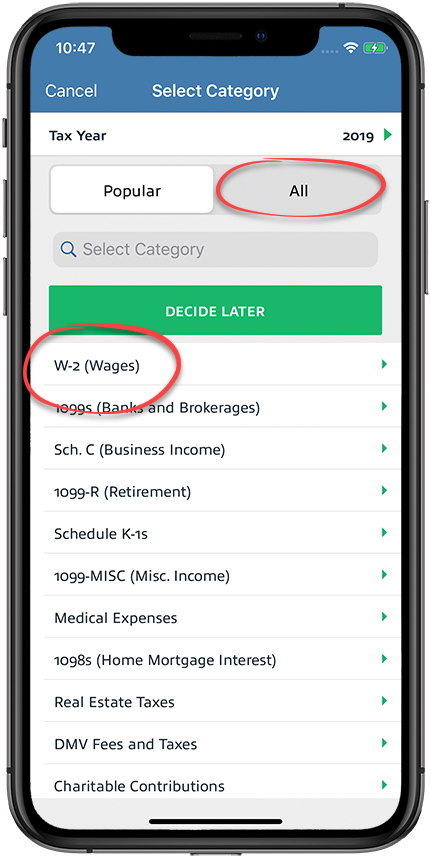
Some categories only apply to 1040 tax return types and won’t appear when moving a 1041 specific document and vice versa.