
![]()
Triva isn't available right now.
Check out the support page for our phone number and hours
![]()

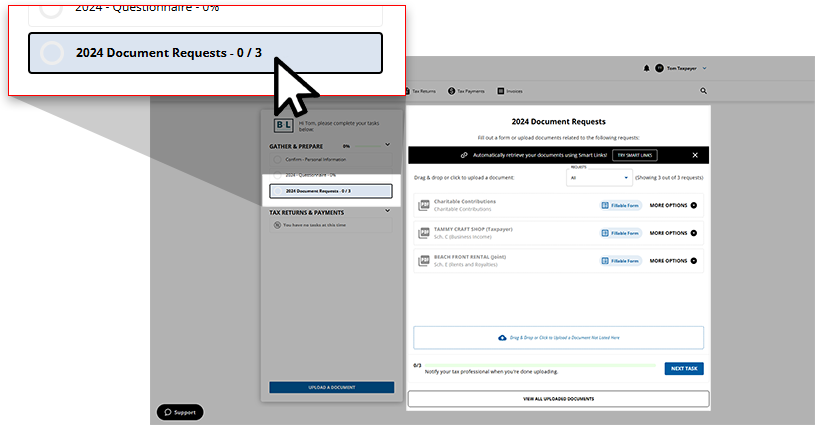
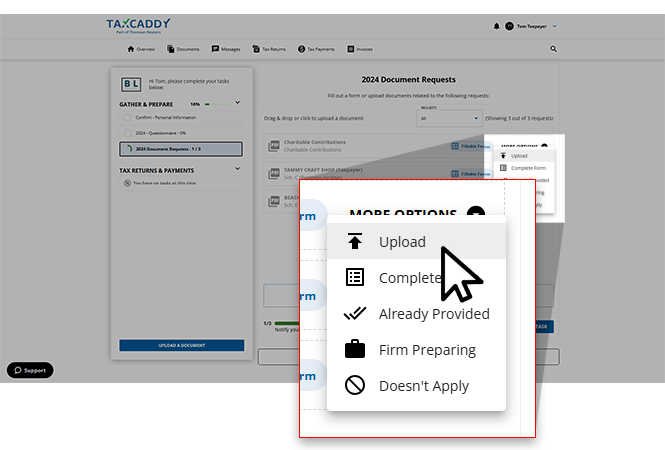
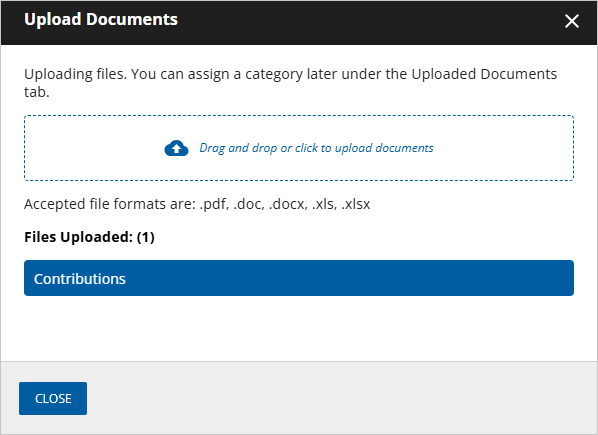

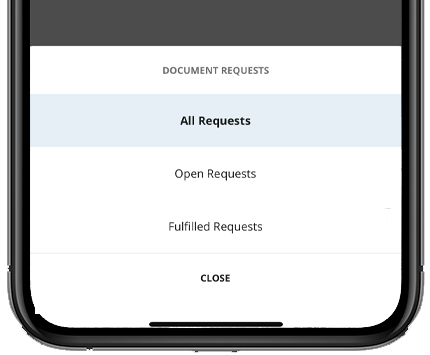
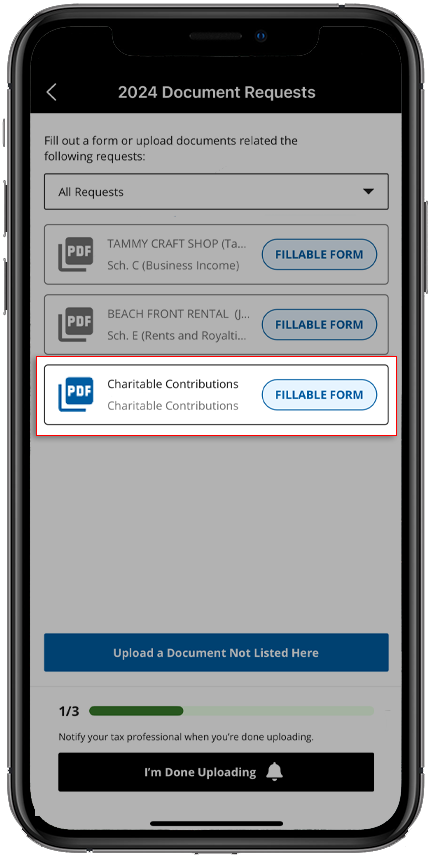
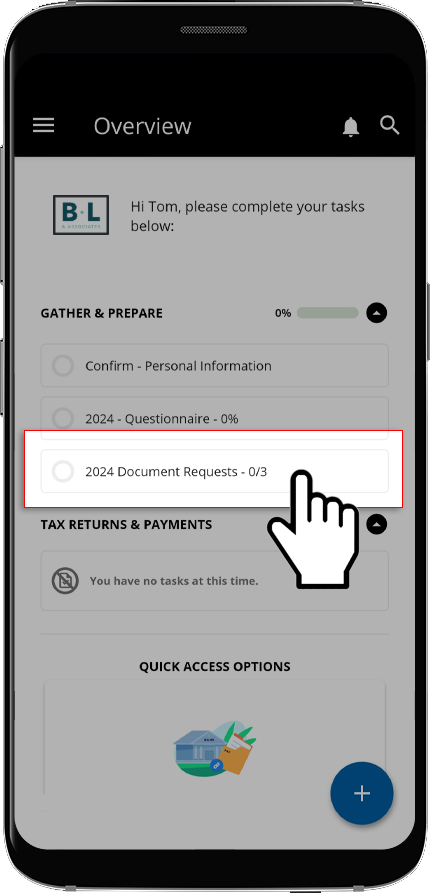
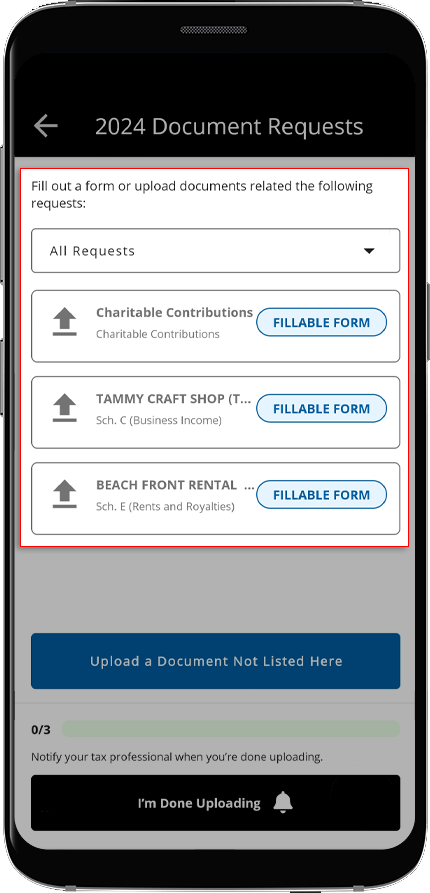
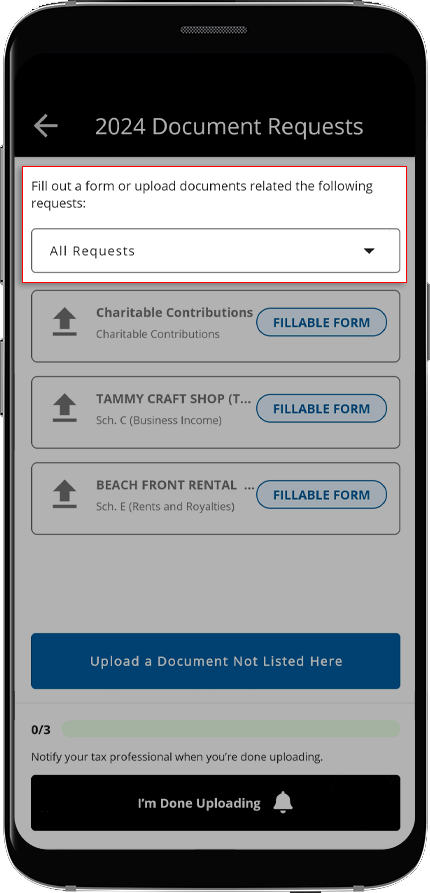
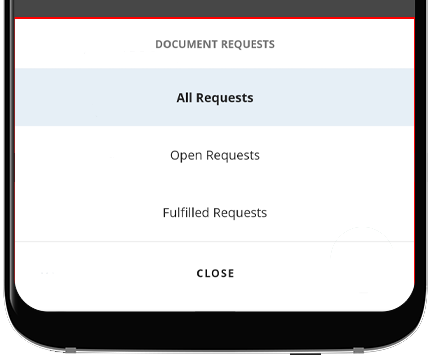
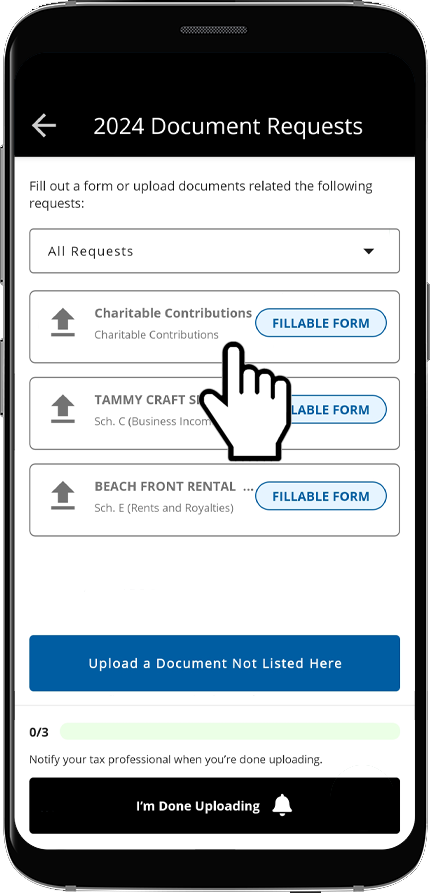
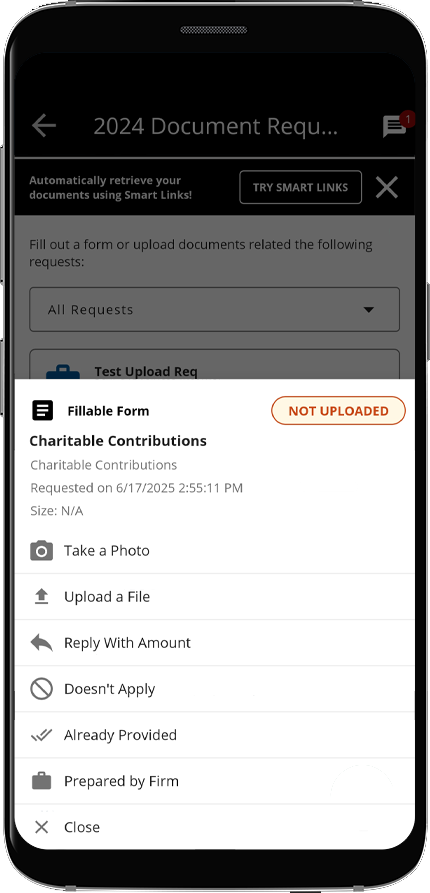
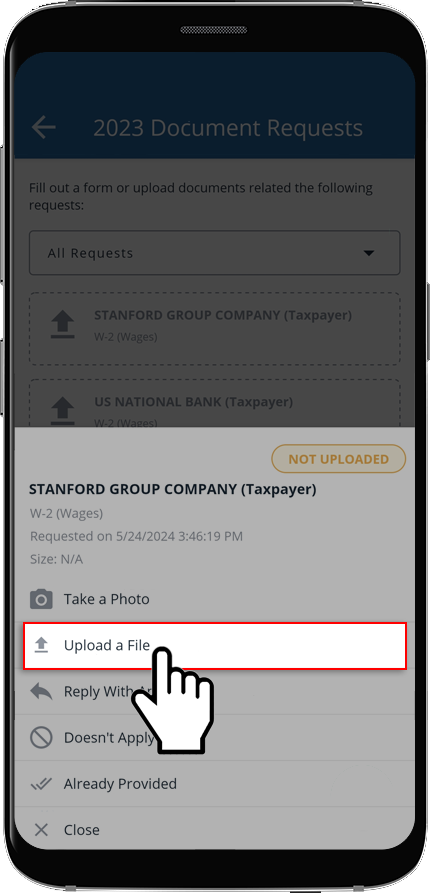
Field | Description |
|---|---|
 ( Pending ) | This request hasn’t yet been completed. |
( Completed ) | This request has been completed. |
( PDF ) | This request has been completed by uploading a PDF file. |
( Excel ) | This request has been completed by using an XLS or XLSX file. |
( Already provided ) | You've indicated that the document in this request has already been provided previously. |
( Doesn't apply ) | You've indicated that the document in this request doesn’t apply. |
( Firm Preparing ) | You've indicated that the document in the request is currently being prepared by your tax professional. |


 Article