
![]()
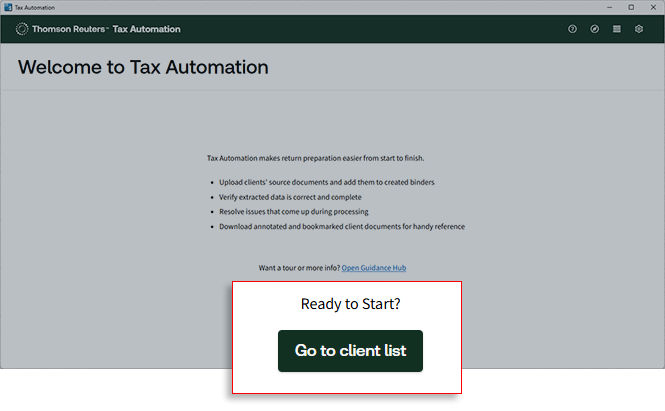
Triva isn't available right now.
Check out the support page for our phone number and hours
![]()


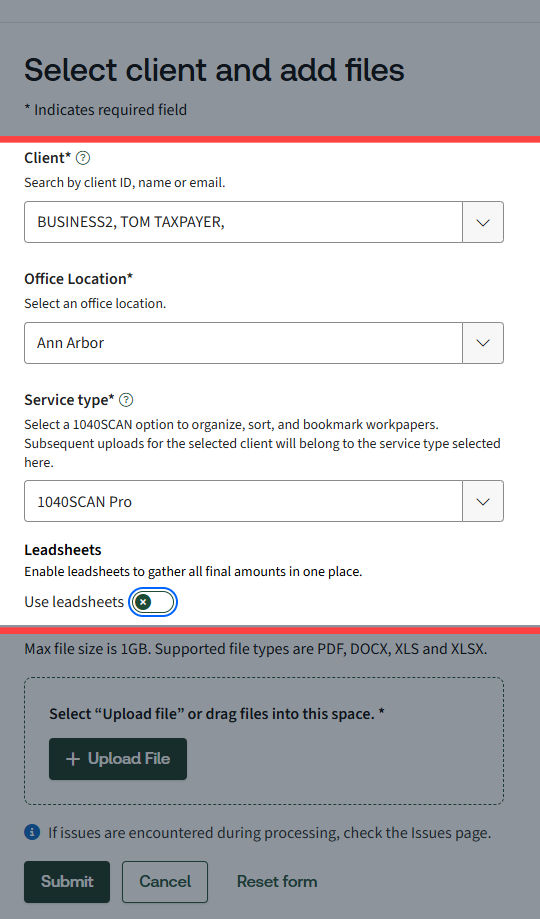
Field | Description |
|---|---|
Client | Select the client from the dropdown menu (may be pre-filled) |
Office location | Select the office location assigned to the client |
Service type | Select how you want to verify the accuracy of the data captured:
Note: A notification will appear on the Welcome screen if you don’t have enough units for a service type |
Leadsheet | Toggle to turn on if you would like to create a binder with Leadsheets (must be set at initial upload) |
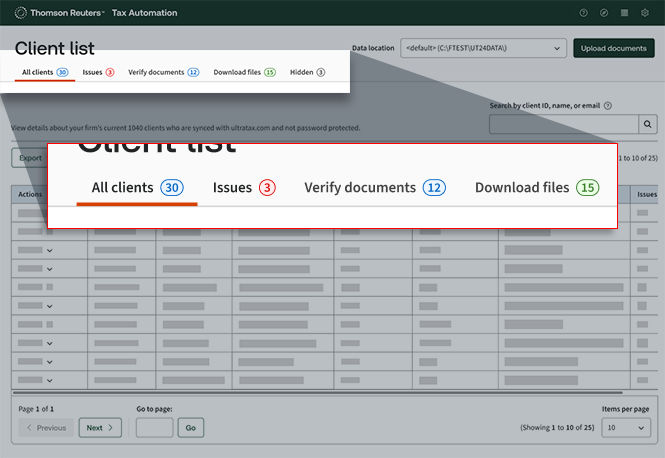
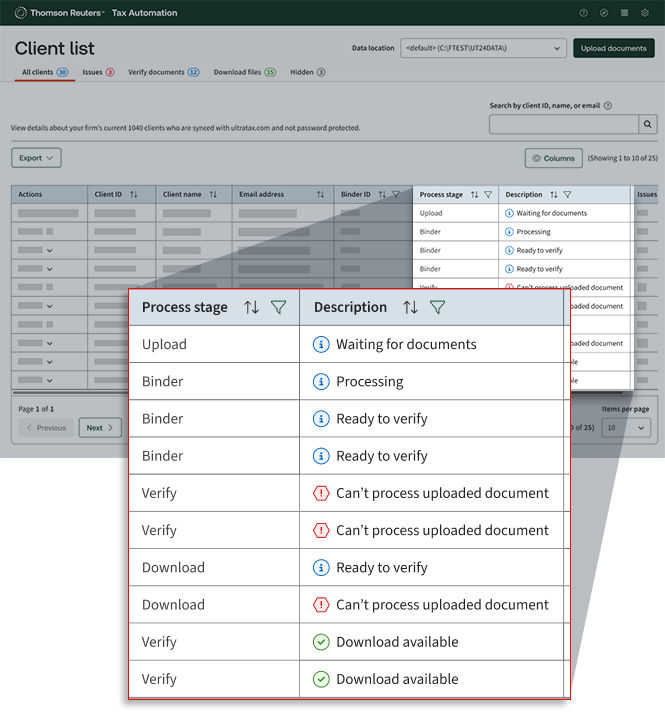
Process Stage | Description | What It Means |
|---|---|---|
Upload | Waiting for documents | Client needs document upload to create binder. |
Binder | Processing | The system is creating the binder and documents are being processed. |
Verify | Ready to verify | Documents are ready for review in Review Wizard (applicable if you opted for In-house verification) |
Issues | Various error messages | Problem occurred; check the Issues tab for details. |
Download | Download available | Verified documents ready to download |
 Article