
DPS Company Maintenance: Managing Partner Data
Users with the appropriate permission levels can maintain company partner data in the
Company Partner Maintenance
screen.Accessing the Company Maintenance Screen
Company Maintenance
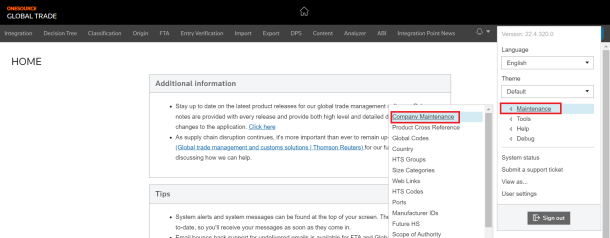
can also be used to add, delete, and edit company data. This screen provides you with a searchable, editable table view based on all company-related information that has been imported or manually entered into the DPS system.Unlike other screens, the
Company Maintenance
screen is accessed through the drop-down menu at the top right of the screen.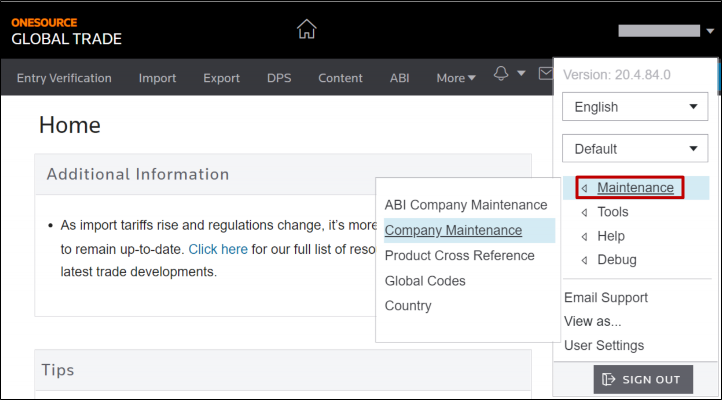
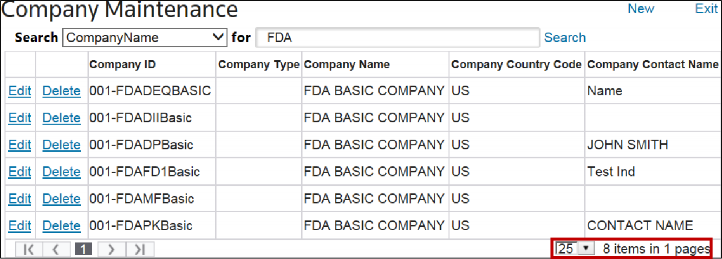
You can change the number of records to be viewed per page by using the “page size” drop-down menu in the lower right part of the screen. You can select to view 15, 25, 50, 100, 125, or 500 records at a time. All columns on this screen are configurable.
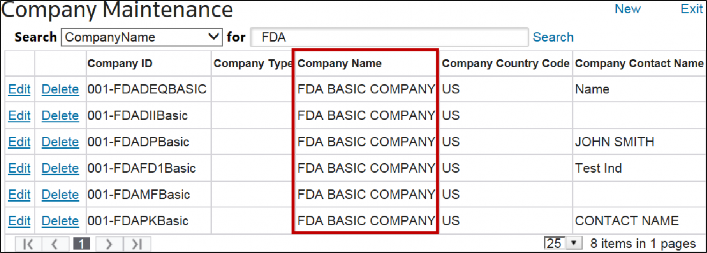
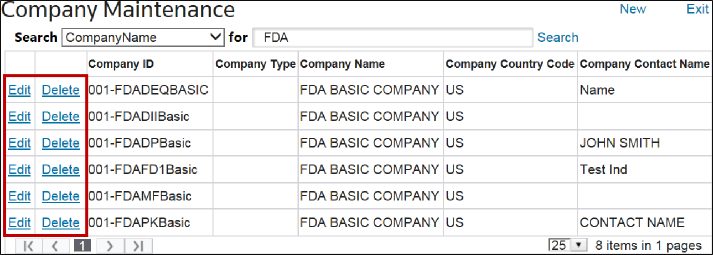
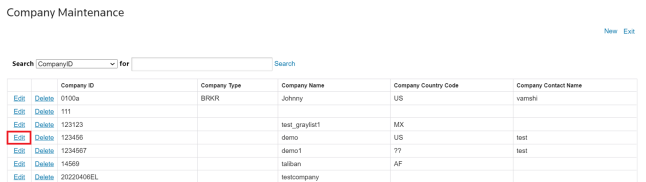
Company Maintenance: Searching for a Company
To find a company in
Company Maintenance
:- Use theSearchdrop-down menu to select a column to search.
- Enter the search term in theFortext box.
- ClickSearch.

The grid then refreshes to only show company records matching the specified criteria.
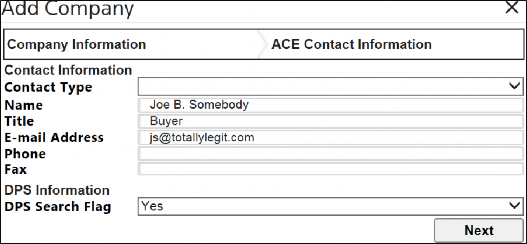
Company Maintenance: Adding a New Company
To add a new company:
- ClickNewto open theAdd Companypop-up.
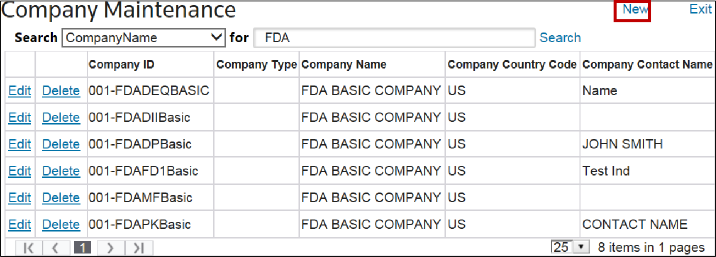
- In theAdd Companypop-up, enter all company data. Fields with an asterisk ( * ) are mandatory and must be completed. In addition, prompts in red text at the top of the window remind you which mandatory fields still need to be completed.
- To add a new company, clickFinishto add the new company.
- To drop all changes, clickCancel.
Either action closes the
Add Company
window. After the initial company data is saved, you can add additional company data as required in the Company Info
, Addresses
and Contacts
tabs as illustrated below.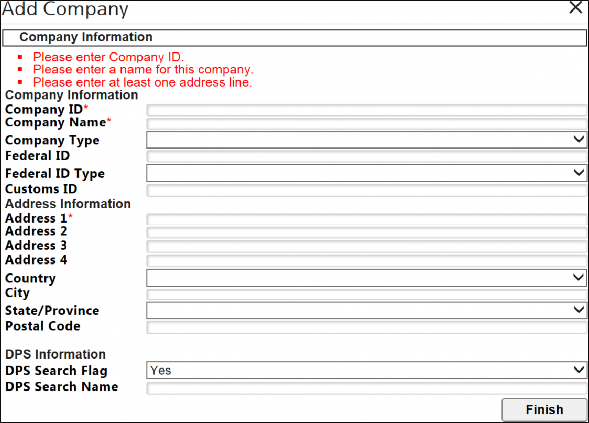
Company Maintenance: Delete/Edit an Existing Company
To delete a record:
- Click a record in the grid to delete.
- ClickDelete. This button is configurable on theCompany Maintenancescreen and may vary in location.
To edit a record:
- Select a record in the grid to edit.
- ClickEdit. Companies can be set up to have one or more user groups with edit abilities, including permissions on whether or not the user can delete a company.
If
Edit
is selected, the Company Maintenance
screen will refresh with all columns as text boxes. From here, any field(s) can be added, deleted, or edited as needed. This information is divided into three tabs: Company Info
, Addresses
, and Contacts
. These tabs are explained in further detail in the sections below.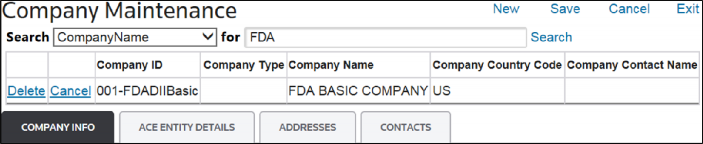
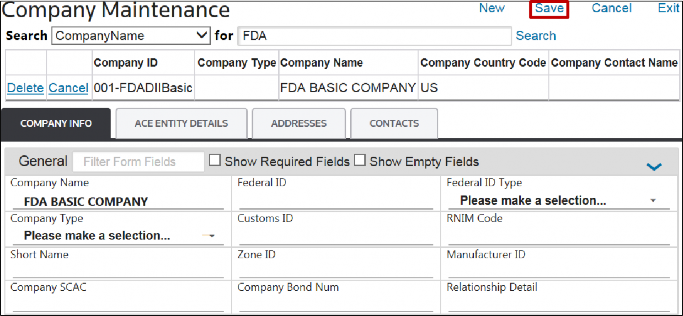
Company Info
The
Company Info
tab is a configurable screen, allowing the company to add additional fields and designate fields as drop-down menu options. For further information, contact your system administrator. Make any necessary changes in this tab, and then click
Save
.
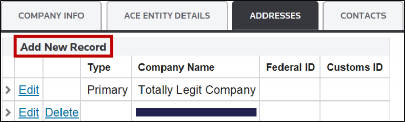
Addresses
The
Addresses
tab provides information regarding different addresses for the company.To add an address:
- ClickAdd New Record.
- After theAdd Companypop-up opens, enter the new address data.
- To save changes and continue, clickFinish.
- To cancel and drop all changes, clickX.
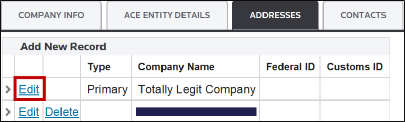
To change the primary address:
- Click an address from the list to be the primary address.
- ClickEdit.
In the
Add Company
pop-up, change the address type to Primary
, and then click Finish
.
The former primary address will now be set with a blank address type. The new primary address will now display as
Primary
within the Addresses
tab.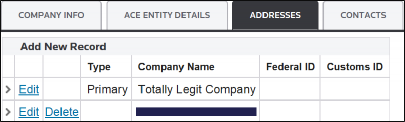
Contacts
The
Contacts
tab provides information regarding different contacts within the company.To add a new contact:
- ClickAdd New Record.
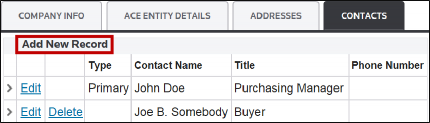
- After theAdd Companypop-up opens, enter the new contact data.
- To save changes and continue, clickFinish
- To cancel and drop all changes, clickX
Screen Now Button
In the
Company Maintenance
page, you can automatically screen a company you are viewing by clicking the Screen Now
button. That means the company information is automatically taken from the Company Maintenance
window and it is opened and screened in a new window of DPS Search
.- Navigate to your username drop-down at the top right corner and clickMaintenanceand thenCompany Maintenance.
- Find the company you want to screen and clickEdit.
- The company information is displayed. Scroll down the page until you can see theScreen Nowbutton.
- Click theScreen Nowbutton.
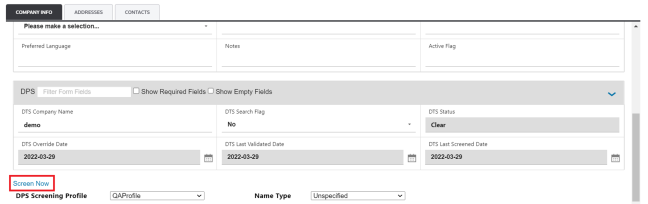
- A new window is opened, and a message is displayed with the result information.
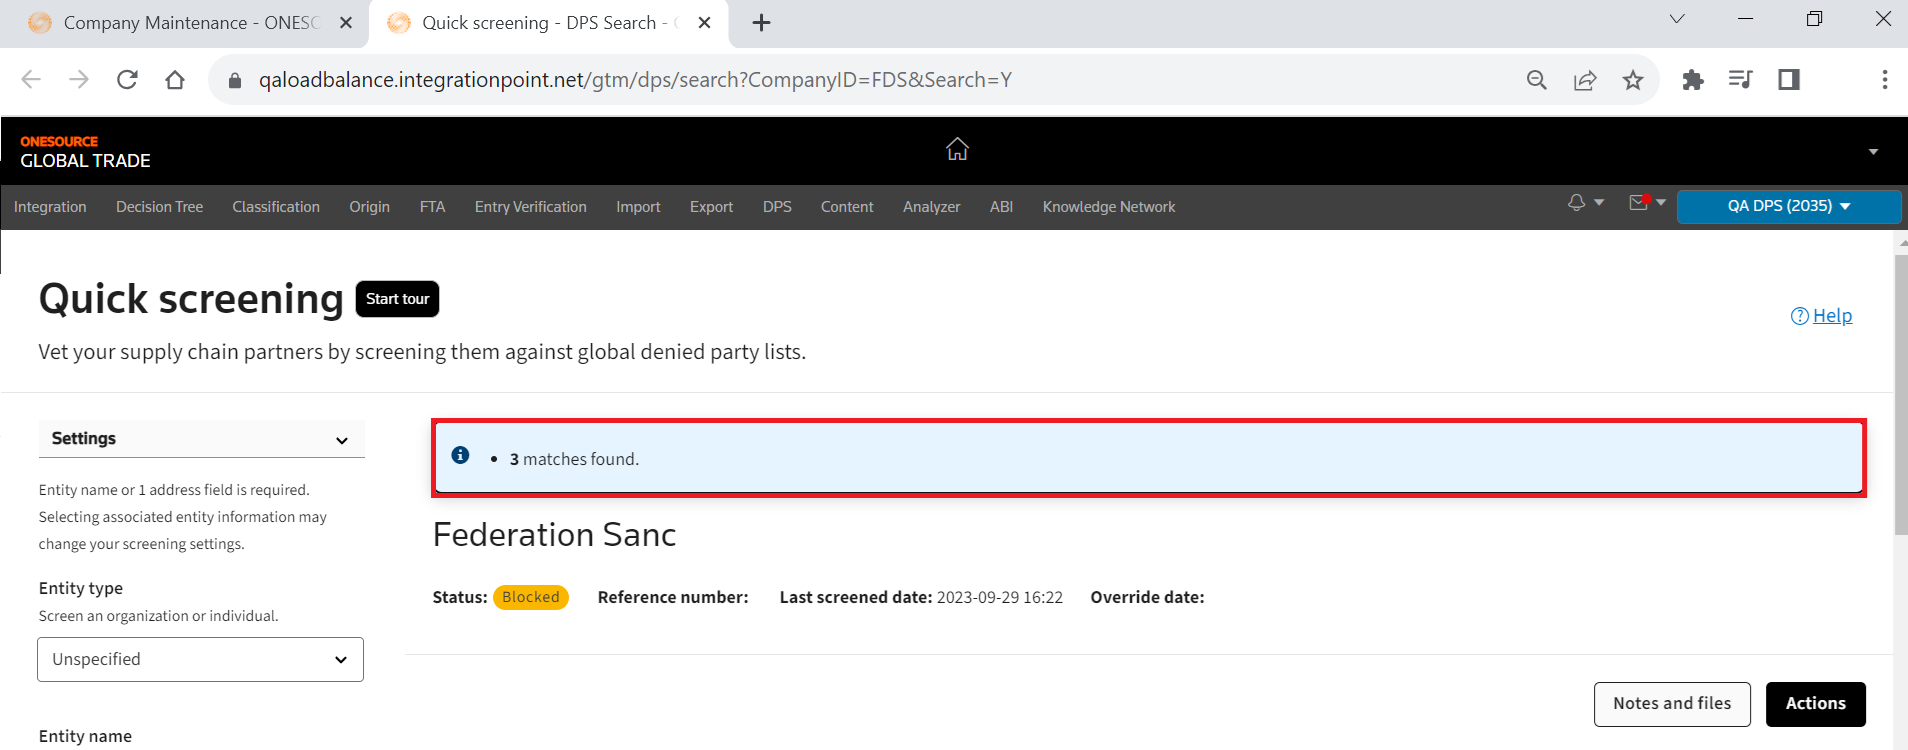
The page displays basic information about the denied party entity in cards. You can click a card title to view all system data for that denied party in a single-page layout.
Related Content
-
DPS Quick Screening: Post-Screening Actions - Reports, Email, Entity Management, Denial Confirmation, and Escalation
Format: Article,
10 min read
Article,
10 min read
-
DPS Settings: Utilizing Multiple Search Settings Profiles
Format:
Article,
2 min read