
Export Template, PO, and Invoice Management
The
Template Management
, Purchase Order Management
, and Invoice Management
screens all share a common layout and core functionality. The functionality for all three is covered in this section. Any variances specific to a screen will be noted. Purchase order and invoice data can be entered manually through a template or be pre-populated through an interface. Regardless of how data is entered, the steps to use the screens are the same. All active purchase orders and invoices in the system will appear in the Find Shipment
drop-down list.To select an existing purchase order or invoice, use the type-ahead search feature to find the shipment in the
Find Shipment
search box.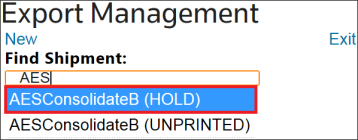
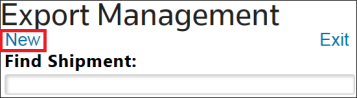
To create a new invoice, click
New
.
To create a new shipment, click
New
. Next, select an export country and import country. Enter the OrderNumShip, and then click Save
. If auto-sequencing is turned on within ONESOURCE Export Management, OrderNumShip will not be visible but will auto-generate upon creating the Shipment.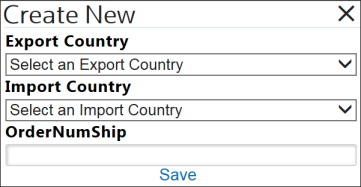
To load a selected template, click
From Template
. Choose a template from the Template
drop-down. Modifications can be made and saved as a new invoice. Users also have the option to enter the OrderNumShip
: a user-defined reference number. ERP interfaces pre-populate most data.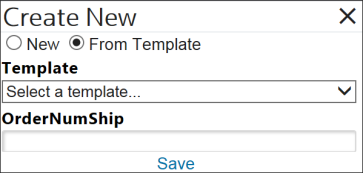
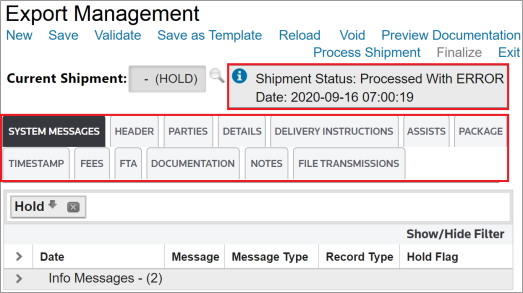
Once a purchase order or invoice is selected, up to thirteen (13) different standard tabs can appear on the
Export Management
screen. The exact number of tabs may vary due to system messages and possible client-specific configuration settings. Each standard tab is explained below.Additionally, processed shipments will also contain a status message that shows both the shipment status and the time and date of processing
Action Buttons
These buttons (under the navigation bar) invoke specific actions as described below:
Action Buttons | Description |
|---|---|
New | Create a new invoice from scratch or a template. |
Save | Save all changes and updates made to an invoice. |
Validate | Cross-check current invoice to determine accuracy of data. |
Save as Template | Create a template from the current invoice for future use. |
Reload | Refill all invoice fields with the most recently stored information. |
Void | Cancel an invoice and change its status to Voi d. A andVoid Reason Void Explanation must be entered before the void can take effect.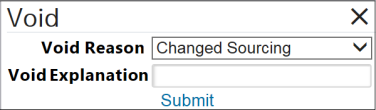 Once a shipment is voided, the Void Reason and Void Explanation are inserted as notes associated to the shipment for permanent retention. When a voided invoice is retrieved, a Once a shipment is voided, the Void Reason and Void Explanation are inserted as notes associated to the shipment for permanent retention. When a voided invoice is retrieved, aReactivate button appears on theExport Management screen. ClickingReactivate removes the void and allows the invoice to be processed or edited as needed. |
Preview Documentation | Create system-generated draft documentation for review. |
Process Shipment | Save changes & updates made to the invoice. The following actions are performed during the Process Shipment stage:
|
Exit | Closes Export Management. |
Process Shipment
To process a shipment, click
Process Shipment
.
The shipment will then be queued for processing and the following message will appear on the screen, showing where the shipment is in the queue

Once an invoice is successfully processed, the
Process Shipment
command button changes to Undo Shipment Processing
.If the Export Management module is configured with AES filing ability, the
AES Transmission
command button appears and is enabled. Further details are covered in the AES Connectivity
User Guide.
Related Content
-
NL Declaration Management System (DMS) 4 Export
Format: Article