
Select source documents
The
Select Source Documents
section lets you select the source documents that you want to upload to your client's binder.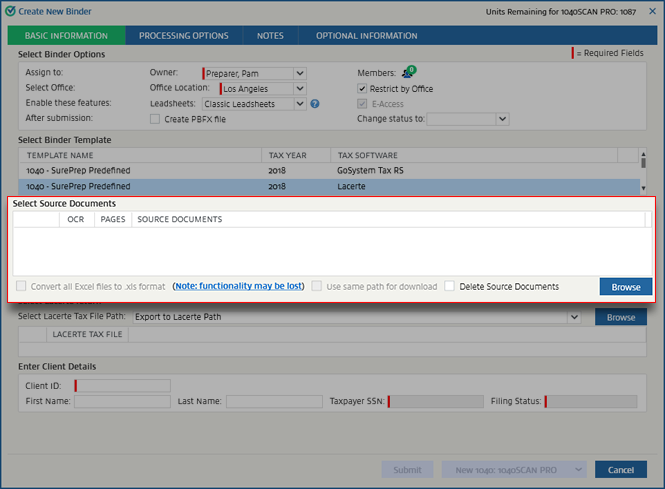
Select
Browse
to locate your documents.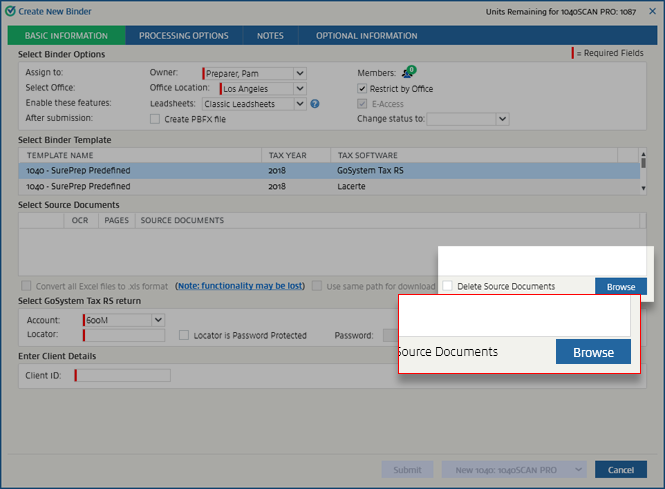
Select
Open
. Source documents can be:- PDF
- TIFF[1]
- MSG/EML (Outlook only)
- XML
- Word
- Excel[2]
note
[1]
Binders with TIFF files cannot be processed with Review Wizard on Web. To verify your binders with Review Wizard on Web, users must upload exclusively PDF files.[2]
Excel files with hidden sheets are not supported. Delete the hidden sheets from the Excel files before uploading the files, make the hidden sheets visible before uploading the files, or don’t upload those files.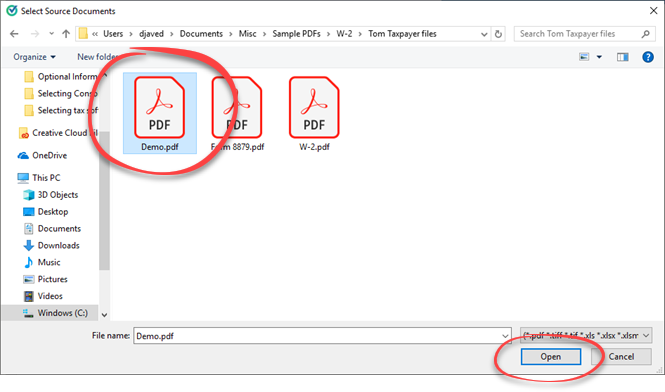
note
To auto-populate the
Tax Client ID
and SP Client ID
fields, we recommend that the 1st source document you attach has the same file name as the name of the tax file/Tax Client ID. For example, if the tax Client ID of John and Mary Smith is DEMO
, then the name of the 1st source document file should be DEMO.pdf
.Once you select
Open
, the selected file will be attached in the Select Source Documents
section. You can select Browse
again and add multiple source documents if required.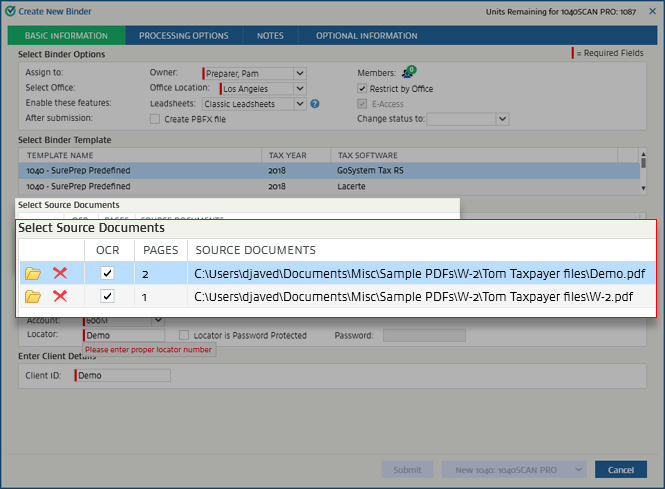
The document path last browsed will be remembered for the next submission.
Select
Open
to open and view the attached source document.Select
Delete
to delete the attached source document.OCR checkbox
Optical Character Recognition (OCR) application scans documents for letters, numbers, and other symbols and then converts them into usable data. It extracts information from tax documents and exports the data directly to your tax application.
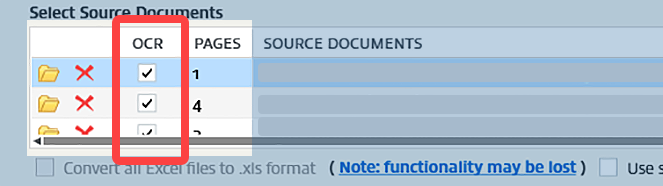
For most binders, there will be an OCR checkbox, but custom binders won’t have the OCR column. By default, OCR will be selected for PDF and TIFF documents. This isn't available for Word, Excel, or EML files.

The number of pages in the document will be indicated under
Pages
. The path to the source document will be listed under Source Documents
.
If you want to keep user comments in your Excel XSLX file, select the
Convert all Excel files to .xls format
checkbox to convert, save, and upload all Excel XSLX files as XLS files. 
Comments in your Excel XSLX file are not supported in SPbinder. Converting the Excel file to an earlier version of Excel XLS format lets you retain comments. However, this feature may cause you to lose some functionality like:
You can download DreamWorkpapers to the same location where the original source documents were stored. To download DreamWorkpapers, select the
Use same path for download
checkbox.
If you're submitting a custom binder,
Use same path for download
checkbox is not available. Your selection will be remembered for future submissions.
Clear the checkbox if you want the completed DreamWorkpapers for this binder to download to the path set up in .
If you want to delete the source documents from their original paths once the binder has been submitted, select the
Delete Source Documents
checkbox.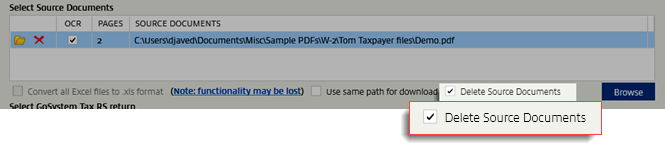
note
The selection you make for
Delete Source Documents
checkbox behavior differs by binder type:- Binders with Leadsheets (Classic or Simplified):Your selection is automatically saved for future document additions, however, you can change your preference if needed.
- Binders without Leadsheet (None):You must manually select the checkbox each time you want to use this feature.
The drag-and-drop feature functions independently and will not delete documents when they are added via drag-and-drop.
Supported Documents Types
List of supported file types (Format) | Resolution validation |
|---|---|
PDF | 300 dpi |
TIFF/TIF | 300 dpi |
Excel (XLS/XLSX/XLSM) | N/A |
Document File (DOCX) After December 21, 2025, SurePrep will automatically convert Word Documents into PDF files format going forward. | N/A |
Email message (MSG/EML) | N/A |
XML | N/A |
When uploading a TIFF or TIF format file, the document's horizontal and vertical resolution must be scanned and saved as 300 dpi.

Related Content
-
Basic information
Format: Article

