
File summary for tax payment vouchers
File to Tax Document
feature lets you print a current copy of your client's tax payment vouchers to the Uploaded Documents tab. If needed, you can add a copy of the printed file to the client's binder. The printed copy is a snapshot of the client's tax payments at the time it was printed. File (that is, print) a new copy of tax payment vouchers again if a tax payment voucher has been added or marked as paid.
Follow these steps to file the summary for tax payment vouchers:
- Sign in to TaxCaddy.
- On theOverviewscreen, select a client tile to view the client profile. You can also search for a client and select the client tile from the result.

- SelectTax Payments.

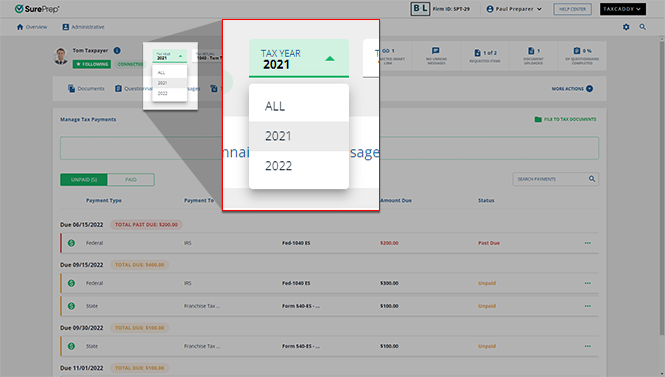
- Select the tax year. TheALLoption will be selected by default, however, you must specify a tax year to use theFILE TO TAX DOCUMENTSfeature.
 You will see a toast notification appear in the bottom left of your screen if you try to file without selecting a tax year.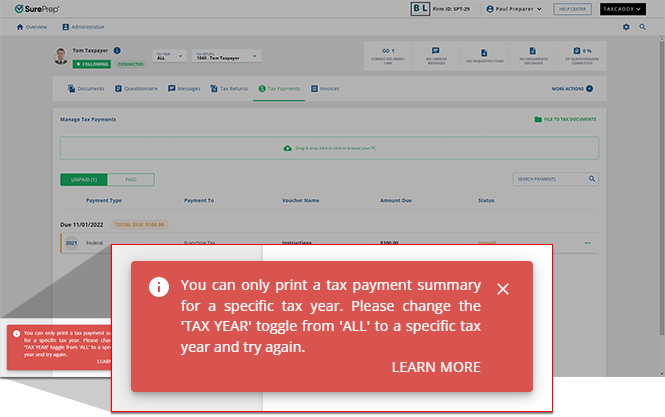
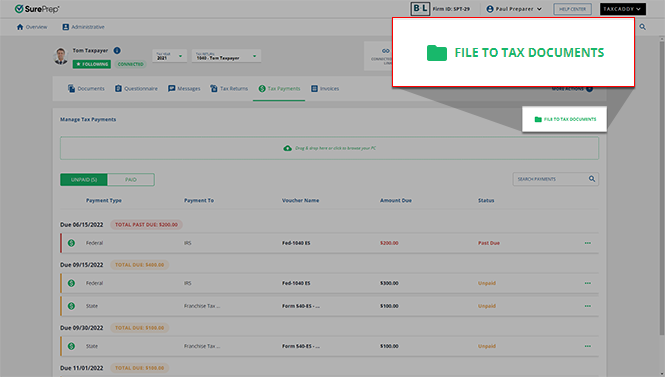
- SelectFILE TO TAX DOCUMENTS.noteThe summary of tax payment vouchers will be archived in its current state, to file any new tax payment vouchers, selectFILE TO TAX DOCUMENTS.
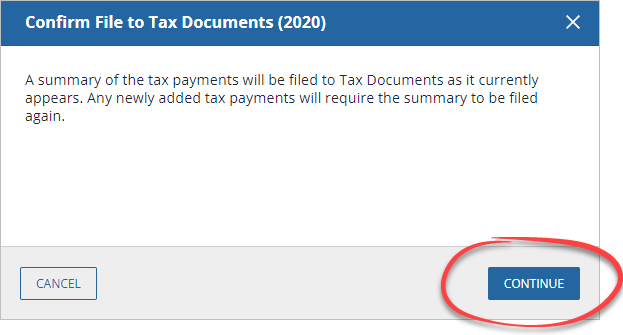
- When the confirmation window appears, selectCONTINUEto file the summary of tax payment vouchers summary to tax documents.
 The success message appears once the tax documents have been filed.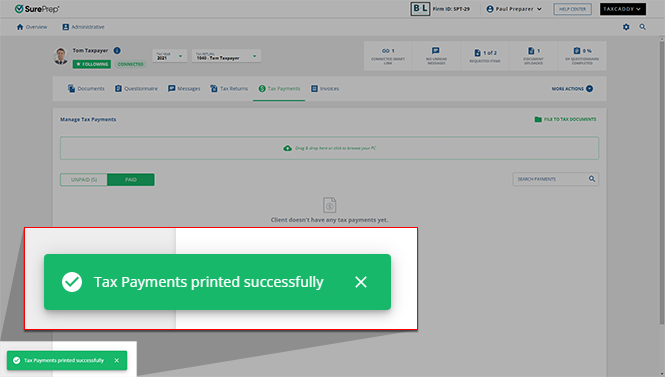
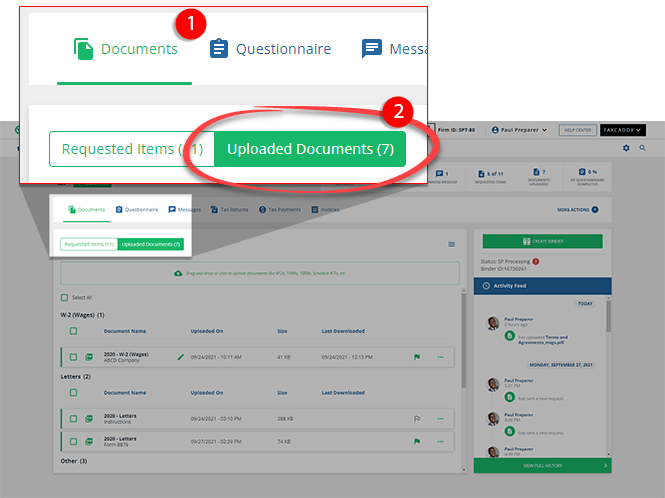
- To view the printed tax payment voucher summary, selectDocuments, then selectUploaded Documents.
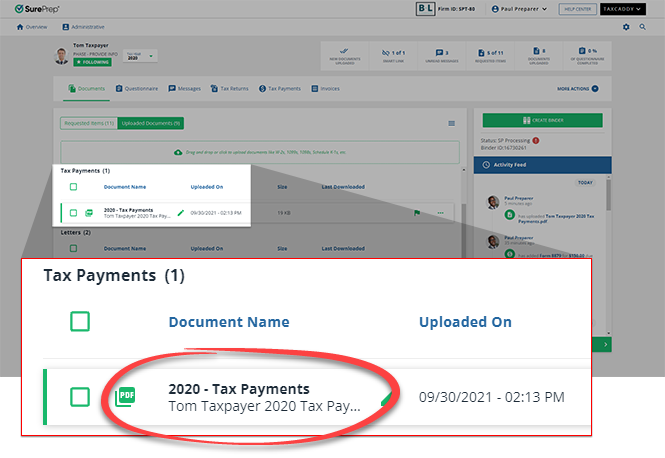
- UnderTax Payments, select the document on the document tile to view the tax payment voucher summary.
 The Document Viewer panel will display the tax payment voucher summary.
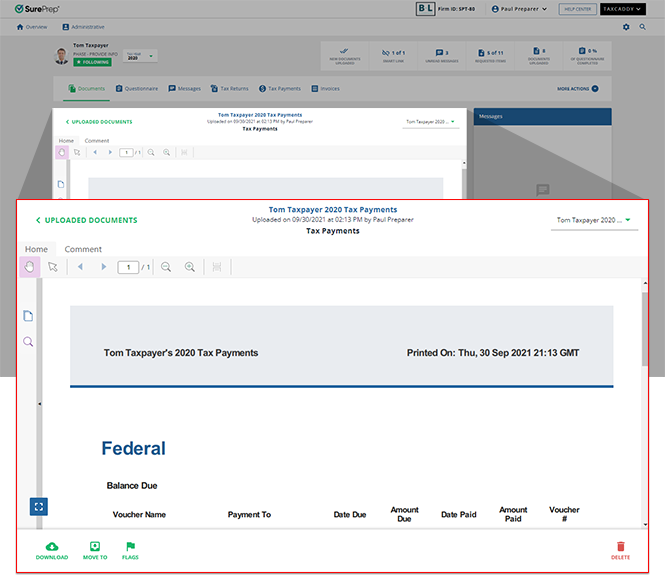 Each filed tax payment voucher summary includes:
- Voucher Name
- Payment To
- Due Date
- Amount Due
- Date Paid
- Amount Paid
- Voucher Number
The tax payments uploaded to a binder appear under the
Payments & Extensions
folder in the INDEX TREE
tab.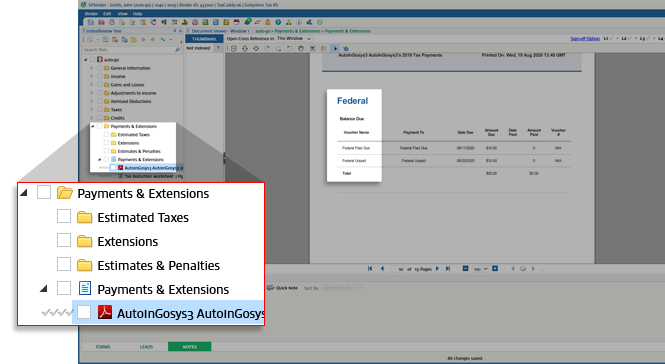
Rename tax payment voucher summary
You can also select the  icon to rename the tax payment voucher summary on the document tile.
Edit
icon to rename the tax payment voucher summary on the document tile.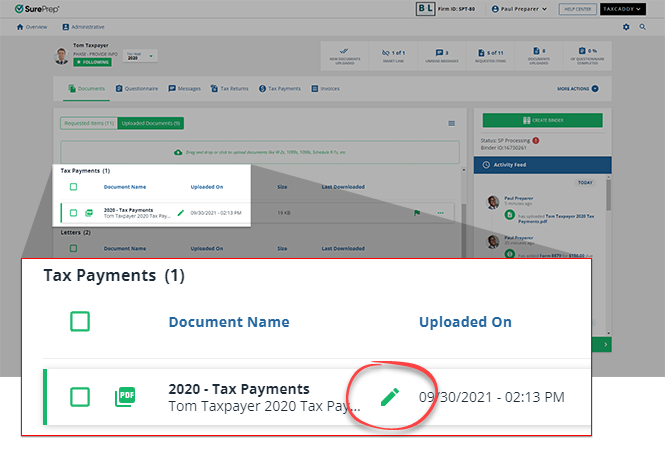
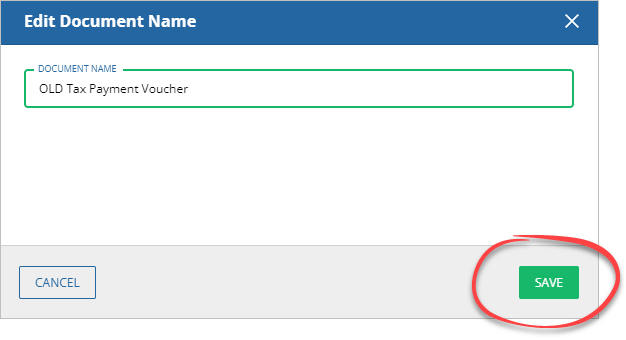
When the
Edit Document Name
window appears, enter the DOCUMENT NAME
, then select SAVE
.
Related Content
-
Upload a tax payment
Format: Article

