
File Import Status
The
File Import Status
dock can be used to manage file issues during import as a result of a malformated file, which will cause the file upload process to fail.An imported file can fail for any number of reasons. Examples include (but are not limited to):
- The value in a field may exceed the maximum length (e.g. a 10-character value in an 8-character field).
- The value in a field may be the wrong data type (e.g. an alphanumeric character in a numeric-only field).
- A line may have an incorrect token count (e.g. finding or not finding column(s) that do not match the file format definitions).


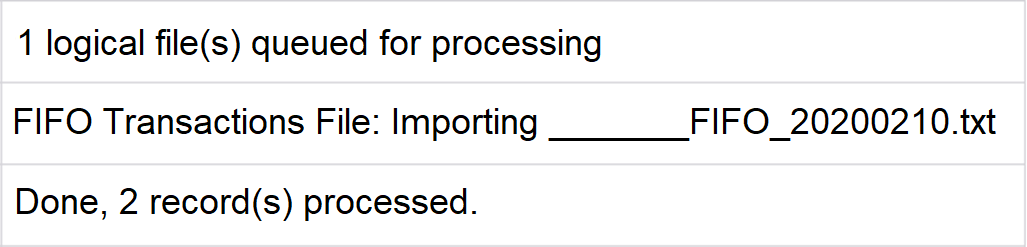
If the system has been configured to include links, the user will receive an e-mail similar to the example shown below. This e-mail will include a link to show the error message(s).

If you access the screen through the system via the
Tools
menu (not an e-mail), multiple files may appear in the File Import Status
grid.When the screen is opened, all the files that presented an error and are still on the processing queue or new files that are pending processing will be processed at this moment, presenting any existing error to you by file as shown in the example below:

If you access the screen through an e-mail, only the file and error from the message will appear in the grid. The
File Name
column will be pre-filtered by default.
Download
To retrieve a file and save it to your computer, choose a file from the grid and click its corresponding
Download
button.important
Due to the HTTP request size of the web application, download files must be smaller than 250 MB.

If a download file is too large, the following message will appear on the screen and you can contact the Support team for assistance in downloading the file:

Reupload
After the file has been downloaded:
- Open the file.
- Make any necessary changes to resolve the error(s).
- Save the updated file.
- After the file has been updated, return to theFile Import Statusscreen.
- Click the file’s corresponding Reupload button to open theSave Searchpop-up.

- Click on theChoose Filebutton.
- Select the appropriate file to reupload to the system.
- ClickConfirm and Uploadto load the file.
important
Due to the HTTP request size of the web application, reuploaded files must be smaller than 250 MB.

After the file has successfully been replaced, the following validation message will appear on the screen:

Validate
After the file has been successfully loaded or reuploaded, click the file’s
Validate
button to check for other errors in the file.You can also perform ad-hoc file validations. This process is covered in more detail in the Ad-Hoc File Validation section of this Help.

Clicking
Validate
will prompt the system to validate the file. The same checks will be performed regardless of whether the validation is scheduled or ad-hoc.Any other lines with an issue will be displayed only with the first error of the line. If a file contains multiple issues, they will be identified in subsequent validations after the current error is resolved.
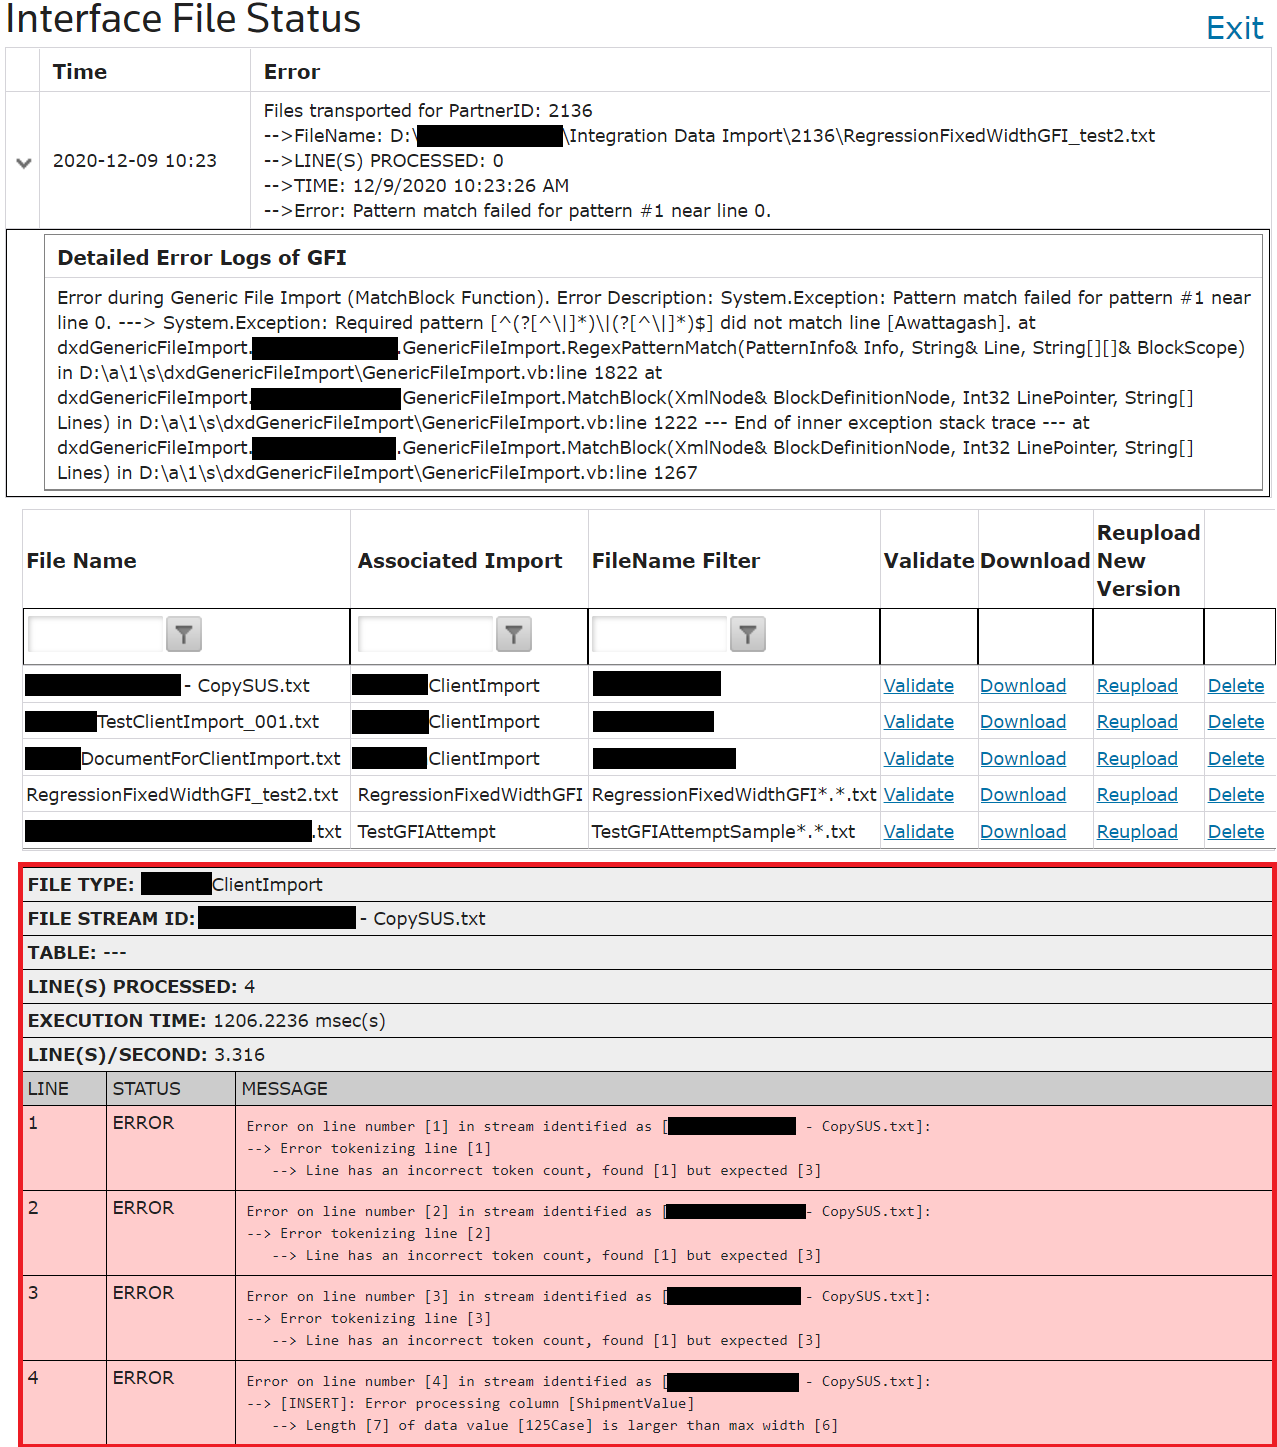
Repeat the
Download
and Reupload
steps until all errors in the file have been resolved and the validation is successful.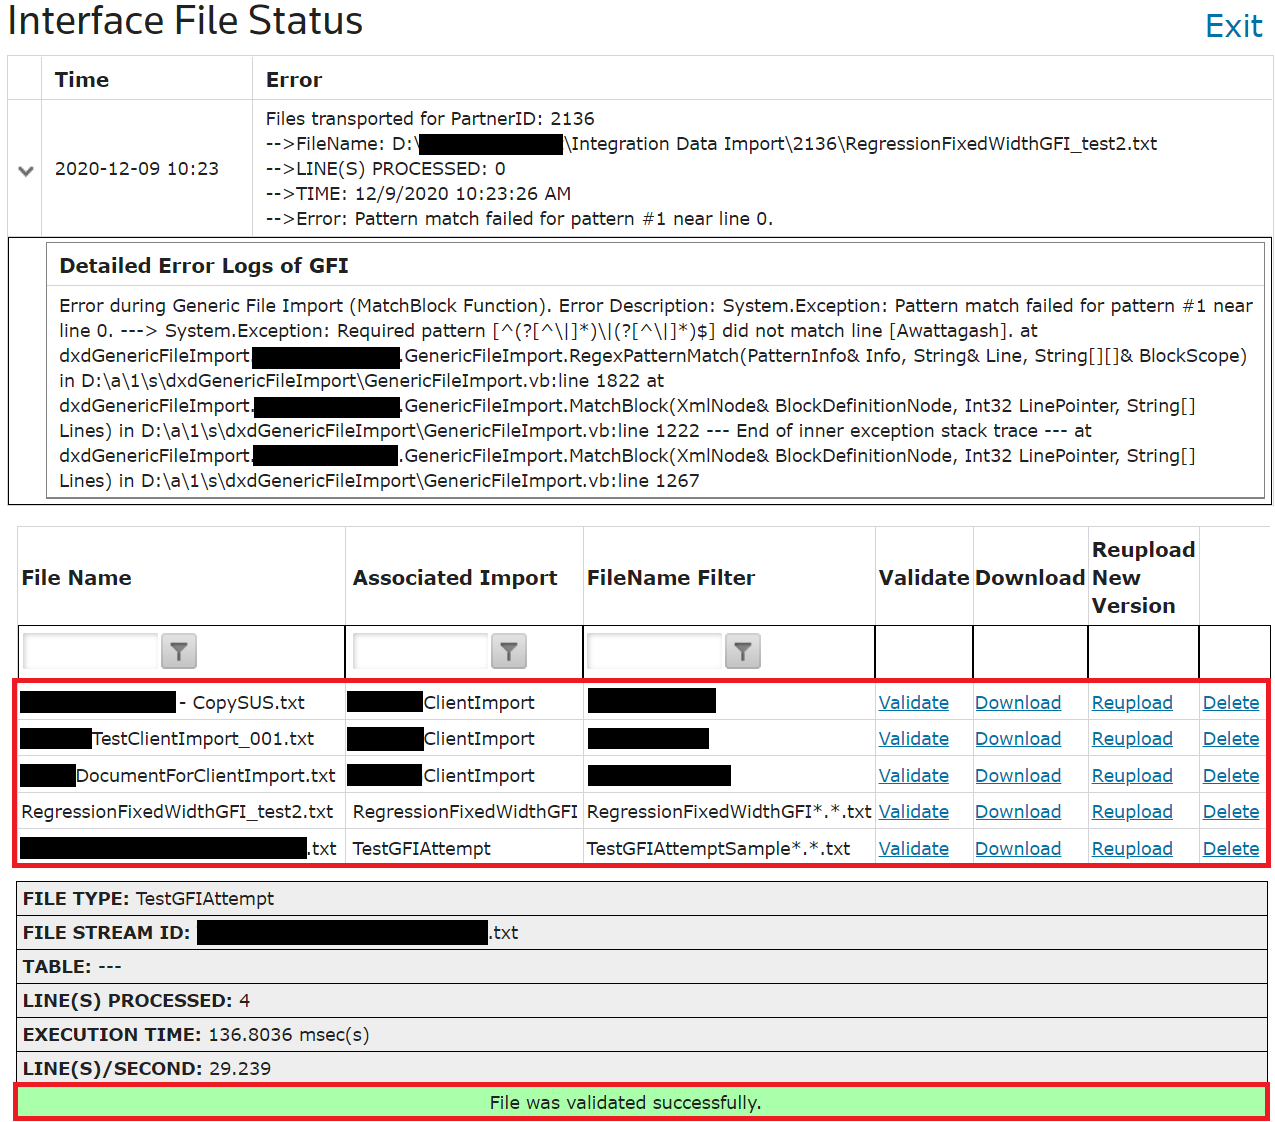
After all validations are complete, rerun the file import to load the corrected file. If the file is used as part of a scheduled import process, it will be loaded at the next scheduled interval. If any other files caused the import to fail due to content errors, those errors will need to be resolved before the file import can complete successfully.
If there are multiple
Associated Import
linked to a sample file due to generic file filter setup for any Client Import or Generic File Import command, then you can now use Ad-Hoc File Validation
tab for performing validations.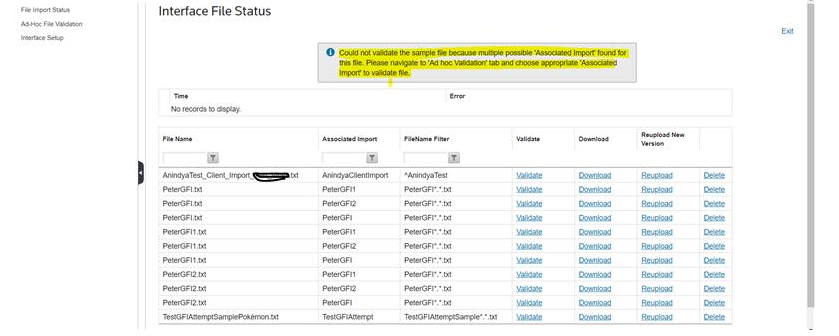
On
Ad-hoc File Validation
tab, you can select the Client Import (CI)
command or Generic File Import (GFI)
command against which they want to validate their sample data file. The CI and GFI command names listed in this pop-up window are only those command names which has file filters matching with the file name of sample file sent/uploaded by you.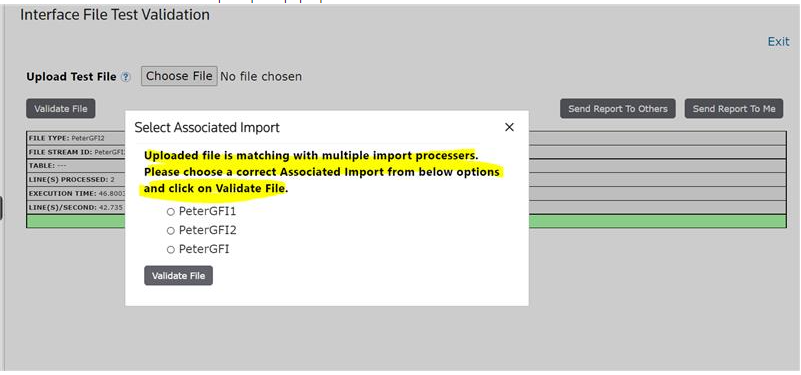
Delete
If a file is no longer needed in the system (or to allow other files to load while a file is being reviewed):
- Choose a file to remove from the system.
- Click its correspondingDeletebutton. A confirmation pop-up will appear on the screen.

- ClickOKto proceed with the deletion.

After the file has successfully been deleted, the following validation message will appear on the screen:

After a file is deleted, it cannot be re-uploaded via screen and will need to be sent again. The deletion will be logged in the system, noting the name of the user and the file that was deleted.
FTP setup errors
You can visualize which FTP configuration is incorrect and hence failing. This helps anyone to quickly fix issues and easily import sample data files.
See in the image below an Error of the incorrect FTP setup on
File Import Status
screen, mentioning the workflow command name of GFI (Generic File Import).
If there are multiple incorrect FTP setups, then
File Import Status
screen would list down all respective GFI (Generic File Import) and Client Import command names.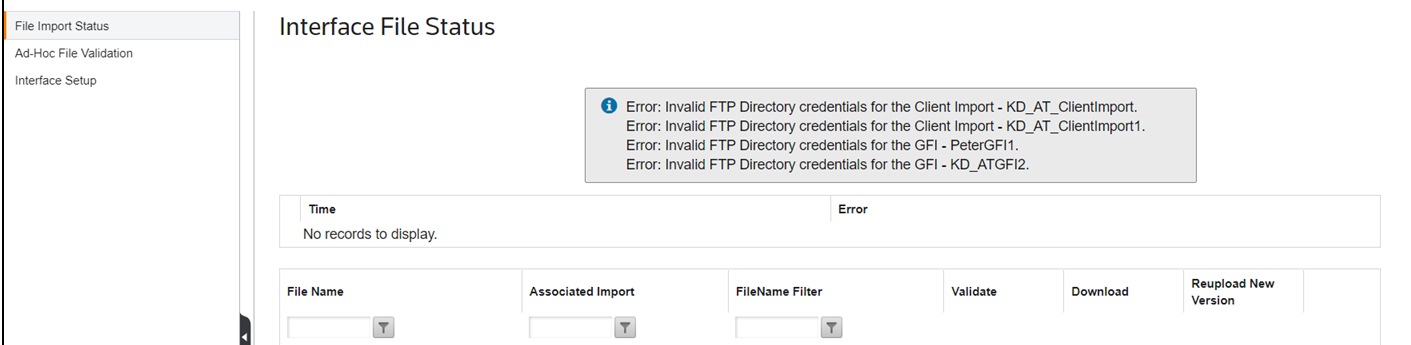
To correct an incorrect FTP setup, you would work with their Professional Services or Support team member to have the configuration updated to the correct FTP setup.
Related Content
-
File Load Manager
Format: Article