In the New Form Review (NFR) step, SurePrep verifiers (that is, 1040SCANverify service) may leave some documents unmatched if a clear match can't be found. However, if your firm has chosen to skip the NFR step, the unmatched form will be added as a new entity in the
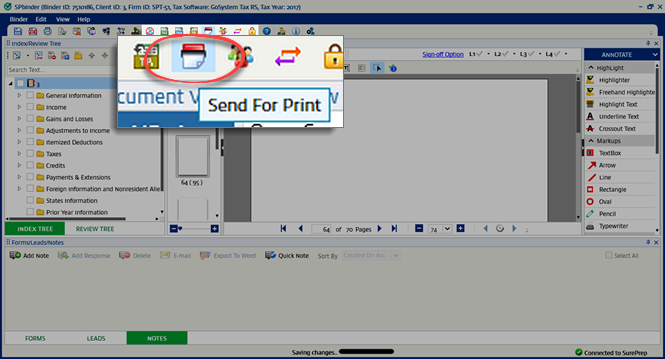
INDEX TREE
tab in SPbinder. In the
Finalization
window, if you have opted to automatically export data to the tax application (that is,
Export data to _____
), the exported data will appear as a new form in the tax application instead of populating the existing proforma form. To avoid this, we recommend closing the export window when it opens.


 Article,
8 min read
Article,
8 min read