
Install SPbinder
Download and Install SPbinder
Follow these steps to install SPbinder.
- SelectFileRoom, thenAdmin.
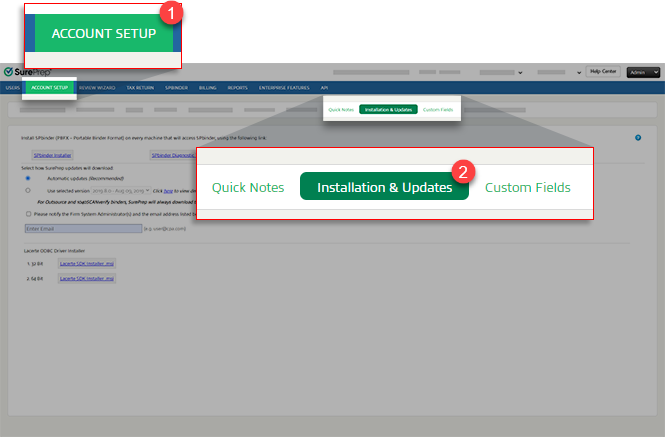
- SelectAccount Setup, thenInstallation & Updates.
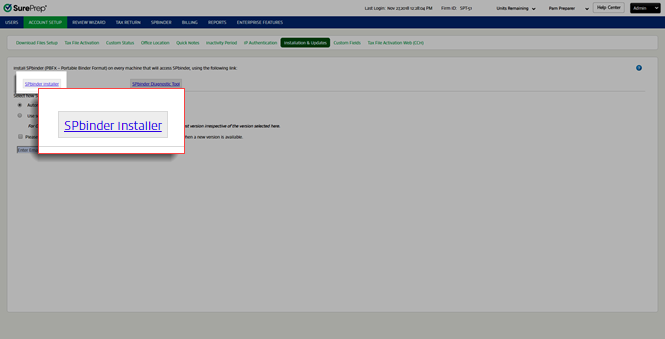
- SelectSPbinder Installer.See the recommended system requirements for optimal performance.
 noteSurePrep recommends enabling automatic updates.
 - Skip to the next step if you are not familiar with the command prompt. However, if you are familiar with the command prompt, you have the option to automate the rest of the installation process by running the installer in silent mode.
- Locate the downloaded file in your downloads folder. Right-click the downloaded file then selectRun as Administrator. Contact your IT department for assistance if you don’t have admin rights on your PC or shared environment.noteon the browser and operating system version.

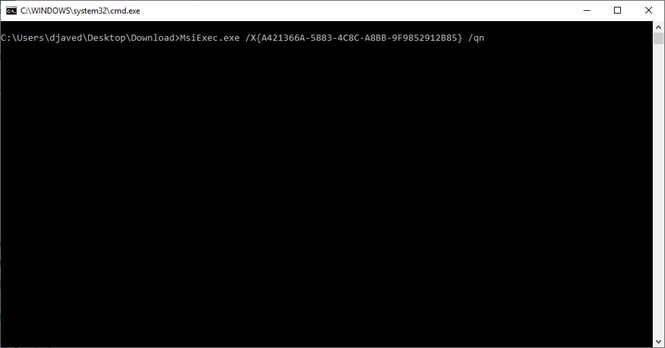
- If you had SPbinder installed previously, then the installer will automatically uninstall the previous version of SPbinder and SurePrep Apps before installing a new version. The command prompt window disappears after you successfully uninstall SPbinder. No action required, skip to the next step to continue the installation process.
- When theSPbinder - InstallShield Wizardopens, selectNext.

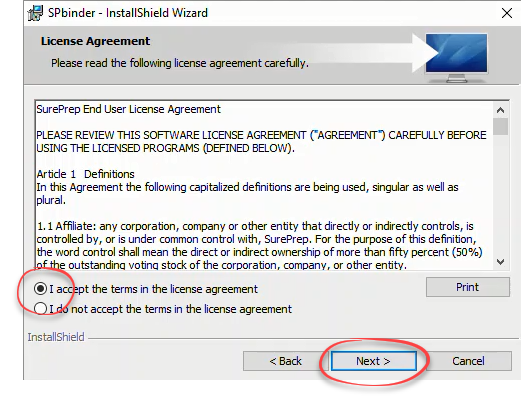
- Review the License Agreement, selectI accept the terms in the license agreement, thenNext.
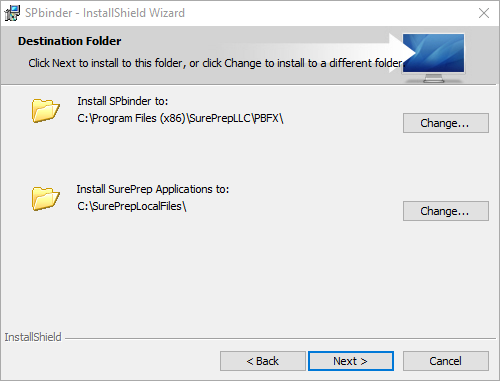
- Verify the install location, then selectNext.noteBy default, the installation path goes toC:\Program Files\SurePrepLLC\PBFX\. If your firm administrator has instructed you to use a different location, selectChangeand select a path.
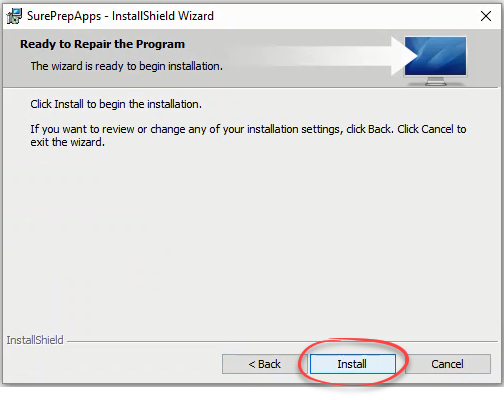
- SelectInstall.
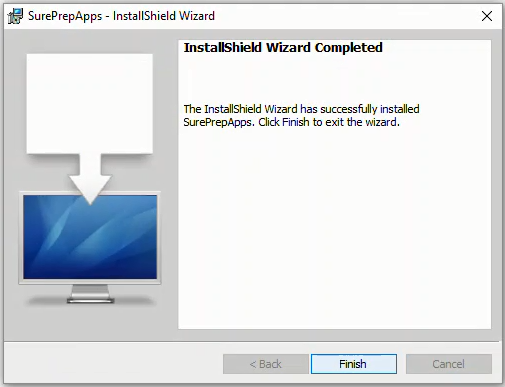
- When the installation is complete, selectFinish. SPbinder is now installed.
- You can confirm ifSPbinderwas installed successfully by looking at the list of installed programs in your computer'sControl Panel.
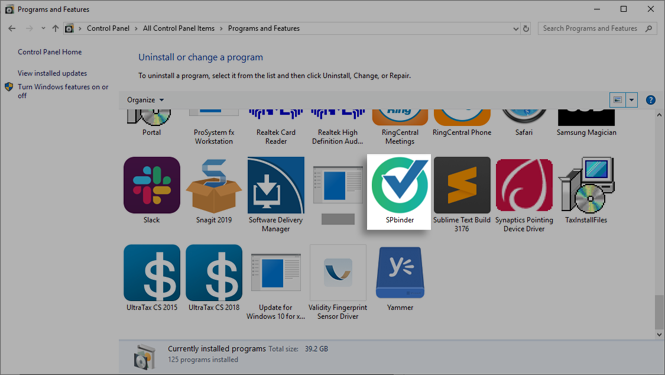 You should also have novaPDF SDK (version 10 or higher) installed in your computer'sControl Panel.
 If you don’t have the latest version of novaPDF SDK (version 10 or higher) installed, then you'll need to manually uninstall novaPDF SDK and re-run the installation again.
note
If you are on a shared environment (that is, Xcentric, Cloud9, Abacus) then refer to our article titled "Shared Envrionment" in the related content below to learn more about installing SPbinder on a Shared Environment.
Automate installation in silent mode
Automating the installation process through command prompt is only recommended for advanced users with Admin rights. Contact your IT professional to follow this guide or install SPbinder through the UI. Silent Installation will automatically uninstall and reinstall SPbinder and NovaPDF.
note
SurePrep Apps install has been merged with SPbinder and won’t appear as a separate install.
- Download a new copy ofSPbinder InstallerfromAccount Admin(Read the previous instructions on how to download SPbinder Installer).
- Open the command prompt window as an Administrator.

- Go to the folder path where the installer is downloaded (cd[SPbinder.exe download path]).noteYour file download path may vary based on the browser and operating system version.
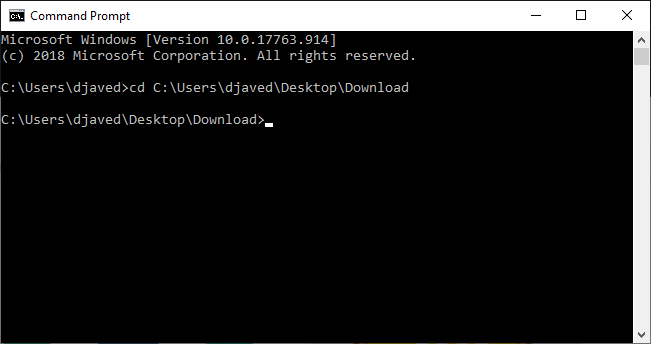
- Run the following command to run the SPbinder installer in silent mode.SPbinder /S /v” /qn”

- If necessary, the command prompt window will automatically uninstall any previous versions of SPbinder and automatically install a new version of SPbinder. The command prompt window will close automatically after SPbinder has been installed.To confirm if SPbinder installed successfully, go to theControl Panelthen locate SPbinder.You should also have novaPDF SDK (version 10 or higher) installed in your computer'sControl Panel.If you don’t have the latest version of novaPDF SDK (version 10 or higher) installed, then you'll need to manually uninstall novaPDF SDK and re-run the installation again.
Post-installation checks
For the best user experience, we recommend going through the following checklist after installation is complete:
- Check permissions:
- Check if theProgram FileandSurePrep Download Folderpaths are setup inAccount Admin.
- Enable access to download folder path (i.e.,SurePrep Download Folder).
- This is useful if your firm has users accessing client binders from multiple workstations on a shared network drive (for example, x:/SurePrepLocalFiles).
- To check if your firm's download folder path is on a shared network drive, go toSurePrep Download Folder.
- Run SPbinder Diagnostic tool.
- If you can open binders by opening PBFX files from FileRoom, no further action is needed. However, if the PBFX file doesn't open SPbinder, you may need to set PBFX to open SPbinder.
Related Content
-
Installation & Updates
Format: Article
-
Upgrade SPbinder
Format:
Article
-
Getting updates
Format:
Article
-
Software update options
Format:
Article
-
SPbinder AutoDownloader
Format:
Article
-
Run SPbinder Diagnostic Tool
Format:
Article
-
Whitelisting SPbinder in antivirus software
Format:
Article
-
Shared environment
Format:
Article

