
![]()
Triva isn't available right now.
Check out the support page for our phone number and hours
![]()


Category | Description |
|---|---|
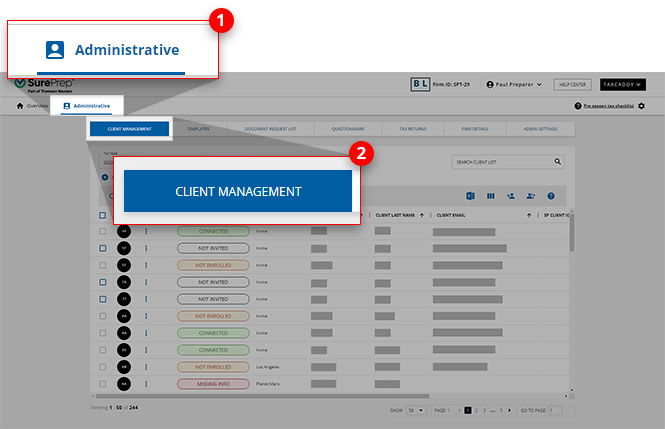
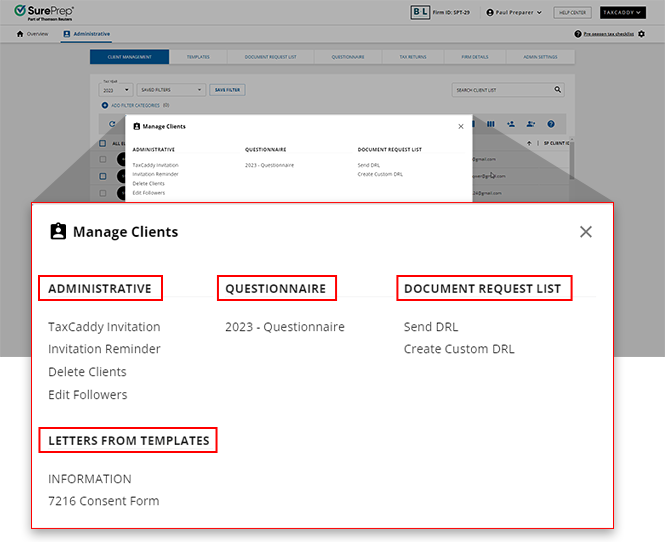
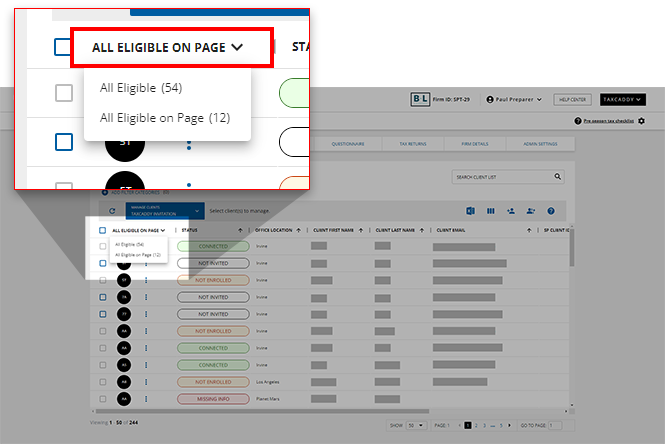
ADMINISTRATIVE | Lists administrative tasks. You can perform the following administrative task:
|
QUESTIONNAIRE | Lists questionnaire that you can send to clients. |
DOCUMENT REQUEST LIST | Lists actions related to creating and sending DRL (Document Request List). |
LETTERS FROM TEMPLATES | Lists of letter templates that you can send to clients. |
Icon Image | Icon | Description |
|---|---|---|
Add Client | Lets you add a new client to TaxCaddy. | |
Import Client | Lets you import clients in bulk by uploading a CSV file. | |
Column Management | Shows/hides columns. Select here to learn more about Column Management. | |
Export to Excel | Exports clients to Excel. Any active filters or searches will limit which clients will be exported. | |
 | Open DRL Uploader | Only visible to clients with 1 local tax software configured with SurePrep (that is, Lacerte or UltraTax). Used if the status of a DRL gets stuck In Queue for more than 30 minutes. |
Edit Multiple Clients | Allows you to download an Excel file to edit multiple clients' records at once. |

Action | Description |
|---|---|
Edit Profile | Lets you to edit the client's information and provide any missing information. |
Disconnect | Lets you to disconnect the client from the firm. |
Delete | Lets you to delete clients from the firm. |
Edit DRL | Lets you to delete clients' DRL. |
Reset DRL | Lets you to reset the clients' DRL. |
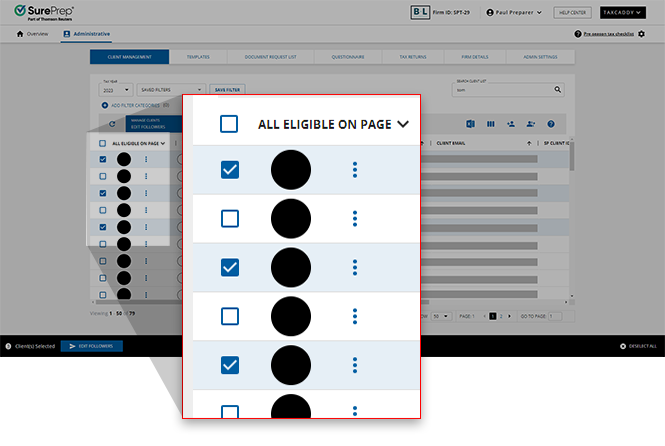
Followers | Lets you to view a list of users following a client. |

 Article
Article
Article
Article
Article
Article
Article
Article
Article
Article
Article
Article
Article
Article
Article
Article
Article
Article
Article
Article
Article
Article
Article