
Build a rule in Workflow
After adding a new workflow, you may add
Rules
, which require both triggers and actions.Open
Admin
, Workflow, Rule builder
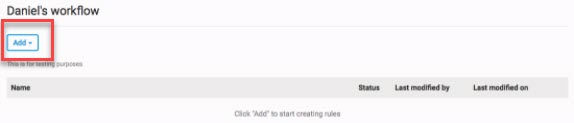
and then open the appropriate workflow (add a new workflow if needed: Add
> New workflow
).
To add a new rule to a workflow, click on the particular workflow to open it and then click
Add
> New rule
.
note
You can also
copy
an existing rule.The
New rule
builder opens.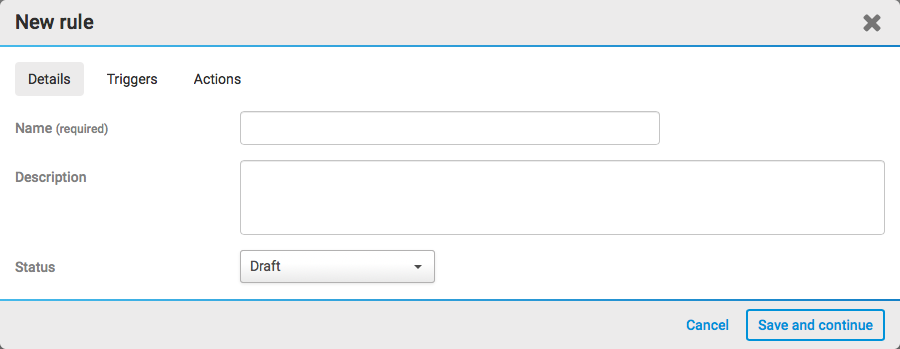
The rule builder consists of three tabs,
Details
, Triggers
and Actions
.Details tab
The details tab consists of three fields:
Name
, Description
and Status
.- Name- You need to give the rule a name, which is shown in the list of workflows.
- Description- Add a description for future reference. This is displayed in the rule builder.
- Status- The rule's status determines whether the rule will trigger or not. If the rule isActive(and the underlying workflow is also active), it will trigger if the conditions are met.
note
Leave the status as
Draft
until the rule is ready to be used.Once you have entered the name, select
Save and continue
.Triggers tab
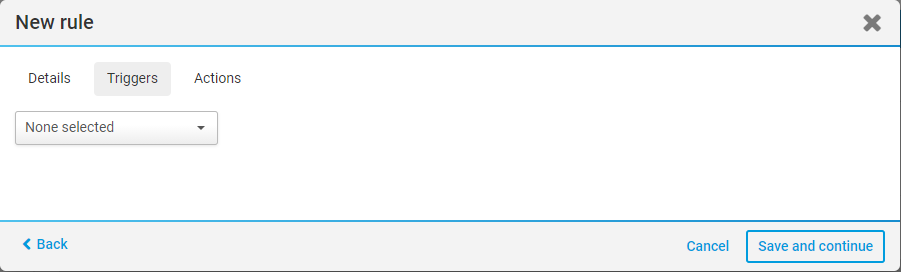
The triggers tab sets the conditions that 'trigger' the rule - the event that starts the action (or actions) defined in the
Actions
tab. You must select a subject, an event and which conditions are to be met.- iSheet record
- File
- Task
- Date
- Schedule
After setting your trigger or triggers, select
Save and continue
.note
You can create nested conditions that use and/or statements to combine multiple trigger conditions into a single rule.
Actions tab
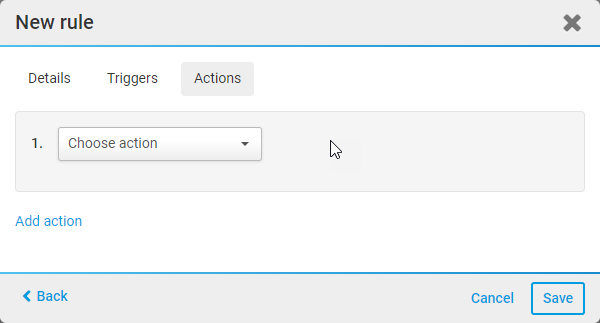
The
Actions
tab sets the actions that are triggered when the conditions are met. You must select a type of action and the targets for the action.After setting actions, select
Save
.Save your rule
Once you have added all of your triggers and actions, select
Save
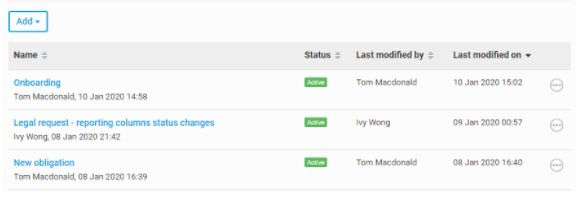
. Your rules will be saved and you will be redirected to the rules screen, listing your new rules.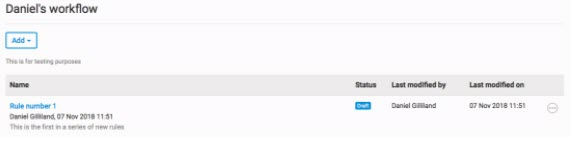
In this screen, you can view the name, status and last modified date and time of your rule, and also who modified it.
The
More Actions
menu provides additional options.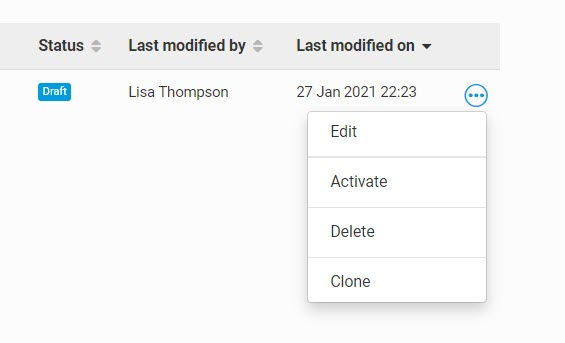
The options are as follows:
- Edit- open theCreate rulescreen to edit the rules in your workflow
- Activate- changes the status fromDraft(orDisabled) toActive; all rules will trigger actions as configured. If you selectMore actionsfor an active rule, you can insteadDisablethe rule:
- Disable- temporarily stop an active workflow, no rules contained in that workflow (with triggers and actions) will run until Activate is selected
- Delete- allows you to permanently delete the workflow, including all rules and configuration
note
Deleted rules cannot be recovered, they are gone forever.
- Clone- allows you to create a copy of a rule. The status of a cloned rule is set toValidate, and the rule will not trigger until the status is set toActive.
note
As of March 2023, you can clone a rule to up to five different workflows on your site.
Activating rules
Once you have created your rules, they must be activated if you want them to trigger. Click
More actions
> Activate
to do so. If you activate rules but your workflow is not active, you will receive a warning message.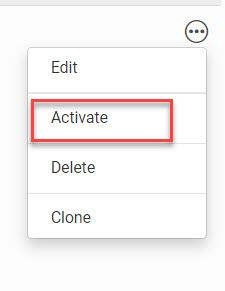
note

As of January 2024, when you activate a rule, a notification informs you if the parent workflow is not yet active.
Click
Activate
to activate the parent workflow. A further notification shows the workflow status.Best practices for Workflow rules
Avoid rule chaining
rule chaining
. It is possible to set up a rule that triggers other rules, leading to unexpected outcomes, complexity, and performance issues. To mitigate these risks, follow these best practices:
- Keep rules simple and focused
- Create a single rule for a single trigger condition. Consider consolidating related logic into a single rule, if appropriate.
- Avoid circular dependencies: Ensure rules do not create loops where they trigger each other in turn, potentially causing infinite loops or stack overflows. For example, anUpdate iSheettrigger performs an action that updates the same iSheet, please use the 'Changes' or 'Changes to' operator in trigger conditions to avoid looping.
- Check for Indirect triggers. Avoid scenarios where Rule A triggers Rule B, which then triggers Rule C, which could loop back to trigger Rule A again.