
How do I take manual appointments of interfaces in In Out?
With this
note
, you can manually enter information
into any table associated with In Out
input interfaces, replacing the use of text files (TXT), ODBC (Open Database Connectivity) connections, or other sources of information. This functionality is primarily used in incoming interface testing and the unavailability of external systems (or ERPs) that send information to In Out
directly.tip
What’s changed: click on the video below to see what’s new with this functionality.
Adding an interface manual appointment
- Access the menuInterfaces > Manual Interface Appointment.
- On theManual Interface Notescreen, select theinput interfaceandtablewhere the notes will be taken.
 Only interfaces that have scheduled or suspended schedules are displayed in theInterfacefield.
 - ClickFilter.
- ClickAdd
 .
. - In the right side tab, make the necessary notes in the fields of the selected table.
- ClickSave.Repeat this step by step to make the notes on each of the input tables of the desired interface.
The interface, with the updated tables, can now be run on the
Data Imports/Exports
screen. After a successful execution, the manually specified data will be available in the target system.By file import
It is also possible to manually take notes of the interface by importing a file. To do this, simply click the  button, drag or select an Excel file and save the operation.
 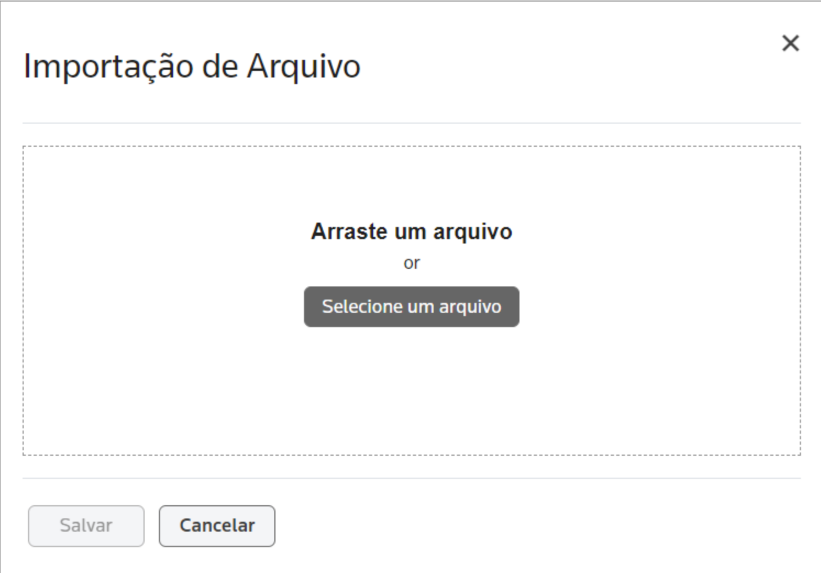 Imported notes will be automatically displayed in the table on the
Import
button, drag or select an Excel file and save the operation. Manual Interface Note
screen (for continued operation).important
Importing the Excel file will stop if the first row of the first column is blank, but the order of the columns can be changed. It is also important to remember that you cannot upload a file whose column names do not match the selected input table structure.
Editing an interface manual appointment
- Access the menuInterfaces > Manual Interface Appointment.
- On theManual Interface Notescreen, select theinput interfaceandtablewhose notes you want to change.Only interfaces that have scheduled or suspended schedules are displayed in theInterfacefield.
- ClickFilter.
- In the table, click theEdit
 button for the note to be updated.
 - In the edit tab, make the necessary changes.
- ClickSave.
The interface, with the updated tables, can now be run on the
Data Imports/Exports
screen. After a successful execution, the manually specified data will be available in the target system.
tip
To create a copy or delete a record of a note, click the  or
or  button, respectively, for the item. To delete in bulk, click the button on the table toolbar.
Duplicate
or Delete
button, respectively, for the item. To delete in bulk, click the Delete
button on the table toolbar.Exporting an interface manual appointment
- Access the menuInterfaces > Manual Interface Appointment.
- Onthe Manual Interface Notescreen, select theinput interfaceandtablewhose notes you want to export.Only interfaces that have scheduled or suspended schedules are displayed in theInterfacefield.
- ClickFilter.
- Check the items whose fields you want to export.To export data from all rows in the table, this marking is not required.
- ClickExport
 .
.
An Excel file will be generated with the fields of the items marked, for example:
tip
The structure of the generated file can be used to prepare new manual notes. For more information, see the
Adding a manual interface note
section.Related Content
-
How do I create and manage interface groups in In Out?
Format: Article
-
How do I register and configure interfaces in In Out?
Format:
Article
-
How do I create and manage interface schedules?
Format:
Article
-
How to monitor and manage data imports/exports in In Out?
Format:
Article
-
How do I check the status of the interfaces?
Format:
Article
-
How do I resolve data import errors in In Out?
Format:
Article
-
How do I resolve data import errors in In Out?
Format:
Article
-
How to register and manage machines in In Out?
Format:
Article
-
How do I set up notifications from users and entities in In Out?
Format:
Article